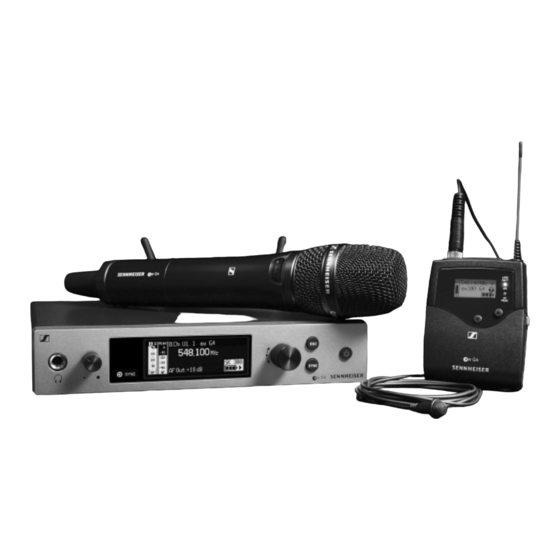
Summarization of Contents
Accessories
Microphones and cables
Lists microphone modules recommended for handheld and bodypack transmitters.
Headset and Lavalier microphones
Lists headset and lavalier microphones for bodypack transmitters.
Line/instrument cables
Lists available cables for connecting instruments and line sources.
Rechargeable battery and charger
Details the BA 2015 rechargeable battery and L 2015 charger.
LA 2 charging adapter
Describes the charging adapter for the L 2015 charger.
Accessories for rack mounting
Details rack mount kits for system components.
Antennas and accessories
Lists omni-directional, directional antennas, and antenna splitters/amplifiers.
Additional accessories
Covers color labeling sets, microphone clamps, and mute switches.
Installing the EM 300-500 G4
Connectors on the rear of the device
Details the function of each connector on the rear panel of the EM 300-500 G4.
Connecting/disconnecting power supply
Instructions for connecting and disconnecting the receiver to the power supply.
Creating a data network
Guides on setting up a network connection for monitoring and control.
Outputting audio signals
Explains how to connect audio cables to the receiver's output sockets.
Connecting antennas
Instructions for connecting the supplied rod antennas to the receiver.
Installing the EM 300-500 G4 in a rack
Provides precautions and considerations for rack mounting the receiver.
Mounting a single receiver in a rack
Step-by-step guide for mounting a single receiver using the GA 3 rack kit.
Mounting two receivers side by side
Instructions for mounting two receivers adjacent to each other in a rack.
Installing the SKM 300 G4
Inserting and removing batteries
Guide on powering the SKM 300 G4 with batteries or rechargeable packs.
Battery status
Explains how to interpret the battery charge indicators on the transmitter.
Replacing the microphone module
Instructions for changing the microphone module on the SKM 300 G4.
Changing the colored ring
Guide on how to attach or replace the colored identification rings.
Installing the SK 300 G4
Inserting and removing batteries
Guide on powering the SK 300 G4 with batteries or rechargeable packs.
Battery status
Explains how to interpret the battery charge indicators on the transmitter.
Connecting a microphone
Instructions for connecting lavalier or headset microphones to the bodypack.
Connecting instruments/line sources
Guide for connecting instruments or line sources to the bodypack transmitter.
Connecting the RMS 1 mute switch
Instructions for connecting the remote mute switch to the bodypack transmitter.
Attaching to clothing
Guide on using the belt clip to attach the bodypack transmitter to clothing.
Installing the ASA 214
Connectors on the rear of the device
Details the function of each connector on the rear panel of the ASA 214.
Connecting/disconnecting power supply
Instructions for connecting and disconnecting the ASA 214 to the power supply.
Connecting receivers to the ASA 214
Explains how to connect compatible receivers to the ASA 214 antenna splitter.
Connecting antennas
Guide on connecting remote and rod antennas to the ASA 214.
Antenna amplifiers and cable lengths
Table detailing cable length requirements for AB 3 antenna amplifier.
Configuring multi-channel systems
Options for connecting multiple channels using the ASA 214.
Installing the ASA 214 in a rack
Provides precautions and considerations for rack mounting the ASA 214.
Mounting a single antenna splitter in a rack
Step-by-step guide for mounting a single ASA 214 using the GA 3 rack kit.
Mounting two antenna splitters side by side
Instructions for mounting two ASA 214 units adjacent to each other in a rack.
Using the EM 300-500 G4
Operating elements on the front
Details each button, dial, and display on the front panel of the receiver.
Switching the receiver on and off
Instructions for turning the receiver on, to standby, and completely off.
Muting the audio output
Guide on how to mute and unmute the audio signal of the receiver.
Using the headphone output
Instructions for connecting and using headphones with the receiver.
Lock-off function
Explains how to activate, deactivate, and temporarily disable the lock-off function.
Display panel information
Details the status information and operating menu displayed on the panel.
Menu navigation buttons
Explains the function of the ESC button, jog dial, and SET button for menu operation.
Home screen displays
Describes the three different standard displays shown on the receiver's home screen.
Receiver Parameters display
Details the information shown in the Receiver Parameters standard display.
Transmitter Parameters display
Details the information shown in the Transmitter Parameters standard display.
Soundcheck display
Shows transmission quality and parameters like RF Min, RF Max, and AF Max.
Menu setting options
Lists configurable settings including squelch, frequency, name, and audio level.
Menu structure overview
Provides a visual overview of the receiver's menu hierarchy and options.
Squelch menu item
Details how to adjust the squelch threshold for RF signal levels.
Easy Setup menu item
Guides on scanning for unused frequencies and performing automatic setup.
Performing multi-channel frequency setup
Instructions for setting up frequencies for multiple radio links simultaneously.
Frequency Preset menu item
Explains how to adjust receiving frequency by selecting bank and channel.
Name menu item
Allows entering a custom name for the radio link.
AF Out menu item
Sets the audio output level for the receiver audio outputs.
Equalizer menu item
Adjusts the frequency response of the output signal, bass, and treble.
Auto Lock menu item
Activates or deactivates the automatic lock-off function for the receiver.
Advanced menu item
Accesses enhanced settings like tune, sync, warnings, and brightness.
Advanced -> Tune menu item
Configures receiving frequencies for frequency banks U1 to U6.
Advanced -> Sync Settings menu item
Configures parameters for transmitters and activates/deactivates transmission.
Advanced -> Fullscreen Warnings menu item
Activates/deactivates warnings for AF Peak, Low RF Signal, RF Mute, etc.
Advanced -> Brightness menu item
Adjusts the display contrast of the receiver's panel.
Advanced -> Reset menu item
Resets the receiver's settings to their default values.
Advanced -> IP Address menu item
Configures IP addresses for network connectivity (automatic or manual).
Advanced -> Software Revision menu item
Displays the current software version of the receiver.


Need help?
Do you have a question about the EM 500 G4 and is the answer not in the manual?
Questions and answers