Table of Contents
Advertisement
Quick Links
Magico Subwoofer Setup
and DSP Control Manual
!
DSP Password: Fact_ory
!
!
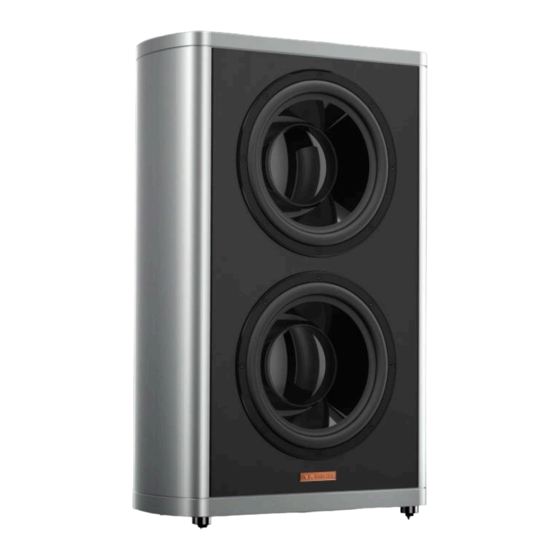
Thank you for the purchase of your new Magico
The goal of this setup manual is to first integrate the
subwoofer into your stereo system and also to describe the
various aspects of crossover and equalization optimization
using our highly adjustable Digital Signal Processing
software. (For those with home theater applications please
consult the setup literature for your home theater processor
to setup the subwoofer using the available functions of the
processor: auto calibration, room correction etc.)
!
!
.
S-Sub or Q-Sub
1
!
of !
21
Advertisement
Table of Contents

Related Manuals for MAGICO Q-Sub

Summary of Contents for MAGICO Q-Sub
- Page 1 Magico Subwoofer Setup and DSP Control Manual DSP Password: Fact_ory Thank you for the purchase of your new Magico S-Sub or Q-Sub The goal of this setup manual is to first integrate the subwoofer into your stereo system and also to describe the...
- Page 2 The common cutoff frequency will be 50 Hz and optimal integration will be achieved when used with Magico S or Q Series loudspeakers, which employ a sealed box design. We will rely solely on measurements of the bass frequency response.
- Page 3 8 Steps 1. Position your main speakers 2. Unpack your QSub 3. Install the Magico DSP Control Software from the CD accompanying your QSub 4. Hook up your QSub 5. Position your QSub 6.
- Page 4 With one person on either side carefully and slowly roll the subwoofer off of the crates based, down the ramp and onto the floor. 3. Install the Magico DSP Control Software from the supplied CD to your PC or Apple computer 4. Hook up your QSub You will need a 20amp C19 IEC power connector.
- Page 5 Here you can see for a single subwoofer the Left position rear corner positioning is the best. It is much smoother from 50 – 100 Hz. Here is the same Measurement with the window expanded to 50-200Hz. of !
- Page 6 The aspect that many find difficult is knowing what to do with the results. One of the main things we are looking for here is to combine acoustic sources in different locations that, when summed, remove frequency response dips. Combine two speakers with the same dip and you are stuck with it.
- Page 7 dips remain after treatment and the placement of multiple bass sources, then they will most likely remain unfixable. Here we show the results (20-291Hz) when the main speakers are added and frequency response is further smoothed from overlapping of the main speakers and the Sub. The left red corner positioning (yellow) is still the best.
- Page 8 Compare the two (Using Overlay if using REW); adjust the level of the QSub with the QSUB Gain Control (the right level control on the screen shot below) The level of the sub should be between the mains levels up to 6 dB more.
- Page 9 8. Determine Crossover of the QSub In this section we will determine the low pass frequency and slope and the phase of the subwoofer. Our approach is to use the QSub to help smooth the overall in room bass response and extend the low frequencies.in order to achieve this goal it is recommended to allow overlapping.
- Page 10 Determine EQ for the QSub This is the final step in which we will try to achieve two targets: 1. Using eq filters to remove as much as possible persist peaks that comes from room modes. 2. Use eq filters to shape the response into a desirable in room response.
- Page 11 4. In the right menu, select the Generic EQ device. 5. Return to the overlays window, and then select the “Predicted SPL” tab. 6. In the legend area showing all the plots, right-click and select “clear selections.” 7. Now select the plot that you want to EQ. With this in the background return to the EQ window and select EQ filters.
- Page 12 In Room common target limits of !
- Page 13 Magico DSP Control Instruction Introduction This User Manual describes how to operate the Magico’s DSP settings via the USB Computer Interface. Alternatively, the DSP can be configured completely via a remote connection to a PC or MAC using the LAN options (Ethernet). After you have become to...
- Page 14 PC and MAC configuration program. With this program you can also update your DSP to the latest firmware. Power Connector The Magico DSP has an internal amplifier that utilizes standard 20A 250VAC IEC cable. (C19 pin connection) Power Switch The Power Switch turns the Q-Sub15 (18) on and off.
- Page 15 have problems with the USB connection, please refer to the Installation Guide for details on how to install the proper driver. When connecting the unit via an Ethernet network, you have several options. The PC/MAC application has an auto-discovery tool that will automatically connect to any unit found on the network.
- Page 16 This product offers a wide range of tools for sound system design and setup. These tools can make your system more efficient and better sounding, but to get the best possible sound it is important to use these tools properly. The following section explains how to maximize system gain and how to use the limiters to protect your amplifiers from clipping.
- Page 17 Channel Link By linking 2 channels, the settings are guaranteed to be identical for both channels, except for mixer and mute. X-Over Screen Low Pass Filter/ High Pass Filter You can choose from: Butterworth 6dB, Bessel 6dB, Butterworth 12dB, Bessel 12dB, Linkwitz Riley12dB, Butterworth 18dB, Bessel 18dB, Butterworth 24dB and Bessel 24dB.
- Page 18 Output Display Screen Delay Displayed in unit of ms or s, mm or m, feet, inches, or mils: Low Pass Filter/High Pass Filter You can choose from: Butterworth 6dB, Bessel 6dB, Butterworth 12dB, Bessel 12dB, Linkwitz Riley12dB, Butterworth 18dB, Bessel 18dB, Butterworth 24dB and Bessel 24dB.
- Page 19 Pass). For the Shelving filters, the Q value sets the steepness of the filter in dB/Oct. Compressor The compressor is a true RMS compressor. The available parameters are: Threshold, Attack, Hold, Release, Ratio, and Makeup Gain. To access click on the grey colored Virtual button labeled “Compressor”...
- Page 20 Save Preset To save a single preset- select an empty preset slot from the drop down menu; and enter the name you wish to call your preset in the name location (where it says “Default Preset”). Then press the “Store” button that is underneath the preset drop down.
- Page 21 The system will ask you to enter a password. ATTENTION: Make sure to remember the password! When the unit is locked and you forgot the password, it is not possible to unlock it without contacting your local service representative. The default factory password is "Fact_ory" of !
Need help?
Do you have a question about the Q-Sub and is the answer not in the manual?
Questions and answers