Table of Contents
Advertisement
Quick Links
Specifications
Power Source
Power Consumption
Power on
Stand-by condition
Power off condition
Plasma Display panel
Contrast Ratio
Screen size
(No. of pixels)
Operating condition
Temperature
Humidity
Applicable signals
Scanning format
PC signals
Connection terminals
COMPONENT
PC
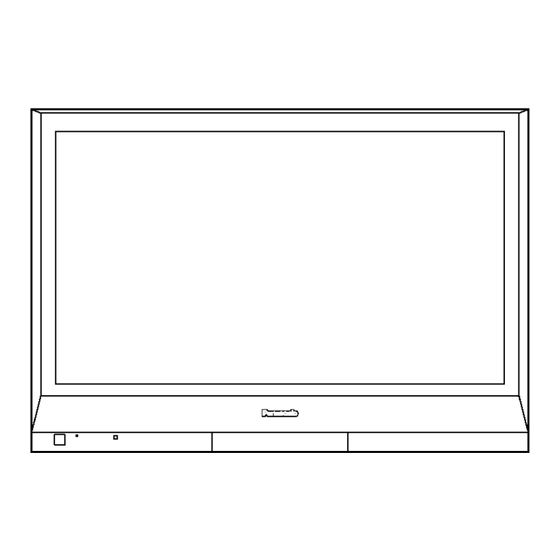
Progressive Wide Hospitality Plasma Display
220-240 V AC, 50/60Hz
250 W (37 inch)
Save OFF 0.8 W, Save ON 0.6 W (37 inch)
0.2 W (37 inch)
Drive method: AC type 37-inch,
16:9 aspect ratio (37 inch)
Max 10000:1
818 mm (W) × 461 mm (H) × 939 mm (diagonal) (37 inch)
920 mm (W) × 518 mm (H) × 1,056 mm (diagonal) (42 inch)
408,960 (852 (W) × 480(H))
[2,556 × 480 dots]
0 °C - 40 °C
20% - 80%
525 (480) / 60i
60p, 625 (575) / 50i
30p
24sF.... SMPTE274M, 1250 (1080) / 50i
VGA
SVGA, XGA, SXGA, UXGA..... (compressed)
Horizontal scanning frequency 15 - 110 kHz
Vertical scanning frequency 48 - 120 Hz
Y/G(BNC)
PB/B(BNC),PR/R(BNC)
AUDIO IN (RCA PIN JACK × 2)
(HIGH-DENSITY Mini-D-SUB 15PIN)
TH-37PG9W
TH-42PG9W
GP9D Chassis
280 W (42 inch)
Save OFF 0.8 W, Save ON 0.6 W (42 inch)
0.2 W (42 inch)
Drive method: AC type 42-inch,
16:9 aspect ratio (42 inch)
50p, 750 (720) / 60p
50p, 1125 (1080) / 60i
Y or G with / sync 1.0 Vp-p (75-ohm)
0.7 Vp-p (75-ohm)
0.5 Vrms
Y or G with / sync 1.0 Vp-p (75-ohm)
Y or G without / sync 0.7 Vp-p (75-ohm)
B / P
/ C
:0.7 Vp-p (75-ohm)
B
B
© 2006 Matsushita Electric Industrial Co., Ltd. All
rights
reserved.
distribution is a violation of law.
ORDER NO. ITD0609073CE
50i
24p
25p
Unauthorized
copying
and
Advertisement
Table of Contents

Related Manuals for Panasonic TH-42PG9W


Summarization of Contents
2 Safety Precautions
2.1 General Guidelines
Observe lead dress, replace overheated parts, and check protective devices.
6 Disassembly
6.1 Removal of the Back Cover
Steps to remove the back cover, including screw details.
6.2 Removal of the HA-Board
Procedure for removing the HA Terminal Block and HA-Board.
6.3 Removal of the Slot Block
Disconnecting couplers and removing the Slot Block.
6.4 Removal of the J-Board
Steps for removing the J-Board, including screws and couplers.
6.5 Removal of the HX-Board
Procedure for removing the HX-Board, referencing other steps.
6.6 Removal of the DA-Board
Disconnecting cables and removing the DA-Board.
6.7 Removal of the P-Board
Disconnecting couplers and removing the P-Board.
6.8 Removal of the D-Board
Disconnecting couplers, flexible cables, and removing the D-Board.
6.10 Removal of the SU-Board and the SD-Board
Steps for removing SU-Board and SD-Board, including flexible cables.
6.11 Removal of the SC-Board
Sliding SU/SD-Boards, disconnecting couplers, and removing SC-Board.
6.12 Removal of the SS-Board
Disconnecting couplers, flexible cables, and removing the SS-Board.
6.13 Removal of the C1, C2-Board
Removing slot block, screws, and stand blocks for C1/C2 boards.
6.14 Removal of the S-Board
Disconnecting coupler, removing screws for S-Board block and S-Board.
6.15 Removal of the GK-Board
Removing screws, plate, coupler, and GK-Board.
6.16 Removal of the K-Board
Removing screws and disconnecting coupler for K-Board.
6.17 Removal of the Control Panel, the Power SW and the Door
Steps to remove control panel, power switch, and door assembly.
6.18 Removal of the Front Glass
Steps to remove the front glass assembly, including plates.
6.19 Removal of the Escutcheon
Steps to remove the escutcheon from the front panel assembly.
6.20 Removal of the Plasma Panel
Procedure for removing the plasma panel unit.
7 Location of Lead Wiring
7.1 Location of Lead Wiring (1)
Shows dressing of lead wiring and ferrite core installation.
7.2 Location of Lead wiring (2)
Shows lead wiring dressed and clamped.
7.3 Location of Lead wiring (3)
Details lead wiring dressing and clamp positions for different chassis.
7.4 Location of Lead Wiring (4)
Shows lead wiring, ferrite core installation, and relay connection.
8 Adjustment Procedure
8.1 Driver Set-up
Preparation, item/preparation, and voltage adjustments for driver setup.
8.2 Initialization Pulse Adjust
Adjusting VR6602 for initialization pulse using an oscilloscope.
8.3 PCB (Printed Circuit Board) Exchange
Caution regarding discharge and quick adjustment after PCB exchange.
8.4 Adjustment Volume Location
Diagrams showing the location of adjustment volumes for different models.
8.5 Test Point Location
Diagrams showing the location of test points for different models.
9 Service mode
9.1 CAT (computer Aided Test) mode
How to enter and exit CAT mode.
9.1.1 IIC mode
How to select and exit IIC mode within CAT mode.
9.1.2 CD mode
How to select and exit CD mode within CAT mode.
9.1.3 SD mode
How to select and exit SD mode within CAT mode.
9.1.4 MS mode
How to select and exit MS mode within CAT mode.
9.1.5 ID mode
How to select and exit ID mode within CAT mode.
10 Adjustment
10.1 RGB white balance adjustment
Procedure for adjusting RGB white balance using a color analyzer.
10.2 HD white balance adjustment
Procedure for adjusting HD white balance using a color analyzer.
10.3 Power control adjustment
Procedure for adjusting power consumption and control settings.
11 Troubleshooting guide
11.1 Self Check
Information on the self-check mode and display indications.
11.1.1 Display Indication
How to enter self-check mode and interpret indications.
11.1.2 Power LED Blinking timing chart
Chart correlating power LED blinking patterns to error codes.
11.2 No Power
Troubleshooting steps for no power indication.
11.3 No Picture
Troubleshooting flowchart for no picture issues.
11.4 Local screen failure
Identifying possible defective PCBs for local screen failures.
13 Conduct Views
13.1 P-Board (37inch)
Foil side view of the P-Board for the 37-inch model.
13.2 P-Board (42inch)
Foil side view of the P-Board for the 42-inch model.
13.3 HA-Board
Foil and component side views of the HA-Board.
13.4 HX-Board
Foil and component side views of the HX-Board.
13.5 GK, K and S-Board
Foil and component side views of GK, K, and S-Boards.
13.6 J-Board
Foil side view of the J-Board.
13.7 DA-Board
Foil side view of the DA-Board.
13.8 D-Board
Foil side view of the D-Board.
13.9 C1-Board (37inch)
Foil and component side views of the C1-Board for 37-inch.
13.10 C1-Board (42inch)
Foil and component side views of the C1-Board for 42-inch.
13.11 C2-Board (37inch)
Foil and component side views of the C2-Board for 37-inch.
13.12 C2-Board (42inch)
Foil and component side views of the C2-Board for 42-inch.
13.13 SC-Board
Foil side view of the SC-Board.
13.14 SU-Board (37inch)
Foil and component side views of the SU-Board for 37-inch.
13.15 SU-Board (42inch)
Foil and component side views of the SU-Board for 42-inch.
13.16 SD-Board (37inch)
Foil and component side views of the SD-Board for 37-inch.
13.17 SD-Board (42inch)
Foil and component side views of the SD-Board for 42-inch.
13.18 SS-Board
Foil side view of the SS-Board.
Need help?
Do you have a question about the TH-42PG9W and is the answer not in the manual?
Questions and answers