Table of Contents
Advertisement
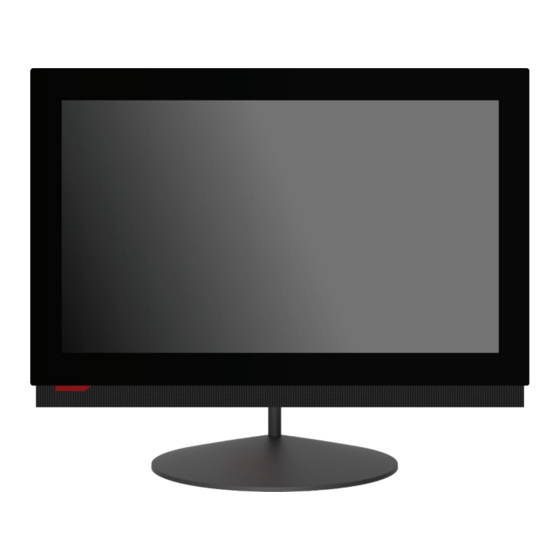
M810z
User Guide and
Hardware Maintenance Manual
Machine Type (MT):
10NX, 10NY, 10Q0, 10Q1, 10Q2
Energy Star MT:
10NX, 10NY, 10Q0, 10Q1, 10Q2
Overview
Locations of indicators,
connectors, and
controls provided on
your computer
Replaceable parts
Locations of the
replaceable parts on
your computer
Specifications
Specifications of your
computer
Replacing CRUs
Replacing instructions
for Customer
Replaceable Units
(CRUs)
Locking the computer
Locking devices for
your computer
Replacing FRUs
Replacing instructions
for Field Replaceable
Units (FRUs) (for
technicians only)
Advertisement
Chapters
Table of Contents

Related Manuals for Lenovo THINKCENTRE M810z 10Q0


Summarization of Contents
Overview
Front view
Details components and indicators on the front of the computer.
Rear view
Details components and connectors on the rear of the computer.
System board
Illustrates and identifies components on the system board.
Adjusting the tilt-only stand
Instructions for adjusting the computer's tilt-only stand.
Adjusting the UltraFlex II Stand
Instructions for adjusting the computer's UltraFlex II stand.
Machine type and model label
Locates the machine type and model label on the computer.
Locking the computer
Attaching a Kensington-style cable lock
How to secure the computer using a Kensington-style cable lock.
Replacing hardware
Before replacing hardware
Important notes and precautions before starting hardware replacement.
Handling static-sensitive devices
Precautions for handling static-sensitive computer components.
Knowing replaceable parts
Explains Customer-Replaceable Units (CRUs) and Field-Replaceable Units (FRUs).
Customer-Replaceable Units (CRUs)
Defines CRUs, distinguishing between self-service and optional-service types.
Field-Replaceable Units (FRUs)
Defines FRUs, which require trained technicians for replacement.
CRUs and FRUs locations
Illustrations showing the locations of CRUs and FRUs within the computer.
Replacing CRUs
Before replacing CRUs
General precautions and instructions before replacing CRUs.
Replacing the wireless keyboard
Detailed steps for replacing the wireless keyboard.
Replacing the wireless mouse
Detailed steps for replacing the wireless mouse.
Replacing the power cord
Detailed steps for replacing the power cord.
Replacing the computer stand
Detailed steps for replacing the computer stand.
Removing the computer cover
Detailed steps for removing the computer cover.
Replacing the 2.5-inch storage drive
Detailed steps for replacing the 2.5-inch storage drive.
Replacing the control button board
Detailed steps for replacing the control button board.
Completing the parts replacement
Steps to finish reinstalling parts and reconnecting cables.
Replacing FRUs
Before replacing FRUs
Important guidelines and precautions before replacing FRUs.
Replacing the system board shield
Detailed steps for replacing the system board shield.
Replacing the VESA mount bracket
Detailed steps for replacing the VESA mount bracket.
Replacing the power supply assembly
Detailed steps for replacing the power supply assembly.
Replacing the optical drive
Detailed steps for replacing the optical drive.
Replacing the integrated camera
Detailed steps for replacing the integrated camera.
Replacing the cover presence switch
Detailed steps for replacing the cover presence switch.
Replacing the system fan
Detailed steps for replacing the system fan.
Replacing the I/O bracket
Detailed steps for replacing the I/O bracket.
Replacing the internal speakers
Detailed steps for replacing the internal speakers.
Replacing the Wi-Fi card
Detailed steps for replacing the Wi-Fi card.
Replacing the Wi-Fi antennas
Detailed steps for replacing the Wi-Fi antennas.
Replacing the heat sink
Detailed steps for replacing the heat sink.
Replacing the microprocessor
Detailed steps for replacing the microprocessor.
Replacing the memory module
Detailed steps for replacing the memory module.
Replacing the card reader
Detailed steps for replacing the card reader.
Replacing the M.2 storage drive
Detailed steps for replacing the M.2 storage drive.
Replacing the serial connector module
Detailed steps for replacing the serial connector module.
Replacing the coin-cell battery
Detailed steps for replacing the coin-cell battery.
Replacing the system board
Detailed steps for replacing the system board.
Replacing the LCD panel
Detailed steps for replacing the LCD panel.
Notices & Trademarks
Notices
Legal notices and disclaimers regarding Lenovo products and services.
Trademarks
List of trademarks and registered trademarks of Lenovo and other companies.
Need help?
Do you have a question about the THINKCENTRE M810z 10Q0 and is the answer not in the manual?
Questions and answers