Sign In
Upload
Download
Table of Contents
Contents
Add to my manuals
Delete from my manuals
Share
URL of this page:
HTML Link:
Bookmark this page
Add
Manual will be automatically added to "My Manuals"
Print this page
×
Bookmark added
×
Added to my manuals
Manuals
Brands
Garaga Manuals
Garage Door Opener
CarGO 700
Owner's manual
Garaga CarGO 700 Owner's Manual
Hide thumbs
1
Table Of Contents
2
3
4
5
6
7
8
9
10
11
12
13
14
15
16
17
18
19
20
21
22
23
24
25
26
27
28
29
30
31
32
33
34
35
36
page
of
36
Go
/
36
Contents
Table of Contents
Troubleshooting
Bookmarks
Table of Contents
Table of Contents
1 Introduction
2 Advanced Features
3 Important Safety Information
4 Tools
5 Garage
Sectional Door
6 Operator Package Contents
7 Important Installation Instructions
8 Installation Steps
Measure and Mark Door Area
Install Header Bracket
Install Door Bracket to Door
Attach Rail to Operator Head
Attach Rail to Header Bracket
Position Operator for Mounting
Mount Operator to Ceiling
Connect Arm to Door and Trolley
Check Emergency Release
Install Photo Eye Safety System
Install Wall Control Panel
Connecting Wires to Operator
Install Light Bulbs and Lenses
Connect to Power
Control Panel
Initial System Set up
Advanced Setting
Test Safety Reversal
Align and Test Photo Eye Sensors
Apply Labels to Inside of Garage
Attach Owner's Manual to Wall
9 Important Safety Instructions
10 Transmitters
11 Operation of Your Operator
12 Homelink Transceiver
13 Modular Antenna
14 Tension Adjustment
15 Rail Length Adjustment - for Professional Installers Only
16 Rail Assembly Parts
17 Operator Assembly Parts
18 Accessories
19 Having a Problem
20 Troubleshooting - for Professional Installers Only
21 Maintenance and Adjustments
22 Limited Parts Warranty
23 Warranty Limitations, Claims and Service
24 Registration
Advertisement
Quick Links
1
Initial System Set up
2
Control Panel
3
Transmitters
4
Homelink Transceiver
5
Having a Problem
6
Troubleshooting - for Professional Installers Only
Download this manual
Table of
Contents
Previous
Page
Next
Page
1
2
3
4
5
Advertisement
Table of Contents
Need help?
Do you have a question about the CarGO 700 and is the answer not in the manual?
Ask a question
Questions and answers
Related Manuals for Garaga CarGO 700
Garage Door Opener Garaga CarGO 500 Owner's Manual
(36 pages)
Garage Door Opener Garaga SECURITY+ 3265GCM 1HP Owner's Manual
(72 pages)
Garage Door Opener Garaga Acadia 138 Maintenance And Warranty Manual
(2 pages)
Summarization of Contents
Introduction to Garaga Operator
Advanced Features of Garaga Operator
Advanced Digital Operating System EOS
EOS digital system offers user-friendly setup with basic and advanced programming levels.
Precision Controlled DC Motor
DC motor with automatic soft start and soft stop for smooth door operation.
Built-In Safety Features
Patented drive system delivers optimum power for safe door movement.
Modular Antenna Concept
Plug-in module for choice of frequency module.
Photo Eye Infrared Safety System
Infrared beam system detects obstructions and reverses closing door.
Convenient Status Display
Indicates door operator status, useful for troubleshooting.
Quiet Smooth Operation
Precision engineering results in extremely smooth and quiet operation.
Important Safety Information
Tools Required for Installation
Garage Door Survey and Preparation
Garage Door Balance and Condition Check
Checks door balance, alignment, and condition before installation.
Reinforcement for Door Panels
Reinforce steel, aluminum, fiberglass, or glass panel doors with bracing.
Garaga Door Operator System Dimensions
Operator Package Contents
Power Head Components
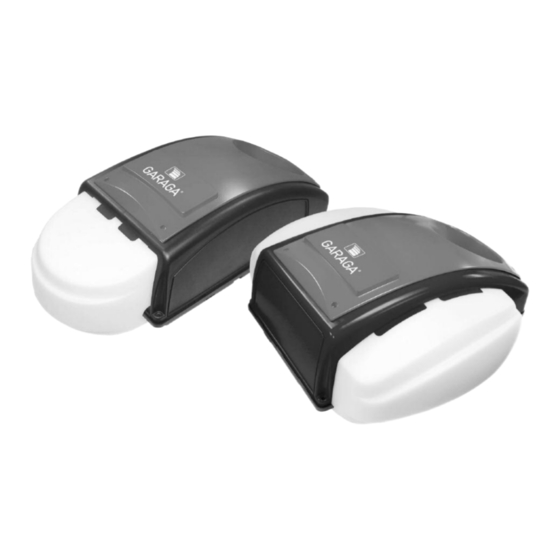
Shows the CarGO 700e (Two Light) and CarGO 500e (One Light) power heads.
Included Accessories
Details components like transmitters, wall control, photo eye system.
Hardware Kit Contents
Lists various screws, bolts, pins, and other hardware for installation.
Rail Assembly Parts
Shows rail assembly parts for different door sizes (belt and chain).
Important Installation Instructions
Installation Steps Overview
8-1. Measure and Mark Door Area
Steps to measure door width, travel height, and mark header for bracket location.
8-2. Install Header Bracket
Instructions for securely fastening the header bracket to the header wall or ceiling.
8-3. Install Door Bracket to Door
8.4 Attach Rail to Operator Head
8-5. Attach Rail to Header Bracket
8-6. Position Operator for Mounting
8-7. Mount Operator to Ceiling
8-8. Connect Arm to Door and Trolley
8-9. Check Emergency Release
8-10. Install Photo Eye Safety System
8-11. Install Wall Control Panel
8-12. Connecting Wires to Operator
8-13. Install Light Bulbs and Lenses
8-14. Connect to Power
8-15. Control Panel Overview
8-16. Initial System Set Up
8-17. Advanced Settings
General Overview of Programmable Functions
Table summarizing functions across different levels and menus.
Level 1: Functions Overview
Details functions available in Level 1, noting disabled menus.
Level 2: Functions Overview
Details opener settings for sensitivity and automatic cut-out.
Level 4 - Transmitter Code Programming
Instructions for programming transmitter codes and intermediate positions.
Level 5: Functions Overview
Overview of special functions, including lighting duration.
8-18. Test Safety Reversal
8-19. Align and Test Photo Eye Sensors
8-20. Apply Labels to Inside of Garage
8-21. Attach Owner's Manual to Wall
9. Important Safety Instructions
10. Transmitters
Transmitters (Fig. 35)
Description of available Mini and Micro transmitters.
Transmitter Mounting
Instructions for mounting transmitters using visor clip or mounting plate.
Multiple Transmitters (Fig. 38)
Procedure for transferring active codes between transmitters.
Changing the Code (Fig. 39)
Steps to change the factory preset transmitter code.
Battery Replacement (Fig. 40)
Guide for replacing batteries in the transmitter.
11. Operation of Your Operator
Remote Control Transmitter Operation
Using the remote to open, close, or stop the garage door.
Wall Control Panel Operation
Operating the door using the wall control panel pushbutton.
Operator Lights
Information on operator light operation, adjustment, and indicator.
12. HomeLinkĀ® Transceiver
13. Modular Antenna
14. Tension Adjustment
15. Rail Length Adjustment
16. Rail Assembly Parts
17. Operator Assembly Parts
18. Accessories
19. Having a Problem?
20. Troubleshooting - For Professional Installer Only
21. Maintenance and Adjustments
22. Limited Parts Warranty
23. Warranty Limitations, Claims and Service
24. Registration
Table of Contents
Save PDF
Print
Rename the bookmark
Delete bookmark?
Delete from my manuals?
Login
Sign In
OR
Sign in with Facebook
Sign in with Google
Upload manual
Upload from disk
Upload from URL
Need help?
Do you have a question about the CarGO 700 and is the answer not in the manual?
Questions and answers