Advertisement
Table of Contents
- 1 Important Safety Instructions
- 2 Grounding Instructions
- 3 Read All Instructions before Using
- 4 Contents Contained and Packaged with Your Power Unit
- 5 Installation
- 6 Location for the Power Unit
- 7 Mounting
- 8 Remove the Waste and Clean the Filter
- 9 Cleaning the Filter
- 10 Cleaning the Washable Cartridge Filter
- 11 Re-Installing Self-Cleaning Cloth Filter
- 12 Miscellaneous
- 13 Trouble Shooting Guide
- 14 Customer Copy
- Download this manual
Advertisement
Table of Contents

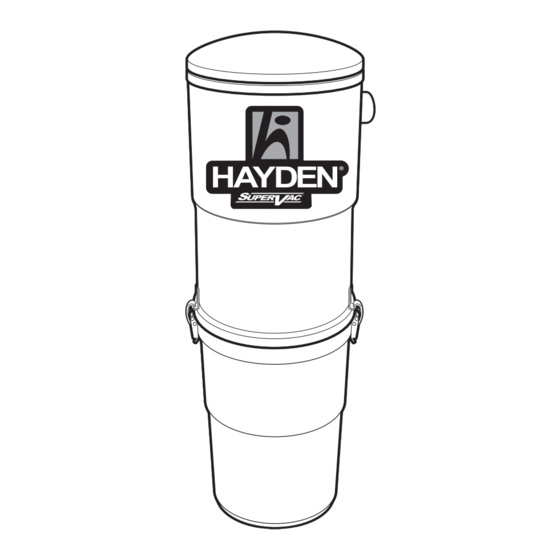
Summary of Contents for Hayden SuperVac 7000
- Page 1 O W N E R ’ S M A N U A L w w w. ca n p l a s.co m...
-
Page 2: Read All Instructions Before Using
Important Safety Instructions Read All Instructions Before Using WARNING 11. Keep hair, loose clothing, fingers and all parts of body away from openings and moving parts. To avoid electrical shock, never use hose and tools on a 12. Do not pick up anything that is burning or smoking wet surface. - Page 3 Contents Contained And Packaged With Your Power Unit: SuperVac 9000 / 7000 Models SuperVac Classic / 5000 Models Assembly Assembly Exhaust Exhaust Port Port Self contained heavy – duty bypass motor Self contained and Motor heavy – duty module bypass motor...
- Page 4 Installation bracket is straight. Drill a second pilot Location For hole using a lower hole on the bracket Mounting The Power Unit and fasten tightly with the other wood Bracket screw. The SuperVac power unit is usually Fig. 2-1 4. Mount the Power Unit on the bracket located in the garage or utility room where motor noise will cause minimum making sure the bar on the back of the...
-
Page 5: Cleaning The Filter
Empty contents of the dirt canister into a garbage container. Re-install the dirt canister and ensure proper seal. 3. Cleaning The Filter: The filter systems of Hayden central vacuum power units are different. Part # Model Filter System Internal... - Page 6 3.2. Changing Bags and Cleaning the Self-Cleaning Filter: Models: SuperVac Classic / 5000 Removing and Assembling Dust Bag When assembling dust bag, hold the bag locking ring and slide over the locking tabs on the intake port as shown. Ensure the bag is secured behind tabs.
- Page 7 Re-Installing Self-Cleaning Cloth Filter: Create “V” or “U” Shape. Fig 4-5 Fig 4-3 Recessed Pull Tab Fig 4-4 filter groove WARNING To re-install, decrease IMPORTANT: Make the circumference of sure that the cloth the filter by gently filter fits properly into Place the filter back into the groove as shown grasping one side the groove, so it will...
- Page 8 Trouble Shooting Guide Read Before Calling For Service Problem Possible Solutions Power unit fails to operate 1. Check if power cord is plugged firmly into the electrical wall outlet. 2. Test the electrical outlet with another working appliance. 3. Depress reset button on the power unit. 4.
-
Page 9: Customer Copy
Registration Card Warranty Registration Card Customer Copy Go to www.canplas.com and register on-line Please complete and keep with manual for future reference Please complete and mail to validate warranty. Address on the reverse side. Select Product Select Product SuperVac™ 9000 SuperVac™... - Page 10 NOTES: Mail Warranty to: Canplas Industries Ltd. 500 Veterans Drive, Box 1800 Barrie, Ontario, L4M 4V3 Canada - 10 -...
- Page 11 If there is no Authorized Hayden Service Centre in the area where the owner is living, or the owner believes that the Centre is too far away and does not want to bring the product to the Centre for service, the owner should send the product at the owner’s expense to...
- Page 12 Canplas Industries Ltd. 500 Veterans Drive, Box 1800 Barrie, Ontario, L4M 4V3 Canada Toll Free: 1-800-501-5018 www.canplas.com GD-01645-EN-07-14...


Need help?
Do you have a question about the SuperVac 7000 and is the answer not in the manual?
Questions and answers