Table of Contents
Advertisement
Quick Links
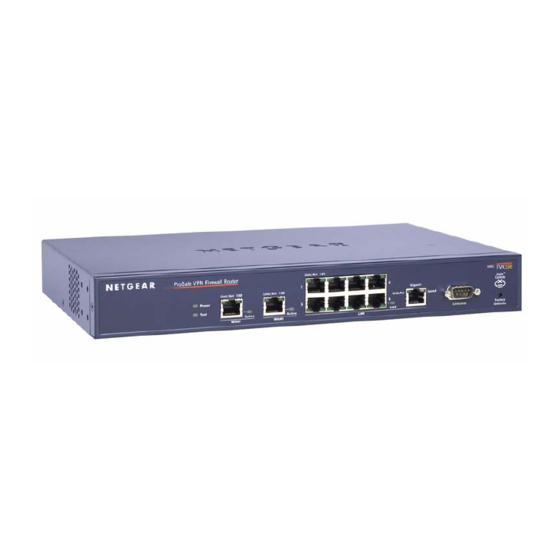
FVX538 ProSafe VPN Firewall 200
Start Here
Follow these instructions to set up your firewall.
You can also consult the Reference
Manual and tutorials on the Resource CD or the NETGEAR knowledge base at
http://kbserver.netgear.com.
Prepare to Install Your FVX538 VPN Firewall
This guide provides instructions for setting up a simple dual WAN port rollsover
configuration. Refer to the full manual for other WAN port configuration options.
First, Connect the FVX538
1. C
FVX538,
ONNECT THE CABLES BETWEEN THE
COMPUTER
a.
Turn off and unplug the broadband modems.
5
4
1
2
3
b.
Insert the Ethernet cable from a modem into the WAN1 port (1) of the FVX538.
c.
Insert the Ethernet cable from the other modem into the WAN2 port (2) of the
FVX538.
d.
Insert the Ethernet cable that came with your firewall into a LAN port on the
router (3) and the other end into the Ethernet port of your computer.
Your network cables are connected and you are ready to restart your network.
2. R
ESTART YOUR NETWORK IN THE CORRECT SEQUENCE
Warning: Failure to restart your network in the correct sequence could prevent you
from connecting to the Internet.
a.
First, power on the broadband modems. Wait two minutes.
b.
Now, power on the FVX538. Wait one minute.
c.
Last, turn on your computer.
d.
Check the FVX538 status lights to verify the following:
•
Power: The power light (5) should turn solid green. If it does not turn solid
green, see the Troubleshooting Tips in this guide.
•
Test: When the router is first turned on, the test light (4) is yellow then goes
off. After two minutes if it is still on, see the Troubleshooting Tips below.
•
WAN: The WAN1 and WAN2 Link/Act lights (1 and 2) should be lit. If not,
make sure the Ethernet cable is securely attached to both the modem and the
firewall WAN port, and that the modem is powered on.
•
LOCAL: A LOCAL light (3) should be lit. Green indicates your computer is
communicating at 100 Mbps; amber indicates 10 Mbps. If a LAN light is not
lit, check that the Ethernet cable from the computer to the router is securely
,
THE MODEMS
AND A
attached at both ends, and that the computer is turned on.
Next, Configure the FVX538 for Internet Access
Before you begin, be sure you have the configuration parameters from your ISP handy.
1. L
OG IN TO THE
a.
Use a browser to connect to http://192.168.1.1
Note: To connect to the firewall, your computer needs to be configured to obtain
an IP address automatically via DHCP. If you need instructions on how to do this,
please refer to manual on the Resource CD that came with your firewall.
R
OUTER
b.
For security
reasons, the
firewall has its own
user name and
password.
When prompted,
enter admin for the
firewall User Name
and password for
the firewall Pass-
word.
c.
You are now connected to the firewall.
The lower left area of the firewall main menu has links to the NETGEAR
FVX538 product documentation and support knowledge base. Be aware that the
default login time-out is 5 minutes of inactivity, after which automatic logout will
occur.
2. C
I
ONNECT TO THE
NTERNET
a.
Click the WAN1 link in the main left menu, then click the Setup Wizard button in
the WAN1 screen. Follow the prompts to complete the Internet configuration for
WAN port 1. When finished, test that the Internet connection is active by using
your browser to go to a web site.
b.
Click the WAN2 link in the main left menu, and use the Setup Wizard to
complete the Internet configuration for WAN port 2.
Advertisement
Table of Contents

Related Manuals for NETGEAR FVX538NA


Summary of Contents for NETGEAR FVX538NA
- Page 1 Turn off and unplug the broadband modems. Before you begin, be sure you have the configuration parameters from your ISP handy. The lower left area of the firewall main menu has links to the NETGEAR 1. L OG IN TO THE OUTER FVX538 product documentation and support knowledge base.
-
Page 2: Technical Support
©2005 by NETGEAR, Inc. All rights reserved. NETGEAR is a registered trademark of NETGEAR, Inc. in the United States and/or other countries. Other brand and product names are trademarks or registered trademarks of their respective holders. Information August 2005...
Need help?
Do you have a question about the FVX538NA and is the answer not in the manual?
Questions and answers