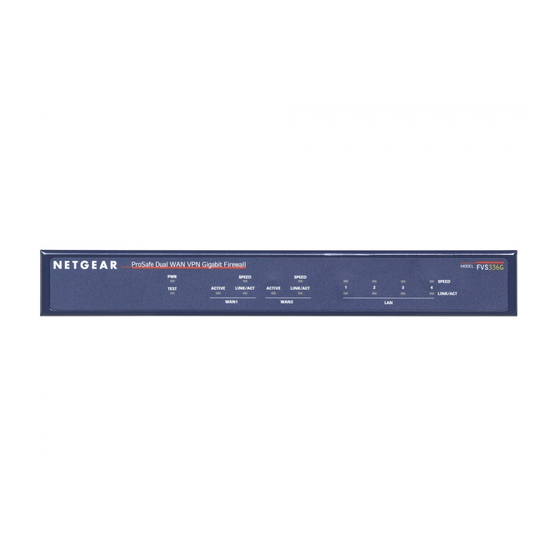
NETGEAR FVS336Gv1 - ProSafe Dual WAN Gigabit Firewall Setup Manual
How to setup an ssl vpn portal and port forwarding using the fv336g
Hide thumbs
Also See for FVS336Gv1 - ProSafe Dual WAN Gigabit Firewall:
- Reference manual (248 pages) ,
- Configuration (10 pages) ,
- Use manual (9 pages)
Advertisement
Table of Contents
- 1 Table of Contents
- 2 Create a New SSL Portal
- 3 Create a New Domain and Associate It to the New SSL Portal Layout
- 4 Create New Group(S), Associate It with an Existing Domain
- 5 Configure the SSL VPN Client Settings
- 6 Connecting and Testing the SSL VPN
- 7 Connecting and Testing Port Forwarding
- Download this manual
How to create an SSL VPN portal on the FVS336G and have full VPN or VPN
Port Forwarding access to resources on the Local Network
This document describes the steps to undertake in configuring the FVS336G SSL VPN option.
The FVS336G's SSL VPN portal can provide two levels of SSL service to the remote user:
• VPN Tunnel
The FVS336G can provide the full network connectivity of a VPN tunnel using the remote
user's browser in the place of a traditional IPsec VPN client.
• Port Forwarding
Port Forwarding is a web-based client that installs transparently and then
create a virtual, encrypted tunnel to the remote network. No routing is involved and a Custom port
needs to be setup up for each Application that needs to be accessed (similar to an Inbound
firewall rule.
172.22.109.3
RDP Enabled
LAN IP: 172.22.109.1
Internet connection through modem/router
SSL VPN Clients
192.168.120.x/24
Version 1.0
Advertisement
Table of Contents

Summary of Contents for NETGEAR FVS336Gv1 - ProSafe Dual WAN Gigabit Firewall
- Page 1 How to create an SSL VPN portal on the FVS336G and have full VPN or VPN Port Forwarding access to resources on the Local Network This document describes the steps to undertake in configuring the FVS336G SSL VPN option. The FVS336G’s SSL VPN portal can provide two levels of SSL service to the remote user: •...
-
Page 2: Table Of Contents
Table of Contents Create a new SSL Portal ....................3 Create a new Domain and associate it to the new SSL Portal Layout ....3 Create new Group(s), associate it with an existing Domain ........4 Configure the SSL VPN client settings ................. 5 Connecting and testing the SSL VPN ................ -
Page 3: Create A New Ssl Portal
Create a new SSL Portal Go to VPN, SSL VPN, Portal Layout Click on Add NOTE: By default the SSL-VPN portal exists on the configuration and cannot be deleted Set all the relevant details including whether the Portal will display only the VPN Tunnel page and/or Port Forwarding (this will become clearer later) Click on Apply... -
Page 4: Create New Group(S), Associate It With An Existing Domain
Set a name for the Domain, choose the Authentication type and select the relevant portal name (in our scenario VPNTest) Click on Apply A new entry will appear in the list of Domains Create new Group(s), associate it with an existing Domain Go to Users, Groups Set the Group name in the Add New Group section, and the Domain the group... -
Page 5: Configure The Ssl Vpn Client Settings
Create each user selecting SSL VPN User as the User Type and VPNTestGroup as the Group Click on Apply Repeat the process for each new user The list of new Users is displayed NOTE: By default the only Groups appearing in the Select Group list are the Domains. - Page 6 Replace the LAN address in the Portal Layout address with the WAN address Use the browser to connect from a PC on the Internet to https://83.71.251.27/portal/VPNTest Login with one of the Usernames created and that would be associated to the VPNTest domain (whether part of a group or not) In the VPN Tunnel section click on the...
-
Page 7: Connecting And Testing Port Forwarding
When the tunnels is fully established the following icon will be appearing in the systray Any resource available and attached to the same LAN as the FVS336G should now be accessible In our example a PC on IP address 172.22.109.3 on the LAN of the FVS336 has been enabled for Remote Desktop The Remote PC responds correctly over the VPN prompting the customer for... - Page 8 Connect to the VPN portal and select the Port Forwarding Tab Click on the Connect using Port Forwarding Icon Once port forwarding is established the window on the right will briefly appear and then disappear (this can be retrieved by clicking on the Icon in the systray Also the icon in the systray...
- Page 9 Double-clicking on the Port Forwarding Icon in the systray , the open connection will also be visible in the Pending Connections section Version 1.0...


Need help?
Do you have a question about the FVS336Gv1 - ProSafe Dual WAN Gigabit Firewall and is the answer not in the manual?
Questions and answers