Advertisement
Quick Links
Advertisement

Related Manuals for DigiTech RPX USB


Summary of Contents for DigiTech RPX USB
- Page 1 RPx400 USB Drivers and Software Installation Guide...
-
Page 2: Windows Xp Users
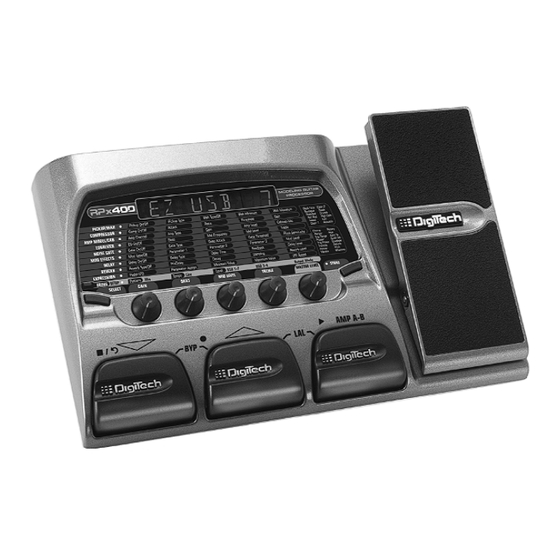
Congratulations on your purchase of a DigiTech RPx400. This installation guide contains the information to install the required USB drivers, X-Edit editor/librarian and Pro Tracks recording software for use with the RPx400. Please follow these instructions carefully to ensure smooth installation of each of these components. - Page 3 automatically appear (if installation does not start automatically, go to Start>Run, click on Browse, type d:\instmenu.exe (where d:\ is your CD-ROM drive), and click OK. 7. Now select USB Audio MIDI Drivers from the menu. You will see the following window appear: 8.
- Page 4 11. Click Continue Anyway and you will see: 12. Click Continue Anyway and you will see:...
-
Page 5: Windows 2000 Users
NOTE: DO NOT connect the RPx400 to your Windows 2000 computer until AFTER the DigiTech USB drivers are installed or it may cause instability in Windows. 1. Make sure you DO NOT have the RPx400 USB plugged into your computer. - Page 6 5..Click Yes and you will see the same window appear one more time. Click Yes and you will see: 6. Click Finish. 7. Connect the RPx400 to the computer with the included USB cable. The following window will appear: 8. Click Yes and you will see:...
- Page 7 9. Click Finish and you will see: 10. You DO NOT need to restart your computer yet. Click No and you will see: 11. Click Yes and you will see:...
- Page 8 12. Click Finish and you will see: 13. You DO NOT need to restart your computer yet. Click No and you will see: 14. Click Yes and you will see:...
- Page 9 C. Setup Windows Audio and MIDI When we installed the DigiTech USB Audio and MIDI drivers,Windows may have automatically selected them as your default audio and MIDI outputs. This means that your Windows sounds will be sent to the RPx400. We need to check if these have been changed and return the settings to what they were before.
- Page 10 If it does not, start over at Step 2. 4. When the Welcome to the Installation Wizard for DigiTech X-Edit 1.0 window appears, click Next. 5. Fill in the customer information. Select Anyone who uses this computer to allow all users to use X-Edit.
- Page 11 Input and Output port settings still have RPx400 USB MIDI selected. If they do not, do this now. 4. Click the OK button. DigiTech RPx should now be displayed as the Connected Surface in the Control Surfaces Window. 5. Click the Close button.
- Page 12 5. Click the OK button when the window stating changes will be saved upon re-start appears. 6. Close Pro Tracks. When you are prompted to save changes, click No. 7. Re-start Pro Tracks. 8. Close the Tip of the Day and Quick Start windows if they appear. 9.
Need help?
Do you have a question about the RPX USB and is the answer not in the manual?
Questions and answers