Advertisement
APPLICATIONS
The OX Pro Series Laser Level is innovatively designed for a very broad range of professional and DIY jobs, including:
- Aligning tiles, cabinets, borders, moldings and trimmings
- Doors and windows installation
- All types of DIY jobs, including hanging shelves, pictures and more
 NOTE: Keep this user manual for future reference.
FEATURES
- This laser tool is automatically determines the horizontal and the vertical plans
- The laser projects intersecting horizontal and vertical lines
- Self-level in automatic mode when the laser is positioned within its self-leveling range
- Visual and audible "out of leveling range" warning
- Pulse mode emits pulses that can be detected by a detector
- The max. Detectable range of the laser in pulse mode is 60m (200')
- Manual mode allows angular layout/marking
- IP65 Rated for water and dust protection
- Locking mechanism to protect the pendulum during transportation.
- ¼" tripod adaptor
- Shock resistant rubber casing
- Compact size – fits in your toolbox
NOTE: This device contain precision components that are sensitive to external shock, impact or drop that may compromise its functionality – handle with care to maintain its accuracy.
BATTERY INSTALLATION & SAFETY

- Press on the latch and open the battery cover.
- Insert 3 new AA batteries of the same brand, according to the polarity diagram on the inside of the lid of the battery compartment.
- Reclose the battery cover.
NOTE: If the laser level will not be used for a long period, remove the batteries from the battery compartment. This will prevent batteries from leaking and corrosion damage.

Batteries can deteriorate, leak or explode, and can cause injury or fire.
- Do not shorten the battery terminals.
- Do not charge Alkaline batteries.
- Do not mix old and new batteries.
- Do not dispose of batteries into household waste.
- Do not dispose batteries in fire.
- Defective or dead batteries must be disposed according to local Regulations.
- Keep the batteries out of reach from children.
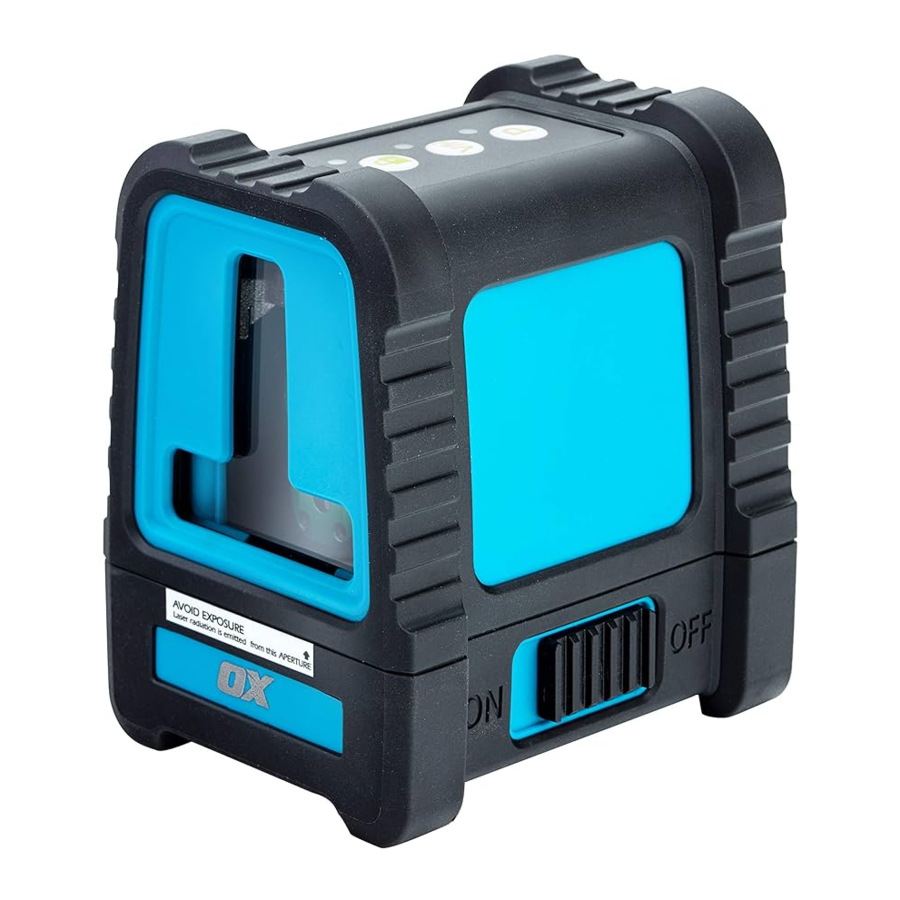
OVERVIEW

- On/Off Locking Switch
- Laser output window
- Keypad
- Manual Mode button
- Beam Selector button
- Pulse Mode button
- Manual Mode LED
- Laser beam LED
- Pulse mode LED
- Battery cover
- ¼" tripod mount
OPERATING INSTRUCTIONS
Working in Automatic mode (self-leveling)

In automatic mode the laser level will level itself at a ±3° range and will project horizontal or vertical beams or both beams simultaneously.
- Remove the laser from the case and place it on a solid flat, vibration free surface or on a tripod.
- Slide the locking switch #1 to the ON position – the laser level will generate the crossed horizontal and vertical beams and the green LED near the V/H button will light up.
- Choose the beams that you want to work with by pushing the Beam button V/H
- If the initial slope of the laser is beyond ±3° and the automatic mode is activated the laser lines will flash and a beeping alarm will be heard. In this case reposition the laser on a more leveled surface.
- Before moving the laser level slide the locking switch #1 to the OFF position, this will lock the pendulum and protect your laser.
Working in Manual mode

In Manual mode the 870's self-leveling mechanism is disabled and the laser lines can be set at any angle required.
- Press the Manual mode button
![]() . The laser will project the cross lines and the red LED near the button
. The laser will project the cross lines and the red LED near the button ![]() will light up. The green LED of the laser beams near V/H button will light up as well.
will light up. The green LED of the laser beams near V/H button will light up as well. - Choose the beams that you want to work with by pushing the Beam Selector button V/H
- To mark a slope, tilt the laser to adjust the right angle and the height.
- To turn the manual mode off, press again the Manual mode button
![]() .
. - While in Manual mode, turning the locking switch #1 from OFF to ON will turn off the Manual mode and the red LED near the
![]() button. The automatic self-leveling will be activated if the laser level is within the ±3° self–leveling range.
button. The automatic self-leveling will be activated if the laser level is within the ±3° self–leveling range.
 . The laser will project the cross lines and the red LED near the button
 Working in Pulse mode with a detector
For outdoor work under direct sunlight, or bright conditions and for extended indoor ranges up to 60 meters, use the pulse mode with a Detector.
When the pulse mode is activated the laser lines will flash at very high frequency (Invisible to the human eye) this will allow the detector to detect the laser lines.
- The pulse mode can be activated in Automatic and Manual modes.
- To switch on the Pulse Mode press the P button, the green LED near the P push button will light up.
MAINTENANCE
To maintain the accuracy of your project, check the accuracy of your laser level according to the field calibration tests procedures.
- Change the batteries when the laser beams begin to dim
- Wipe the aperture lens and the body of the laser level with a clean soft cloth. Do not use solvents
- Although the laser level is dust and dirt resistant to a certain degree do not store in dusty places as a long term exposure may damage internal moving parts
- If the laser level is exposed to water, dry the laser level before returning it to the carrying case to prevent corrosion damages
- Remove the batteries if the laser level is unused for a long period of time to prevent corrosion damages
FIELD CALIBRATION TEST
This laser level left the factory fully calibrated. OX recommend that the user will check the accuracy of the laser periodically, or if the unit falls or is mishandled.
To do so first check the height accuracy of the horizontal line, then check the leveling accuracy of the horizontal line, and finally check the leveling accuracy of the vertical line.
Checking the Height Accuracy of the Horizontal Line
(Up and down deviation)
- Set up the laser on a tripod or on a solid surface between two walls A and B, approximately 5 meters apart.
- Position the laser level approximately 0.5 meter from wall A
- Unlock the pendulum and press the button to project the horizontal and the vertical cross lines towards wall A.
- Mark on the wall the center of the cross lines as a1 (see figure #1).

- Turn the laser 180° towards wall B, and mark on the wall the center of the cross lines as b1 (see figure #2).

- Move the laser level towards wall B and position it approximately 0.5 meter from wall B.
- Mark on wall B the center of the cross lines as b2 (see figure #3).

- Turn the laser 180° towards wall A, and mark on the wall the center of the cross lines as a2 (see figure #4).


- Measure the distances:
Δa = |a2-a1|
Δb = |b1-b2| - The difference |Δa – Δb| should not be more than 2 mm, otherwise to send the laser level to a qualified technician for repairs.
Checking the Level Accuracy of Horizontal Line
(Side to side inclination)
- Set up the laser on a tripod or on a solid surface at a distance of approximately 1.5 meters from a wall 5 meter long.
- Unlock the pendulum and press the button to project the horizontal and the vertical cross lines towards the wall.
- Mark point a1 on the wall, in the middle of the horizontal line at the left edge of the horizontal line (see figure #5).

- Turn the laser level counterclockwise until the right edge of the horizontal line reach's near a1, mark a point a2 on the wall in the middle of the horizontal line (see figure #6).

- The distance between a1 and a2, should not be more than 1 mm otherwise to send the laser level to a qualified technician for repairs.


Checking the Accuracy of the Vertical line
- Hang approximately 4 meter plumb line on a wall.
- After the plumb line has settled, Mark point a1 on the wall behind the plumb line near the plumb cone (see figure #7).

- Set up the laser on a tripod or on a solid surface in front of the wall at a distance of approximately 2 meters.
- Unlock the pendulum, and press the button to project the vertical line toward the plumb line.
- Turn the laser so that the vertical line will merge with the plumb line below the hanging point.
- Mark point a2 on the wall, in the middle of the vertical line at the same height of a1 (see figure #8).

- The distance between a1 and a2, should not be more than 1mm, otherwise to send the laser level to a qualified technician for repairs.


SPECIFICATIONS
| Laser beams output pattern | Vertical and horizontal cross lines Horizontal line Vertical line |
| Laser range | Indoor – 30m (100ft) Outdoor with detector 60m (200ft) |
| Accuracy | ±0.2m/m (±0.0002in/in) |
| Fan angle | 120° ±5° |
| Self-leveling range | ±3° |
| Laser line width | 2mm±0.5mm/5m (0.10" ±0.02" at 20') |
| Wavelength | 525 ±5nm – Laser Class II |
| Power supply | 3 AA batteries (included) |
| Battery life | 6 hours of continuous operation |
| Operating temp | –10°C + 45°C (14°F +113°F) |
| Storage temp | –20°C +70°C (–4°F +158°F) |
| Water & dust proof | IP65 |
| Dimensions | 10cm x 9cm x7cm 3.9" x 3.5" x 2.8") |
SAFETY INSTRUCTIONS
![]()
This product is emitting radiation that is classified as class II according to EN 60825-1
The laser radiation can cause serious eye injury
- Do not stare into the laser beam
- Do not position the laser beam so that it unintentionally blinds you or others.
- Do not operate the laser level near children or let children operate the laser level.
- Do not look into a laser beam using magnifying optical devices such as binoculars or a telescope, as this will increase the level of eye injury.
This product contains lead in solder and certain Electrical parts contain chemicals which are known to the State of California to cause cancer, birth defects or other Reproductive harm. (California Health & Safety Code Section 25249.6 – Proposition 65)
NOTE: The green goggles are intended to enhance the visibility of the laser beam. They will not protect your eyes against laser radiation.
- Do not remove or deface warning labels on the laser level
- Do not disassemble the laser level, laser radiation can cause serious eye injury
- Do not drop the laser
- Do not use solvents to clean the laser
- Do not use in temperatures below –10°C or above 45°C (14°F / 113°F)
- Do not operate the laser in explosive atmospheres such as flammable liquids, gases or dust. Sparks from the tool can cause ignition
- When not in use, turn off the power, engage the pendulum lock and place the laser in the carrying pouch
- Make sure the pendulum lock mechanism is engaged before transporting the laser
NOTE: If the pendulum lock mechanism is not engaged before transportation, internal mechanical damage can occur.
Documents / Resources
References
Download manual
Here you can download full pdf version of manual, it may contain additional safety instructions, warranty information, FCC rules, etc.
Advertisement

Need help?
Do you have a question about the PRO Series and is the answer not in the manual?
Questions and answers