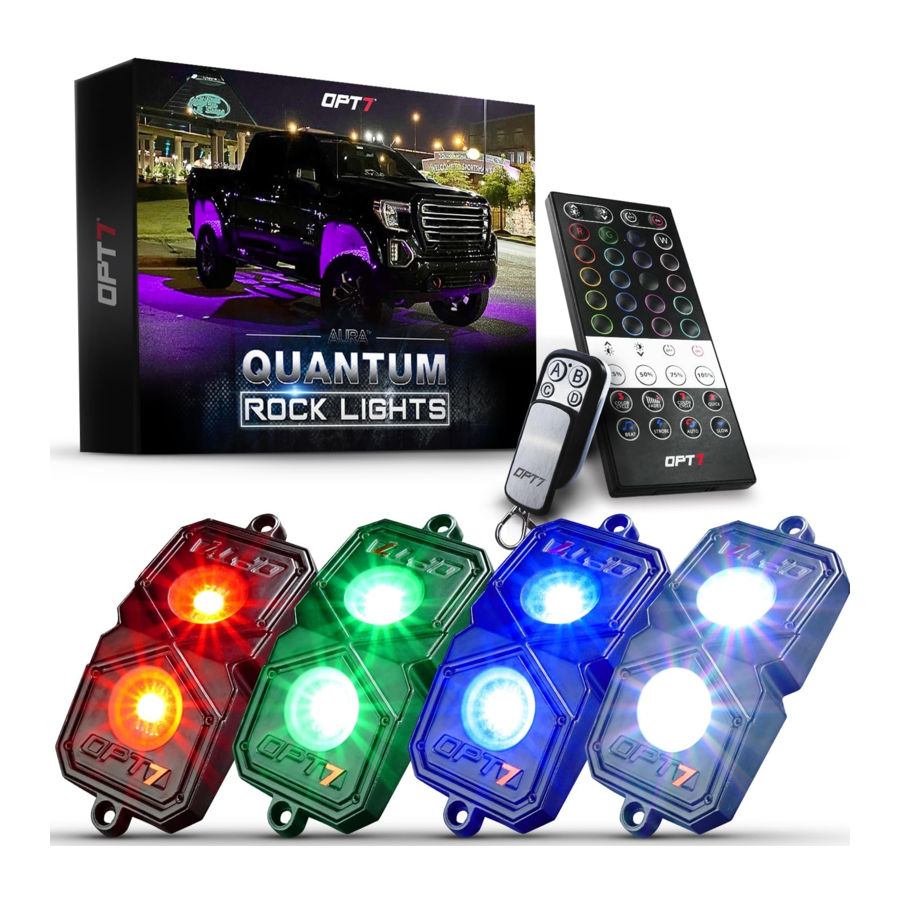
OPT7 QUANTUM ROCK LIGHTS Installation Guide
- Installation manual (4 pages) ,
- Install manual (2 pages)
Advertisement
COMPONENTS

WHERE TO INSTALL
![]() RECOMMENDED LOCATIONS FOR ROCK LIGHT PODS
RECOMMENDED LOCATIONS FOR ROCK LIGHT PODS

INSTALLATION STEPS
TOOLS REQUIRED
- ‧ 5/32-inch Drill Bit
- ‧ 7/64-inch Drill Bit
- ‧ Phillips Head Screwdriver
- Designate your mounting locations for each Rock Light Pod and the control box. (Refer to for recommended mounting locations)Avoid hot surfaces and/or moving parts.
- Use a pen to mark the holes where you want to mount the Rock Light Pods. Then, drill a 5/32" hole(s) for the wire connector to pass through.
- Drill a 7/64" hole for each marked hole.
- Secure the Rock Light Pods using the included screws. (If mounting on a rounded or uneven surface, utilize the optional rubber mounting pads.)
![]()
Rock Light Pods become extremely hot during use - keep away from any vehicle parts that may be damaged by exposure to high temperatures. - Connect all Rock Light Pod wires to the control box connectors. Secure by twisting.
- Connect the Red line(+) of power hareness to the vehicle battery's positive terminal.
- Connect the Black line (-) of power hareness to the vehicle battery's negative terminal or an unpainted area on your vehicle's frame.
- Using a fuse tap, connect the 12V control wire from the control box to a power source that turns on ONLY when the key is turned to ACC/ON or a switched fuse position.

Some examples of these power sources are: radio, dome light or those that are marked as accessory in your owner's manual or on your fuse box cover diagram.
If you are uncomfortable performing work of this nature yourself, then do not hesitate to consult a professional for help. Working with a vehicle's electrical system can be hazardous to an unqualified individual. OPT7 is not liable for damages or personal injuries while installing this product. The installation guide is provided as assistance to reduce set up time.
 |
|
|
REMOTE CONTROL

- ON & OFF
- Only control "RGB" light
- Dimmer +/-
- Brightness Setting: 50 Levels
- Color Selector
- 20 different solid modes
- Independent Control Of White Light
ON & OFF
Dimmer +/-- Brightness Setting: 50 Levels
Default brightness - Brightness Setting: 4 Levels
- Brightness Setting: 50 Levels
- Style Mode
3 Color Cycle- Default 3 color variations (Random)
- Supports brightness and speed adjustment
3 Fade - Default 3 color variations (Random)
- Supports speed adjustment
7 Color Cycle - Default 7 color variations (Random)
- Supports brightness and speed adjustment
Beat/SoundSYNC - Default 20 color variations (Random)
- Supports brightness adjustment
Strobe - Default 20 color variations (Random)
- Supports brightness and speed adjustment
AUTO - Play all dynamic style modes
- Quick/Slow
- Speed Setting: 10 Levels
SPECIFICATIONS
Wattage: 8W Per Pod
Amp Draw: 8A
8 LEDs: Quad-Core CREE
Brightness: 1,600 Lumens Per Pod
Voltage: 12V
Resistance: IP68 Water-Resistant (Pod Only)
Operating Temperature: -20°-150°F

Follow us on Instagram
@opt7lighting

Subcribe to our YouTube channel.
Opt7Lighting
Documents / ResourcesDownload manual
Here you can download full pdf version of manual, it may contain additional safety instructions, warranty information, FCC rules, etc.
Advertisement


Need help?
Do you have a question about the QUANTUM ROCK LIGHTS and is the answer not in the manual?
Questions and answers