Advertisement
Before You Start
Before setting up your new Synology Router, please check the package contents to verify that you have received the items below. Also, make sure to read the safety instructions carefully to avoid harming yourself or damaging your Synology Router.
Notes:
All images below are for illustrative purposes only, and may differ from the actual product.
Package contents
Contact your reseller if your package is missing any of the below contents:

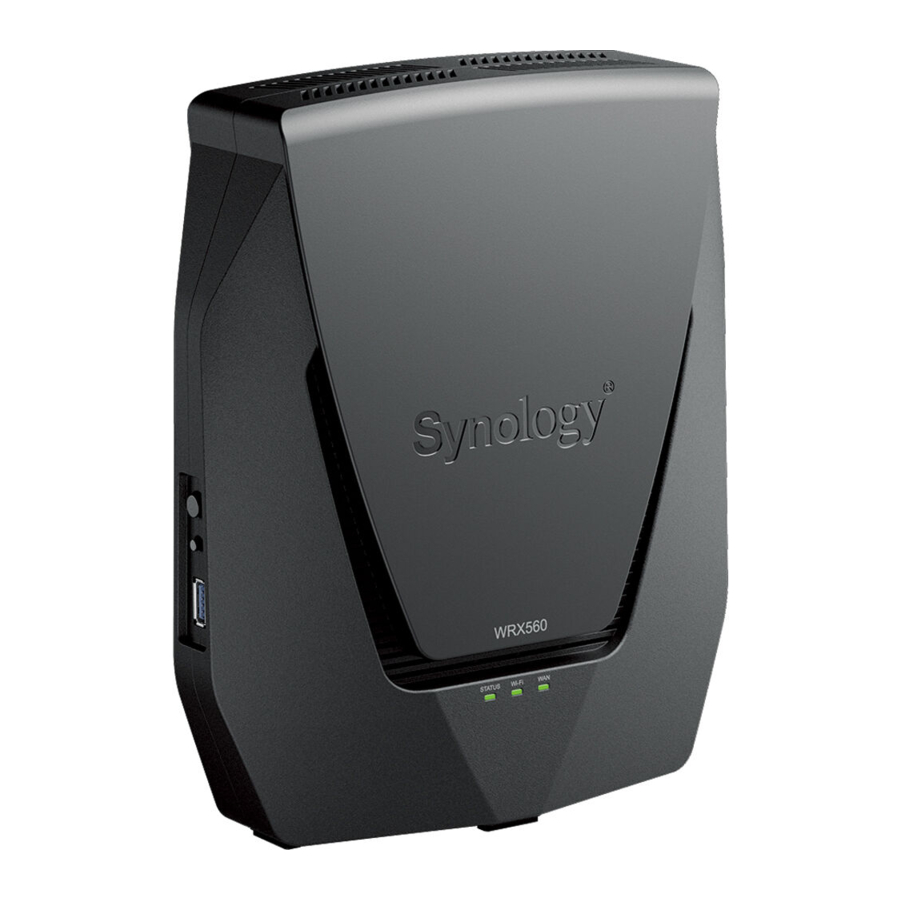
Synology Router at a glance

| No. | Name | Description |
| 1 | USB 3.2 Gen 1 Type-A Port | Connect an external drives or other USB devices here. |
| 2 | Wi-Fi Button | Press the button for 3 seconds to turn on/off the Wi-Fi network. |
| 3 | WPS Button | Press to start WPS. |
| 4 | STATUS Indicator | Displays the status of the system. For more information, see "LED Indicator Table". |
| 5 | Wi-Fi Indicator | Displays the status of Wi-Fi connection. For more information, see "LED Indicator Table". |
| 6 | WAN Indicator | Displays the status of WAN connection. For more information, see "LED Indicator Table". |
| 7 | Power Button | Press to power on/off the Synology Router. |
| 8 | Power Port | Connect the AC power adapter here. |
| 9 | WAN Port | Connect a network cable from the ISP modem into this port to establish WAN connection. |
| 10 | 2.5G WAN/LAN Port |
|
| 11 | LAN Port | Connect a network cable into this port to establish LAN connection. |
| 12 | RESET Button | Press and hold for 4 seconds Soft Reset) or for 10 seconds Hard Reset). |
LED Indicator table
| LED Indicator | Color | Status | Description |
| STATUS Indicator | Green | Static | Powered on |
| Blinking | System Ready | ||
| Orange | Static | Booting up/Rebooting/Hard Reset | |
| Blinking | Mesh network disconnected | ||
| Green/Orange | Blinking | Searching device | |
| Off | Powered off | ||
| Wi-Fi Indicator | Green | Static | Wi-Fi active |
| Blinking | WPS connecting | ||
| Off | No Wi-Fi | ||
| WAN Indicator | Green | Static | Network connected |
| Blinking | Data transmitting | ||
| Off | Network disconnected |
Hardware specification
| Item | WRX560 |
| External Port | USB 3.2 Gen 1 Type-A x 1 |
| WAN Port |
|
| LAN Ports |
|
| Size H x W x D (mm) | 233 x 194 x 66 |
| Weight (kg) | 1.35 |
| Wireless Standards |
|
| Operating Frequency Range |
|
| Wireless Operation Modes |
|
| Wireless Security |
|
| Antennas |
|
| Buttons & Switches |
|
| Environment Requirement |
|
Notes:
Model specifications are subject to change without notice. Refer to Synology website for the latest information.
Safety instructions
- Keep away from direct sunlight and chemicals. Ensure a stable environment with no abrupt changes in temperature or humidity.
![]()
- Place the unit right side up at all times.
![]()
- Keep the unit away from liquids.
![]()
- Before cleaning, unplug the power cord(s) and use a damp cloth to wipe the surface. Do not use chemical aerosol cleaners.
![]()
- To prevent the unit from falling over, do not place it on carts or any unstable surfaces.
![]()
- The power cord(s) must be plugged into the correct power supply voltage. Ensure that the AC voltage provided is correct and stable.
![]()
![]()
electric shock hazard. To remove all electrical current from the device, ensure that all power cords are disconnected from the power source.
![]()
- There is a risk of explosion if the battery is replaced with an incorrect type. Dispose of used batteries appropriately.
![]()
- Power cord(s) must be plugged into a socket-outlet with earthing connection.
![]()
- Keep your body parts away from a moving fan.
![]()


Hardware Setup
Position your Synology Router
For optimal performance, it is recommended to position your Synology Router as advised below:
- On a stable surface (e.g., an elevated shelf) away from any possible physical interferences.
- Close to the center of the area where the wired/wireless client devices are placed, and within a visible distance from the wireless devices.
- In a position where few walls and ceilings are between your Synology Router and its client devices.
- Away from any potential electrical signal sources, such as other Wi-Fi routers, 3G/4G bases, and microwave ovens.
- Away from large expanses of metal or other materials, such as metal doors, glass panels, and concrete.
Set up your Synology Router
Use the included network cable to connect your Synology Router (at the WAN1 port) to the ISP modem. Connect one end of the power adapter to the power port on your Synology Router, and the other end to the power outlet. Press the power button to power on your Synology Router. Wait for up to two minutes until the STATUS and WAN LED indicators turn green.

Use wireless devices to connect to your Synology Router
When the Wi-Fi indicator has turned static green, Synology Router is ready to connect with other devices. Use your wireless device to scan and join the Wi-Fi network created by your Synology Router.
- From mobile device:
- Scan the QR Code to download DS router.
- Use the default credentials to connect to the Wi-Fi network. Then follow the wizard to set up Synology Router Manager SRM.
![]()
![www.apple.com]()
![play.google.com]()
- From laptop:
- Use the default credentials to connect to the Wi-Fi network.
- Set up Synology Router Manager SRM by following the steps in "Set up Synology Router Manager".


Notes:
The default credentials for the Wi-Fi network:
- Wi-Fi SSID Synology_Serial)
Serial is the last 6 digits of your Synology Router's serial number. - Password: synology
You must change the password during the initial SRM setup.
Use wired devices to connect to your Synology Router
Use network cables to connect devices to the LAN ports. Then set up Synology Router Manager SRM by following the steps in "Set up Synology Router Manager".

Set up Synology Router Manager
- Open a web browser, and enter either URL into the address bar:
- Once connected, click Start to launch the SRM Setup Wizard.

- Read through and tick the checkbox to confirm that you agree to the Synology End User License Agreement. Click Next to continue.

- Read through the Privacy Statement. Click Skip or Agree to continue.

- Fill in the information to set up the administrator account. Click Next to continue.

- Fill in the information to set up a Wi-Fi network. Click Apply to continue.

- The wizard will continue to set up your Synology Router, and it may take up to three minutes to complete the setup.

- After the setup is complete, you can now sign in to SRM with the administrator account.


Notes:
- Above is a general demonstration of the SRM setup steps. The steps and available options may somewhat vary depending on your device type PC or wireless device), access type LAN, WAN, or Wireless LAN, and chosen operation mode Wireless Router or Wireless AP.
- You can download DS router on your mobile device to manage your Synology Router from anywhere.
Documents / Resources
References
![www.apple.com]() App Store - Apple
App Store - Apple![play.google.com]() Google Play
Google Play![router.synology.com]() Why can't I find my Synology Router via router.synology.com? - Synology Knowledge Center
Why can't I find my Synology Router via router.synology.com? - Synology Knowledge Center
Download manual
Here you can download full pdf version of manual, it may contain additional safety instructions, warranty information, FCC rules, etc.
Advertisement


Need help?
Do you have a question about the WRX560 and is the answer not in the manual?
Questions and answers