Advertisement
What's in the Box

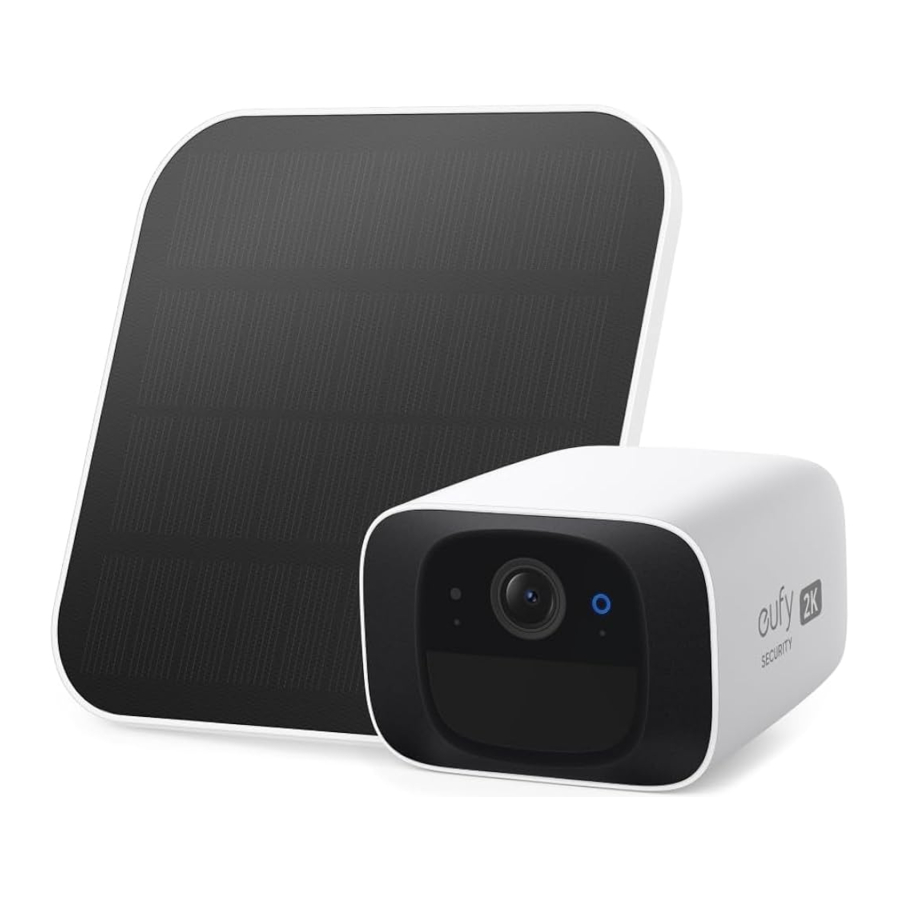
At a Glance

SoloCam C210 Overview
 | Camera Lens |
 | Light Sensor |
 | Microphone |
 | Photosensitive Sensor |
 | LED Indicator |
 | Speaker |
 | SYNC Button |
 | USB-C Charging Port (with Sealing Cap) |
 | Mounting Hole |

Solar Panel Overview
| | Solar Panel |
| | Mounting Bracket |
| | USB-C Cable |
Charging the Unit
You can charge your SoloCam using a standard USB-C cable (provided) and a 5V 2A adapter (not provided), or using the solar power provided by the connected Solar Panel.

| Charging | Solid Blue |
| Fully Charged | Off |
| Charging Time | 4.5 Hours |

Setting Up the Main Unit
- Download and install the eufy Security app, then sign up or create an account.
![]()


- Follow the in-app instructions to add the camera to the device list.
Mounting the Main Unit
Select a Location

This camera can be mounted on a wall. Choose a location where you can get the desired view.
We recommend mounting the camera 7-10 ft (2-3 m) above the ground to achieve up to 26 ft (8 m) of motion detection range.
Mount the Device
This camera can be mounted both outdoors and indoors.
- Loosen the cover of the mounting bracket by turning it counterclockwise and disassemble the mounting bracket.

- For walls that are made out of hard materials, such as stucco, brick, or concrete, drill holes with a 15/64 inch (5.95 mm) drill bit, then insert the anchors into the holes.
![information]() For soft surfaces such as wood, skip this step
For soft surfaces such as wood, skip this step

- Firmly screw the base of the mount onto the wall. Reassemble the mounting bracket.

- Screw the camera onto the mounting bracket. Position the camera to achieve the desired view, checking it using the live stream in the eufy Security app.


 SoloCam C210 can also be installed on the ceiling. Follow the steps above to install it.
For troubleshooting, check Help on the eufy Security app. Refer to the app page for LED indicator status.
Setting Up the Solar Panel
- Update your eufy Security app from the App Store (iOS devices running version 10.2 and later versions) or Google Play (Android devices running version 5.0 and later versions). Make sure it has been updated to the latest version.
![]()

- Open the eufy Security app, go to Camera Settings > Device Info > Check for camera firmware to update your camera firmware.
- Go to Camera Settings > Power Manager > Power Source. Tap Power Source and select Solar Panel.
Mounting the Solar Panel
The Solar Panel works with your SoloCam. When placed in direct sunlight, the Solar Panel provides energy to the connected camera.
Select a Location
While positioning the Solar Panel, keep the following factors in mind. These factors may affect Solar Panel efficiency:
- Weather conditions will impact the levels of energy produced
- Dirt or debris on the panels can negatively impact the intake of sunlight
- The amount of sunlight that the Solar Panel receives
To optimize your Solar Panel efficiency, identify an optimal position on your roof or wall for installation.
- Install the Solar Panel on the roof or wall outside of your house. Select a location where the Solar Panel can get the most sunlight throughout the year.
- Position your Solar Panel south-facing (in the Northern Hemisphere) or north-facing (in the Southern Hemisphere), and tilt the panel at a 30° angle.
- Regularly wipe/clean your Solar Panel to keep it free of debris and dirt.
- Keep your Solar Panel and camera within 6.6 ft / 2m of each other.
![]()

Mount the Solar Panel
- Place the mounting bracket against a wall or roof and secure it with the included screws.
![]()
- For walls or roofs that are made out of hard materials such as concrete, brick, or stucco, insert anchors first.
- Anchors are not needed for wooden walls or roofs.
- Screw the Solar Panel to the mounting bracket and make sure it is well secured.
![]()
- Angle the Solar Panel on the mounting bracket to receive the largest amount of sunlight. A 30° tilt is recommended.


Connecting the Solar Panel to the Unit
- Open SoloCam's back panel. Align the waterproof gasket for SoloCam with the USB port and press it in to attach.
![]()
- Plug the USB connector into the USB port of SoloCam.
![]()


After connecting the Solar Panel to your camera, screw the mounting bracket for your camera into the mounting slot of the camera, and angle the mount to get the desired field of view.
Documents / Resources
References
Download manual
Here you can download full pdf version of manual, it may contain additional safety instructions, warranty information, FCC rules, etc.
Advertisement


Need help?
Do you have a question about the SoloCam C210 and is the answer not in the manual?
Questions and answers