Advertisement
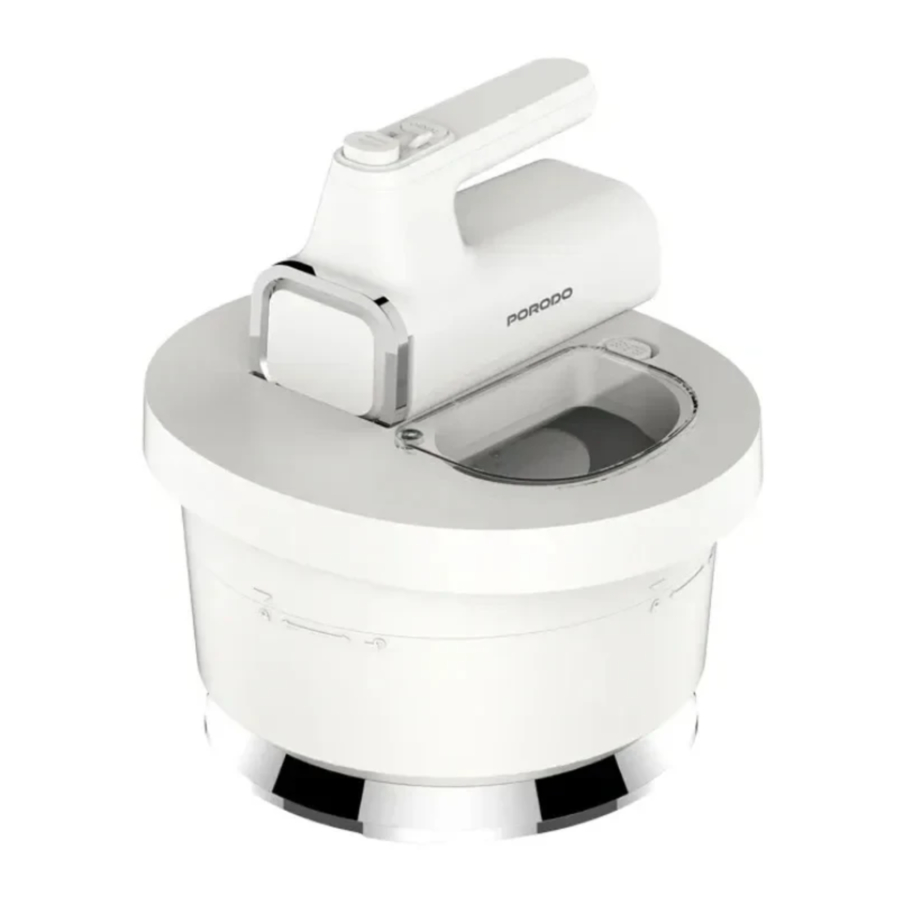
Schematic View

Specifications
| Rated Voltage | 220-240V |
| Rated Frequency | 50-60Hz |
| Rated Power | 300W |
| Power Plug | UK 3-Pin Plug |
| Product Weight | 2.08kg |
| Product Dimension | 245×268×312mm |
Before First Use
- Before assembling the stand mixer, wash the hooks, beaters, bowl cover inner mixing bowl, and outer mixing bowl in warm water and then dry them thoroughly.
- Ensure that the power cord is unplugged from the power outlet and the speedselector is set to the "0" position.
- Select the appropriate attachments based on the mixing task at hand.
- Use beaters for mixing various ingredients, or for whipping egg whites orcream.
- Use dough hooks for kneading dough.
- Insert the chosen attachments into their corresponding sockets on the mixer.
 Note:
Note:
- Each attachment type must be correctly matched to its designated socket. The attachment with a gear must be inserted into the larger socket of the motor unit, and the other into the smaller socket.
- Ensure that the beaters or dough hooks are fully inserted into place; failureto do so may result in the appliance not functioning correctly.
- Do not use different types of attachments simultaneously.
Instructions for Use
- Place the appliance on a firm and flat countertop.
- Attach the appropriate beaters or hooks to the hand mixer.
- For stand mixing, add ingredients to the inner mixing bowl.
- Ensure the total quantity of ingredients does not exceed 2 liters to preventspillover during mixing, and keep the total weight of ingredients under 1.2 kilograms.
- For hand mixing, you may use either the inner or outer mixing bowl, ensuring not to exceed 2.5 liters or 1.5 kilograms of ingredients, to prevent overflow and avoid damaging the appliance.
- Insert the inner mixing bowl into the outer mixing bowl.
- Place the bowl cover onto the outer mixing bowl and turn it clockwise tosecure it in the locked position.
- Remove the spatula before attaching the hand mixer.
- Align the slots at the bottom of the hand mixer with the locking lugs on thebowl cover, then press down on the handle until the mixer locks into place with a click sound.
- To detach the hand mixer, press and hold the release button and lift themotor unit.
- Ensure the speed selector is in the "0" position before connecting theappliance to the power source.
- Adjust the speed selector to your preferred setting. There are six speedsettings available, and for maximum speed, press the Turbo button.
![]()
Do not insert knives, metal spoons, forks, or other metal objects into the bowl while it is operating. - During mixing process, you might notice some ingredients such as flourstick to the inside of the bowl. To achieve the best results, stop the appliance and scrape the flour off the inner walls of the bowl using a plastic spatula.
- The maximum operation time per cycle should not exceed 5 minutes.
- Ensure the unit is allowed to cool down to room temperature or for at least one hour before starting another cycle to prevent any damage.
- When mixing is complete, turn the speed selector to the "0" setting andunplug the appliance from the power outlet.
- To remove the hand mixer, press the release button and lift it away. Securelyhold the beaters or hooks with one hand while firmly pressing the eject button with the other to detach them.
![information]() Note: Make sure that the speed selector is set to the "0" position before removing any attachments.
Note: Make sure that the speed selector is set to the "0" position before removing any attachments. - To remove the bowl cover, turn it counterclockwise to the unlock positionthen lift off the cover and take out the inner mixing bowl from the outer mixing bowl.
- If necessary, use a plastic spatula to scrape any excess food particles fromthe beaters or hooks.
- The hand mixer can be used independently once removed. The inner andouter mixing bowls can also be used separately or stacked together for use.
![]()
Never use glass or other fragile materials as containers, as they can break and pose a risk of injury.
Recipe Examples
- Cake
Ingredients:
Eggs 5 pieces, Flour 90g, Oil 40g, Milk 40g, Fine granulated sugar 150g, Yeast powder 3g (follow instruction manual)
Instructions:
- Separate the egg whites and yolks.
- Place the egg whites in a bowl. Attach the beaters to the mixer and run itat speed setting 6 for 4 minutes to beat the egg whites.
- Gradually add 60g of fine granulated sugar in three batches (about 20g each) during the mixing process.
- In another bowl, combine the egg yolks, the remaining 40g of fine granulated sugar, oil, and milk. Attach the beaters and run the mixer at speed setting 2 for 1 minute to mix the ingredients thoroughly.
- Add the flour to the mixture from step 3.
- Run the mixer at speed setting 1 for 1 minute to ensure the flour is evenly incorporated.
- Gently fold the beaten egg whites into the mixture from step 3 using themixer at speed setting 1 for another minute to combine everything smoothly.
- Pour the final mixture into a cake mold and bake in a preheated oven for 30 minutes.
- Bread
Ingredients:
Wheat flour 500g, Salt 7g, White sugar 14g, Melted Butter (%80 fat) 14g, Warm water 285g (Temperature should be 40 ± 2°C or as recommended by the yeast manufacturer), Yeast powder 5g (according to instruction manual)
Instructions:
- In a mixing bowl, combine the melted butter, white sugar, yeast powder, saltand warm water.
- Mix well to dissolve the dry ingredients.
- Add the wheat flour to the bowl with the wet mixture.
- Attach the dough hook to the mixer, and run the appliance at speed setting5 for about 4 minutes until the dough is well-kneaded.
- Allow the dough to rise for 45 minutes at 35°C.
- Bake the risen dough in a toaster oven.
Note: When making bread, ensure that the quantity of flour does not exceed 500g. Using excessive flour can damage the appliance.
Cleaning and Maintenance
- Ensure the appliance is unplugged and completely cooled down beforebeginning any cleaning.
- Wipe the outer surface of the mixer with a damp cloth, then polish itusing a soft, dry cloth.
- Gently wipe any food particles off the power cord.
- Detach the inner and outer mixing bowls from the appliance. Washthem with water, dry with a cloth, and then reattach them to the mixer.
- Wash the beaters and dough hooks in warm, soapy water, then dry them with a cloth. Note that the inner mixing bowl, beaters, and dough hooks are dishwasher-safe.

Do not immerse the hand mixer, bowl cover, or outer mixing bowl in water or any other liquid.

Any servicing beyond this should be performed by an authorized service representative.
Storage Instructions

- Insert the hand mixer with its handle pointing downwards into the inner mixingbowl, as indicated in Figure 1. The power cord can be wrapped around the mixer body for tidy storage.
- Set the inner mixing bowl, which now contains the hand mixer, into theouter mixing bowl.
- Rotate and snap the bowl cover onto the outer mixing bowl as shown in Figure 2.
- Refer to Figure 3 to open the feeding cover.
- As illustrated in Figure 3, place the beaters and hooks upside down, theninsert them sequentially through the feeding port into the inner mixing bowl.
- If the hand mixer obstructs the feeding port, adjust its position accordingly to accommodate the storage of the beaters and hooks inside the bowl.
- Push the spatula into position as shown in Figure 3 to snap it onto thebowl cover.
- Following the instructions in Figure 4, close the feeding cover to ensurethe entire machine is stored in a dust-proof manner.
Tips
- Ingredients such as butter and eggs should be at room temperaturebefore you begin mixing. Set these ingredients out ahead of time to warm up.
- To avoid eggshell fragments or using spoiled eggs in your recipes, breakeggs into a separate container first before adding them to your mixture.
- Mix or blend ingredients only until the recipe specifically recommends. For dry ingredients, fold them in just until combined and use a low speed setting.
- Be aware that seasonal temperature changes, the temperature ofingredients, and texture variations from different areas can all influence mixing times and outcomes. For instance, the ideal water temperature for making bread is 40 ± 2°C, which aids quicker dough formation. For whipping cream, maintain the temperature at around 1 ± 8°C.
- Always begin mixing at slow speeds and gradually increase to thespeed recommended in the recipe.
- When adding hot liquids, do so in small quantities to minimize the riskof spillage.
- Introduce ingredients into the mixing bowl in the order specified inthe recipe.
- If an object like a spatula accidentally falls into the bowl while the mixeris running, immediately turn the speed selector to the "0" setting and then remove the object.
- For easier cleanup, remove the beaters and rinse them immediatelywith warm water after use.
- If some ingredients are not sufficiently mixed, turn off the applianceuse a plastic spatula to push the ingredients towards the middle of the bowl, and then turn the mixer back on to continue.
- If it's difficult to mix some ingredients because there are too few towork effectively with the stand mixer, detach the main unit from the head saddle and use it as a hand mixer for better control and mixing efficiency.
Warranty
Products that you buy directly from our Porodo website or shop come with a 24-month warranty.
When you buy Porodo products from any of our approved sellers, you only get a 12-month warranty. If you want to extend this warranty, go to our website at porodo.net/warranty and fill out the form with your information. Don't forget to upload a picture of the product too. After we've checked and accepted your request, we'll send you an email to confirm that your product's warranty has been extended.
For more info, please check: porodo.net/warranty
Safety Instructions
When using electrical appliances, basic safety precautions should always be observed, including the following:
- Read all instructions.
- Ensure that the outlet voltage matches the voltage specified on theappliance's rating label.
- Do not operate the mixer if it has a damaged cord or plug, if it malfunctionsor if it is dropped or damaged in any way. In such cases, take the appliance to the nearest authorized service center for examination, repair, or adjustment.
- Do not leave the mixer unattended while it is in operation.
- Close supervision is necessary when any appliance is used by or near children.
- Unplug the mixer from the outlet when not in use, before attaching or removingparts, and before cleaning.
- The use of attachments not recommended by the manufacturer may resultin fire, electric shock, or injury.
- Remove beaters, dough hooks, or whisks from the mixer before washing.
- Do not place the mixer on or near a hot gas or electric burner, or in a heated oven.
- Always ensure the control is set to OFF before plugging the appliance intoa wall outlet. To disconnect, turn the control to OFF and then remove the plug from the wall outlet.
- Avoid contact with moving parts when the appliance is in use.
- Keep hands, clothing, and utensils away from mixer during operation toprevent injury and damage to the mixer.
![]()
To prevent electric shock, do not immerse the mixer in water orother liquids.- Use the mixer only for its intended purposes.
- Do not process foods at temperatures exceeding 70°C (158°F).
- The appliance can be used by children aged 8 and above, and by personswith reduced physical, sensory, or mental capabilities, or lack of experience and knowledge, if they are supervised or have been given instruction concerning safe appliance use and understand the associated hazards.
- Children should not play with the appliance.
- Cleaning and user maintenance should not be performed by children unlessthey are older than 8 and supervised.
- Keep the appliance and its cord out of reach of children, infants, and pets.
- Do not let the cord hang over the edge of a table or counter, or touch hot surfaces, including the stove.
- Do not use the appliance outdoors.
- Always place the appliance on a stable, flat surface.
- Do not operate the appliance inside a cabinet.
- Ensure the appliance has proper ventilation around it.
- Save these instructions for future reference.
Contact Us
If you have anفions about this Privacy Policy, please contact us at:
info@porodo.net
Website: porodo.net
Service Support: support@porodo.net
Instagram: porodo
Documents / Resources
References
Download manual
Here you can download full pdf version of manual, it may contain additional safety instructions, warranty information, FCC rules, etc.
Advertisement

Need help?
Do you have a question about the Lifestyle and is the answer not in the manual?
Questions and answers