Advertisement

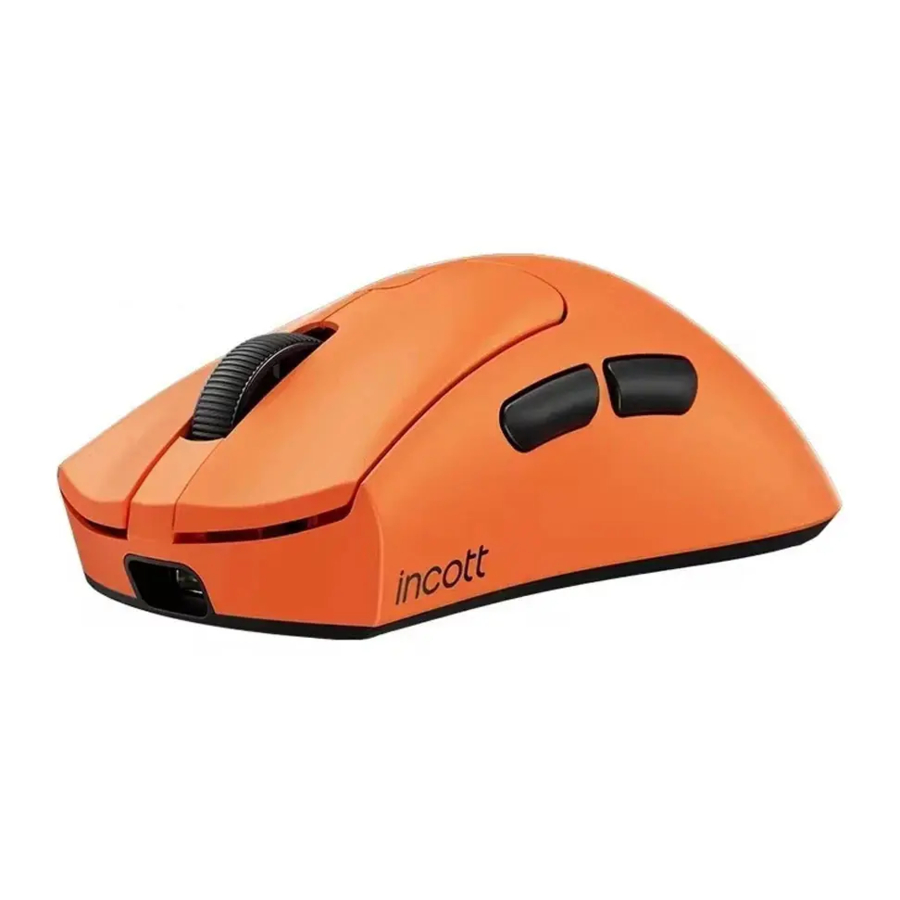
Button Functions

- Left Mouse Button
- Right Mouse Button
- Scroll Wheel Button
- Back Button
- Forward Button
- 1K Receiver Storage | DPI / Polling Rate Switch
- OFF: Power Off
ON: Power On
HZ: Power On / Polling Rate Switch Mode - Microswitch Hot-Swap
Recommended Usage Environment

To achieve the best wireless transmission state, please use the mouse within 20 cm of the receiver and keep a distance of at least 2 meters from 2.4 GHz interference sources (such as WiFi routers).
Connection Method
Wired Mode
Use the charging cable to connect the mouse to any USB port on the computer.


Wireless Mode
Use the USB wireless receiver to connect to the computer via the cable (1K Version).


Connect the 8K receiver to the computer via the cable (8K).

DPI and Polling Rate Switch


DPI Switch
Switch to the "ON" position with Button 7, and use Button 6 to cycle through the DPI settings. There are 6 levels available: DPI Values Indicator Lights

1K Polling Rate Switch
Switch to the "HZ" position with Button 7, and use Button 6 to cycle through the DPI settings. There are 6 levels available: Polling Rate Indicator Lights

8K Polling Rate Switch
Switch to the "HZ" position with Button 7, and use Button 6 to cycle through the DPI settings. There are 6 levels available: Polling Rate Indicator Lights

8K Pairing Steps
Step 1: When the mouse is in the off state, press and hold buttons 1, 2, and 3 simultaneously.

Step 2: While performing Step 1, toggle the bottom switch (Button 7) to the "ON" position.

Step 3: The indicator light on the top of the mouse will flash blue and then turn yellow. Release the buttons after the light changes from blue to yellow.

Step 4: While theyellow light is flashing, plug the receiver into the computer's USB port via the data cable. The mouse will connect to the receiver, allowing you to start using it.


The receiver should not be plugged into the computer's USB port during the pairing process. Connect the receiver only after completing steps 1, 2, and 3 when the mouse indicator is flashing yellow.
Microswitch Hot-Swap Replacement
Step 1: Remove the hot-swap system.

- Push forward
- Lift out
Step 2: Replace the microswitch.

Step 3: Install the hot-swap system.

- Insert the front end at an angle
- Press down to install
Product Specifications

DPI Settings: 400 / 800 / 1600 / 2400 / 3200 / 6400
Polling Rate Settings:
- 1K: 125 / 250 / 500 / 1000 Hz
- 8K: 125 / 250 / 500 / 1000 / 2000 / 4000 / 8000 Hz
Battery Life: About 1000 hours (~143 days)
Weight: Approximately 65 grams
Sensor: G23 PAW3395 / G23 Pro PAW3950ES-KING
Interface: USB/Type-C
Cable Length: Approximately 1.8 meters
Rated Voltage: 5V 500mA
Connection Method: 2.4G Wired
Side Buttons: Kailh Transparent Silent Red Switch [Customized Special Adjustment]
Acceleration: 50G
IPS: G23 650 / G23 Pro 750
LOD (Lift-Off Distance): G23 12 [Adjustable 12mm] / G23 Pro 0.712mm Three Levels Adjustable
Scroll Wheel: TTC Gold Encoder
Feet: 100% PTFE Reinforced Version
Surface Coating: Rubber-like Paint
Recommended Hand Size: 17~19cm or less [Medium-Sized Hand Grip]
Dimensions: Length 126mm x Width 63.5mm x Height 40mm
Documents / ResourcesDownload manual
Here you can download full pdf version of manual, it may contain additional safety instructions, warranty information, FCC rules, etc.
Advertisement

Need help?
Do you have a question about the G23 Series and is the answer not in the manual?
Questions and answers