Advertisement
- 1 Packing List
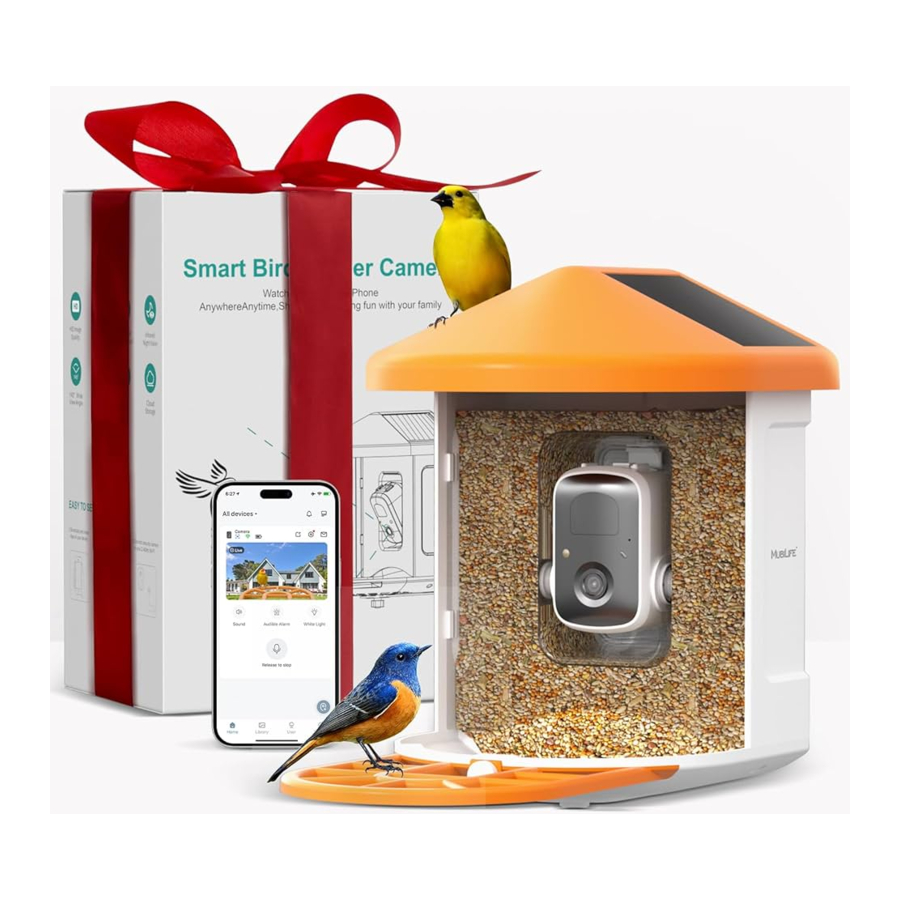
- 2 Product Appearance
- 3 Bird Feeder Parts Name
- 4 Download & Install App
- 5 Account Registration
- 6 Add Camera to App
- 7 Install Bird Feeder
- 8 Indicator Light Status
- 9 Product Specification
- 10 Share Camera
- 11 Multi-Device Management
- 12 Reset Camera
- 13 Firmware Upgrade
- 14 Documents / Resources
Packing List

Product Appearance

Bird Feeder Parts Name

Download & Install App
The camera supports Android and iOS systems. Please scan the QR code below or search 'ANLIFE' in an App store to download the App, and follow the instruction to register an account. If you encounter any problems during the installation process, please feel free to contact us via support@mubilife.net


NOTE: Please turn on both of the following permissions.

- Allow ANLIFE App to access mobile cellular data and wireless LAN,otherwise it will fail to connect the camera.
- Allow ANLIFE App to receive pushed messages, otherwise, the phone will not receive alarms when motion is detected.
Account Registration
New users need to sign up by Email ID.
Click 'Sign up a New Account' and follow the steps to complete the registration.

Add Camera to App
Preparation for Connection

- Insert Micro SD card when the camera is off(Supports up to 128GB SD card not included). We also provide 3-day cycle record for free (2 years limited time), the camera can work without SD Card.
- The camera only works with 2.4GHz Wi-Fi, not support 5G.
- Take the camera close to the router while connecting.
- Keep pressing the power button for 2-4s to power on/off the camera.
Connect Camera to App


Install Bird Feeder
- Select a good spot for your bird feeder:
Please choose a suitable place for your bird feeding device. It is best to be an active place with birds, but you need to ensure the coverage of the Wi-Fi network. Adjust the angle of the camera to cover as much of the bird-watching stand as possible. - Install the host Assemble the upper cover:
Turn the upper cover down so that it fastens onto the middle shell.
![]()
- Install the tray:
Clamp the material tray to the bottom of the main body of the equipment, put in 3 screws and tighten it with a cross screwdriver.

- Install an external antenna
Position the external antenna at the back antenna hole of the bird feeder and tighten the rotating antenna.

- Screw fixing
Use a drill tool to drill holes in the wall according to the spacing of the brackets. lt is recommended to mark the holes on the wall with a pencil before drilling. Screw the expansion nut into the holes on the wall, and then connect the bracket to the expansion nut with screws to complete the fixing.

- Installation of bracket and Bird Feeder:
Tighten the hand screw with the screw hole at the bottom of the bird feeder through the iron bracket.


Indicator Light Status
| Mode | Status |
| Working mode | Blue |
| Sleep mode | Off |
| Charging mode | Yellow |
| Fully charged | Green |
Product Specification
| Item | Specification |
| Camera lens | Field of view: 130° |
| Resolution | Full HD |
| Video bit rate | Adaptive |
| Storage media | Micro SD card (Up to 128GB) |
| Adapter requirement | 5V 2A |
Share Camera
A is the person who shares the camera; B is the person who is shared (Register own account).
- A enter the 'Device info' page and open the QR code.

- B enters the 'Home' page and click 'Add Friend's Camera', then scan A's QR code. After A accepts sharing, sharing is complete!
![]()


Multi-Device Management

Strong Wi-Fi Connection View Multiple Cameras at the Same time


Reset Camera
- Press reset button with the pin.
- Double-click the power button to enter connection mode again.


Firmware Upgrade
When you connect your camera to the 'ANLIFE' App, it will prompt you if the latest firmware is available. You can also manually check the firmware upgrade in the 'Advanced Setting' of the App.
 Please make sure that your camera is fully charged or charging while upgrading the firmware, please do not cut off the power supply during upgradation.
Register via link below to get 3 Years Warranty Extension.
https://rb.gy/ks3bk
Product Service
Email: Support@mubilife.net
Distributor: Distributor@mubilife.net
More About Us
Web: www.mubilife.net
Facebook: www.facebook.com/mubilifeofficial
Documents / Resources
References
![www.apple.com]() App Store - Apple
App Store - Apple![play.google.com]() Google Play
Google Play![rb.gy]() Extend Warranty – ZUMIMALL
Extend Warranty – ZUMIMALL![www.mubilife.net]() Mubilife | Wireless, Indoor & Outdoor HD Security Cameras
Mubilife | Wireless, Indoor & Outdoor HD Security Cameras

Download manual
Here you can download full pdf version of manual, it may contain additional safety instructions, warranty information, FCC rules, etc.
Advertisement


Need help?
Do you have a question about the Q8 and is the answer not in the manual?
Questions and answers