Advertisement
Introduction
More Info
- Specifications can be found on the product page at https://www.tapo.com.
- Our Technical Support and troubleshooting information can be found at https://www.tapo.com/support/.
- The setup video can be found at https://www.tp-link.com/support/setup-video/#cloud-cameras.
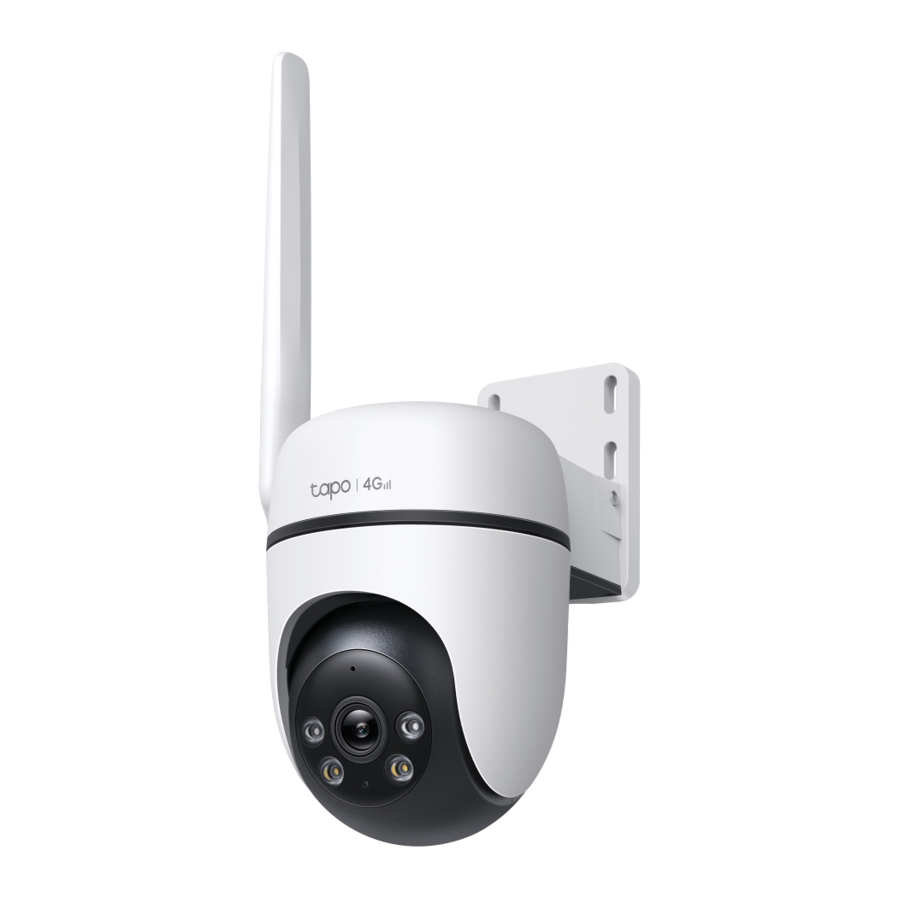
TC40GW is an outdoor pan/tilt 4G LTE camera that offers all-round protection without Wi-Fi. It can access the internet through 4G LTE networks or the RJ45 Ethernet port, which is suitable for places like warehouses, farms, and vacation homes where constant Wi-Fi may be unavailable.
- Advanced AI Detection for All Scenarios – Smart AI identifies people, pets, and vehicles and detects tampering and line crossing. It sends alerts only when necessary, ensuring you receive precise notifications about events as they occur.
- Starlight Color Night Vision – Reveals vivid colors in low light conditions with F1.6 aperture lens, starlight sensor, and built-in spotlights.
- Patrol Mode – Keep the camera cruise between two customized points for dynamic monitoring.
- Local* and Cloud** Storage – Save recorded videos to an installedmicroSD card (up to 512 GB)*, or use Tapo Care** cloud storage service.
*microSD card must be purchased separately.
**Subscribe for cloud storage at https://www.tapo.com/tapocare/
- DC/PoE Power Supply* – Power your camera with a DC adapter or Ethernet cable featuring PoE technology for safe power and stable internet.
*802.3 af/at PoE (Power over Ethernet)
The maximum length for the PoE connection is 100 meters (328 feet). - Flexible Antenna Placement – Adjust the angle of the detachable antenna for a better internet connection.
- Smart Playback – Swiftly find and download moments of interest by choosing the event type or sliding the
- Two-Way Audio – Communicate remotely with a delivery person in real time.
- Multiple Installation Options – Use the mounting screws, template and loops* to install on any wall, ceiling or pole for the perfect view.
*Mounting loops purchased separately.
Appearance

- Microphone
- Lens
- IR LEDs
- White Light LEDs
- System LED
- Reset
- microSD Card Slot
- Speaker
- Ethernet Port (PoE Connector)
- DC Power Connector
- Nano SIM Card Slot
- SMA Female Connector
Reset Button
Open the silicone cover. While the camera is powered on, use a pin to press and hold the RESET button for at least 5 seconds until the System LED blinks red. The camera will reset and reboot.
microSD Card Slot
Open the silicone cover and insert a microSD card*. Initialize it on the Tapo app for local recording.
*microSD card not included.
Nano SIM Card Slot
Open the silicone cover and insert a Nano SIM card for a 4G network connection.
System LED Indication
| Solid red | Starting up |
| Blinking red and green | Unstable 4G signal |
| Blinking red | Neither a SIM card nor an Ethernet cable inserted |
| Blinking amber (for 4G setup) | Connecting to the network |
| Solid amber | Connected to the network |
| Solid green | Connected to the cloud |
| Blinking red quickly | Camera resetting |
| Blinking green quickly | Camera updating |
Set Up Your Camera
Follow the steps below to get started with your new camera.
Step 1. Download Tapo App
Get the Tapo app from the App Store or Google Play, or by scanning the QR code below.


Step 2. Log In
Open the app, and log in with your TP-Link ID. pen the app, and log in with your TP-Link ID.

Step 3. Add Your Camera
Tap the ![]() button > Add Device in the app and If you don't have an account, create one first. search for your model.
button > Add Device in the app and If you don't have an account, create one first. search for your model.

Step 4. Configure Camera
Follow app instructions to set up your camera via 4G or wired connection, and add it to your home network. After setup, you can use your camera via wired or 4G connection.

![]() Note: For 4G setup, if your camera is connected to your router via an Ethernet cable, please unplug the cable first.
Note: For 4G setup, if your camera is connected to your router via an Ethernet cable, please unplug the cable first.
Install a microSD Card
Follow the steps below to install the microSD card for local recording.
You can go to Camera Settings > microSD Card in the Tapo app to check the card status or format your card.

- 1. Manually rotate the camera downwards. Open the silicone cover to find the microSD card slot.
- Identify the direction of the microSD card and carefully insert the card into the slot. Push in the card until you hear a clicking sound.
Mount Your Camera
When you finish adding your camera in the Tapo app, you can mount it on a wall or ceiling with the provided mounting template and screws. You can also mount it on the pole with mounting loops. Follow the steps below to mount your new camera.
 Note: The camera is not waterproof when set on a table or shelf. Mount the camera via Option 1-3 when installing outdoors.
Option 1: Wall Mount
- Affix the Camera and Bracket
Route the camera power cord and Ethernet cable through the opening of the bracket. Use two bracket screws to affix the bracket and camera.
![]()
- Drill Holes
Stick the mounting template to the desired mounting place. Drill four screw holes according to the template.
![]()
- Mount the Camera
Insert four mounting anchors into the holes, then use the mounting screws to affix the camera and bracket over the anchors.
![]()
![]()
- Install the Antenna
- Rotate the antenna clockwise to attach it.
- Rotate the SMA connector clockwise to tighten the antenna.
![]()
- Adjust the antenna vertically for the best 4G signal.
- Re-tighten the connector in case the antenna is loose.


Note: For the cable connection, ensure the antenna is properly installed for waterproof performance.
Option 2: Overhang Mount
- Affix the Camera and Bracket Route the camera power cord and Ethernet cable through the opening of the bracket. Use two bracket screws to affix the bracket and camera.
![]()
- Drill Holes Stick the mounting template to the desired mounting place. Drill four screw holes according to the template.
![]()
- Mount the Camera
Insert four mounting anchors into the holes, then use the mounting screws to affix the camera and bracket over the anchors.
![]()
![]()
- Install the Antenna
![]()


- Rotate the antenna clockwise to attach it.
- Rotate the SMA connector clockwise to tighten the antenna.
- Adjust the antenna to either an acute angle or horizontal with the ceiling for the best 4G signal.
- Re-tighten the connector in case the antenna is loose.
Note: For the cable connection, ensure the antenna is properly installed for waterproof performance.
Option 3: Pole Mount
- Affix the Camera and Bracket
Route the camera power cord and Ethernet cable through the opening of the bracket. Use two bracket screws to affix the bracket and camera.
![]()
- Mount the Camera
Mount the camera on the pole using two pole-mounting loops* (loop width ≤ 12mm).
![]()
*Pole-mounting loops are not included. - Install the Antenna
![]()
- Rotate the antenna clockwise to attach it.
- Rotate the SMA connector clockwise to tighten the antenna.
- Adjust the antenna vertically for the best 4G signal.
- Re-tighten the connector in case the antenna is loose.


Note: For the cable connection, ensure the antenna is properly installed for waterproof performance.
Install Waterproof Accessories
When the camera is installed outdoors, please install waterproof accessories to waterproof your camera as follows.
Install the Waterproof Seal/Cap for Power Connectors
Connect the camera to a power outlet using the provided power adapter. Install the waterproof seal for the power connectors when the camera is installed outdoors.
![]() When powered by the adapter
When powered by the adapter
Install the waterproof seal for the power connectors.

![]() When powered by PoE
When powered by PoE
Use the waterproof cap to cover the power connector.

Install Waterproof Cable Attachments
Install the waterproof cable attachments for the network interface. Make sure each part is securely attached and the waterproof rings are flush to keep out water.
![]() When the Ethernet port connects to a network device
When the Ethernet port connects to a network device

- Route the network cable through the following components in order: fix nut, waterproof ring, and then the waterproof jacket.
- Insert the waterproof ring into the waterproof jacket.
- Fix the O-ring to the network interface of the camera and connect the network cables.
- Attach the network interface with the waterproof jacket, then twist to lock. Rotate the fix nut to secure it to the waterproof jacket.
![]() When the Ethernet port does not connect to a network device
When the Ethernet port does not connect to a network device

- Insert the waterproof plug into the waterproof ring, then insert them into the waterproof jacket.
- Fix the O-ring to the network interface of the camera. Attach the network interface with the waterproof jacket, then twist to lock. Rotate the fix nut to secure it to the waterproof jacket.
Safety Information
- Do not use damaged charger or USB cable to charge the device.
- Do not use any other chargers than those recommended.
- Do not use the device where wireless devices are not allowed.
- Adapter shall be easily accessible.
- Use only power supplies which are provided by manufacturer and in the original packing of this product. If you have any questions, please don't hesitate to contact us.
- Keep the device away from fire or hot environments. DO NOT immerse in water or any other liquid.
- Do not disassemble, repair or modify the product.
- Do not use the product if the casing has been broken. Danger of electric shock.
- Never touch the product with wet hands.
- Do not place near automatically controlled devices such as fire alarms. Radio waves emitted from this product may cause such devices to malfunction resulting in an accident.
- Observe restrictions on using wireless products in fuel depots, chemical plants or when blasting operations are in progress.
- Do not use liquid to clean the product. Only use a dry cloth.
- Never put metal objects inside the product. If a metal object enters the product turn off the circuit breaker and contact anauthorised electrician.
- This product is not intended to be used when providing medical care. Consult the manufacturer of any personal medical devices, such as pacemakers or hearing aids to determine if they areadequality shielded from external RF (radio frequency) energy.
- Do not use this product in health care facilities. Hospitals or health care facilities may be using equipment that could be sensitive to external RF energy.
- Do not place heavy objects on top of the product.
- When you leave the product unused for a long time unplug the product from the power outlet.
- This product may interfere with other electronic products such as TV, radios, personal computers, phones or other wireless devices.
- Adapter should be used indoors where the ambient temperature is lower than or equal to 40 ºC.
- Operating Temperature: -30 ºC ~ 60 ºC (-22°F ~ 140°F )
Please read and follow the above safety information when operating the device. We cannot guarantee that no accidents or damage will occur due to improper use of the device. Please use this product with care and operate at your own risk.
Explanation of the symbols on the product label


Documents / Resources
References
Download manual
Here you can download full pdf version of manual, it may contain additional safety instructions, warranty information, FCC rules, etc.
Advertisement


Need help?
Do you have a question about the Tapo TC40DW and is the answer not in the manual?
Questions and answers