TP-Link Tapo A201 Manual
- Quick start manual (99 pages) ,
- Quick start manual (2 pages)
Advertisement
About This Guide
This guide provides a brief introduction to the Tapo Solar Panel as well as regulatory information.
Please note that features available in Tapo may vary by model and software version. Tapo availability may also vary by region. All images, steps, and descriptions in this guide are only examples and may not reflect your actual Tapo experience.
Conventions
In this guide, the following convention is used:
| Convention | Description |
| Blue | Key information appears in blue, including management page text such as menus, items, buttons and so on. |
| Underline | Hyperlinks are in blue and underlined. You can click to redirect to a website. |
 Note: Note: | Ignoring this type of note might result in a malfunction or damage to the device. |
More Info
- Specifications can be found on the product page athttps://www.tapo.com.
- Our Technical Support and troubleshooting information can be found athttps://www.tapo.com/support/.
- Mounting and connection videos can be found athttps://www.tp-link.com/support/setup-video/#cloud-cameras.
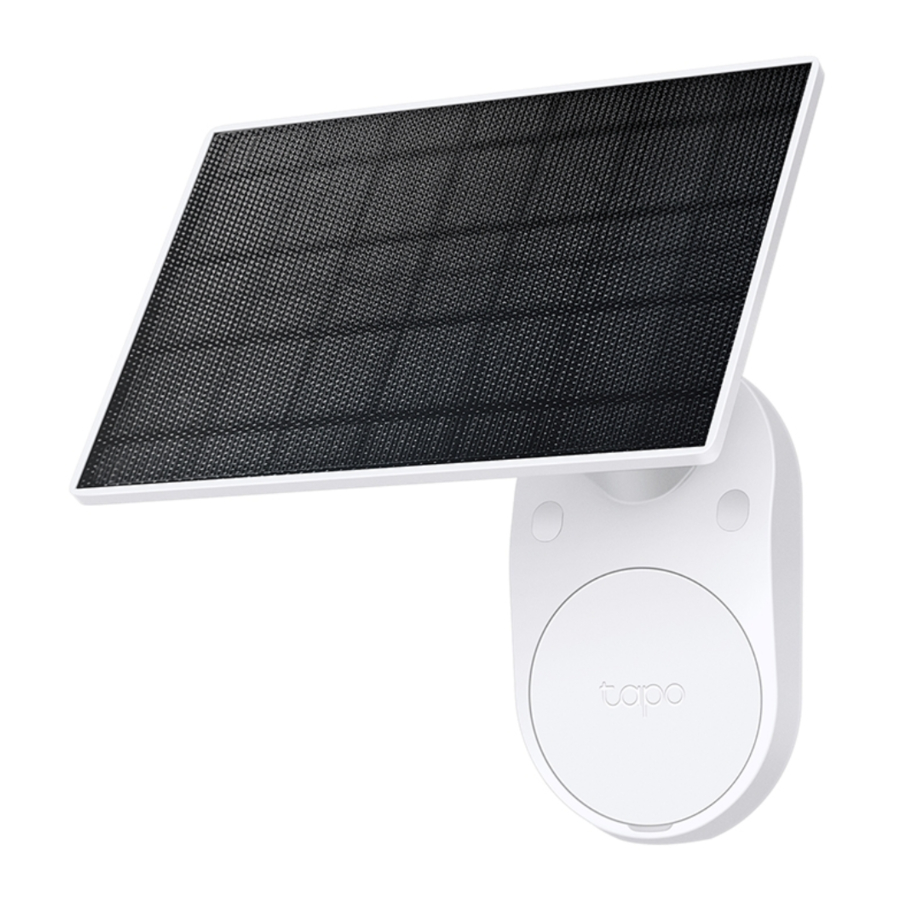
Introduction
Tapo A201 seamlessly pairs with all Tapo Battery Cameras§, offering a sleek, unified look and flexible positioning with a 4m charging cable for maximum sunlight exposure. Enjoy green, endless power.

| Flexible Angle Adjustment Mount your solar panel on the wall or roof and adjust its angle flexibly to capture enough sunlight with an angle-adjustable bracket.  | High-Efficiency Solar Charging Daily 45 minutes△ of direct sunlight charges any Tapo Battery Camera for all-day use, thanks to its 2.5W† maximum charging power.  | IP65 Weatherproof Offers reliable performance and keeps your battery camera charged even in harsh environments with rain and dust.  |
§A solar panel can only connect to one camera at a time. The Tapo Solar Panel is compatible with all Tapo Battery Security Cameras. Due to Tapo C425's unique magnetic base, it exclusively supports detached installation. Visit the Tapo website for all supported products.
†Actual charging power may vary based on installation location, weather conditions, temperature, and other environmental factors.
△45 min of sunlight time is based on standard environmental conditions (1000W/m2, 25°C, AM1.5) and specified working scenes (100 events triggered per day). Actual required time of sunlight may vary.
Mounting Tips
Read mounting tips before you mount the solar panel.
The solar panel captures free, clean solar energy and provides non-stop power supply for your Tapo cameras. The position and tilt angle of the solar panel greatly affects the solar efficiency.

- Choose a location where the solar panel gets the most sunlight throughout the year.
- Position the panel south-facing in the Northern Hemisphere or north-facing in the Southern Hemisphere. The recommended tilt angle between the panel and the horizontal ground is 35° ~ 45°.
- Regularly wipe the panel to remove dust and debris.
Mount Solar Panel Only
For the mounting video, please refer to https://www.tp-link.com/support/setup-video/#cloud-cameras

- Drill Holes
Stick the mounting template to a solid and level wall surface. Drill three screw holes according to the template.
![]()

- Mount Bracket
Insert three wall anchors into the holes and use the mounting screws to affix the solar panel bracket over the anchors.


- Install the Solar Panel
Slide the solar panel onto the mounting bracket until it clicks into place.
![]()

- Adjust Solar Panel Angle
Loosen the adjustable screw, tilt the solar panel to adjust the angle, and then tighten the adjustable screw.
The recommended tilt angle between the panel and the horizontal ground is 35° ~ 45°.
![]()
- Install Screw Caps & Base Cover
Insert two screw caps into the screw holes until flush, then install the base cover.
![]()


Mount Solar Panel & Extra Camera
For the mounting video, please refer to https://www.tp-link.com/support/setup-video/#cloud-cameras

- Drill Holes
Stick the mounting template to a solid and level wall surface. Drill three screw holes according to the template.
![]()
- Install Camera Bracket
Secure the camera bracket to the solar panel bracket using two screws.
The third hole below is for securing the solar panel bracket.
![]()
- Mount Bracket
Insert three wall anchors into the holes and use the mounting screws to affix the solar panel bracket over the anchors. Then, insert two screw caps into the upper screw holes.


- Install the Solar Panel
Slide the solar panel onto the mounting bracket until it clicks into place.
![]()

- Adjust Solar Panel Angle
Loosen the adjustable screw, tilt the solar panel to adjust the angle, and then tighten the adjustable screw. The recommended tilt angle between the panel and the horizontal ground is 35° ~ 45°.
![]()

- Install Camera & Adjust Angle
Install the camera onto the bracket and adjust the camera angle as per the camera's guide.
Ensure the camera is securely attached to the camera bracket by tightening the bottom screw.
*Here we take the Tapo Camera C410 as an example.

Mount Solar Panel and Camera KIT
For the mounting video, please refer to https://www.tp-link.com/support/setup-video/#cloud-cameras

- Drill Holes
Stick the mounting template to a solid and level wall surface. Drill three screw holes according to the template.
![]()
- Mount Bracket
Insert three wall anchors into the holes and use the mounting screws to affix the solar panel bracket over the anchors. Then, insert two screw caps into the upper screw holes.
![]()
- Install the Solar Panel
Slide the solar panel onto the mounting bracket until it clicks into place.
![]()
- Adjust Solar Panel Angle
Loosen the adjustable screw, tilt the solar panel to adjust the angle, and then tighten the adjustable screw.
The recommended tilt angle between the panel and the horizontal ground is 35° ~ 45°.
![]()
- Install Camera & Adjust Angle
Install the camera onto the bracket and adjust the camera angle as per the camera's guide.
*Here we take the Tapo Camera C410 as an example.
Ensure the camera is securely attached to the camera bracket by tightening the bottom screw.


Connect Solar Panel to Camera
Use the appropriate waterproof gasket when connecting the solar panel to your camera. The gasket protects your camera from exposed moisture and dust that may damage the camera.
For detailed connection instructions, please refer to https://www.tp-link.com/support/faq/3800/
- Install Waterproof Gasket
Insert the waterproof gasket into the camera's charging port. Ensure that the gasket is tightly sealed.
*Here we take the Tapo Camera C410 as an example.
![]()
- Power On Camera
Connect the solar panel by inserting the connector with the black ring into the charging port until snug.
![]()


USB Adapter for Micro USB charging port
A USB adapter is required for a camera with a Micro USB charging port. Choose the appropriate Micro USB waterproof gasket for connection.

If the power cable is too short...
Extend the power cable using the provided extension cable. Insert the connector with the black ring into the extension until snug and use the appropriate gasket when connecting the solar panel to your camera.

If the power cable is too long...
Use the cable zip tie provided to bundle up the excess cable. Once tightened, the zip tie cannot be easily adjusted. To release the tie, you will need to cut the zip tie.

Safety Information
- Keep the device away from fire or hot environments. DO NOT immerse in water or any other liquid.
- Do not attempt to disassemble, repair, or modify the device. If you need service, please contact us.
- Avoid scratching and hitting the surface of the solar panel during use.
- Avoid contact with highly corrosive substances during use.
- The suitable temperature for Tapo A201 and accessories is -20°C~45°C. The working temperature range for battery charging should be maintained at 0°C~45°C.
- Make sure the USB connector is fully plugged into your Tapo device.
- Make sure you follow the user manual to install the solar panel correctly.
- Make sure the waterproof gasket and other accessories can protect the connectors on your Tapo device.
Explanation of the symbols on the product label
Note: Symbols may vary from products.


Documents / Resources
References
Tapo | Smart Devices for Smart Living
Support | Tapo
How to Properly Connect a Tapo Solar Panel to Compatible Tapo Cameras Using the Waterproof Gasket | TP-Link
Download manual
Here you can download full pdf version of manual, it may contain additional safety instructions, warranty information, FCC rules, etc.
Advertisement


Need help?
Do you have a question about the Tapo A201 and is the answer not in the manual?
Questions and answers