TP-Link Tapo C200C Manual
- Quick start manual (2 pages) ,
- User manual (18 pages)
Advertisement
About This Guide
This guide provides a brief introduction to the Pan/Tilt Home Security Wi-Fi Camera and regulatory information.
Please note that features available in Tapo may vary by model and software version. Tapo availability may also vary by region. All images, steps, and descriptions in this guide are only examples and may not reflect your actual Tapo Camera experience.
Conventions
In this guide, the following convention is used:
| Convention | Description |
| Blue | Key information appears in blue, including management page text such as menus, items, buttons and so on. |
| Underline | Hyperlinks are in blue and underlined. You can click to redirect to a website. |
 Note: Note: | Ignoring this type of note might result in a malfunction or damage to the device. |
More Info
- Specifications can be found on the product page at https://www.tapo.com.
- Our Technical Support and troubleshooting information can be found at https://www.tapo.com/support/.
- A Technical Community is provided for you to discuss our products at https://community.tp-link.com.
- The setup video can be found at https://www.tp-link.com/support/setup-video/#cloud-cameras.
Introduction
When you are away from home, there is always something you care about. This is where the smart camera functions. No matter whether your child is climbing the kitchen cabinet, or the pet is stealing snacks, the Pan/Tilt Home Security Wi-Fi Camera helps you stay with them anytime, anywhere. Receive a notification whenever your camera detects motion and see a video clip of this motion to check everything.
- Motion Detection and Tracking – Whenever a camera detects motion, it will automatically follow the subject, keeping it within the camera's field of view.
- Person Detection – Notifies you when a person is detected.
- Baby Crying Detection – Notifies you when your baby cries.
- 1080p Full High Definition – Provides greater sharpness and clarity.
- Night Vision up to 40 ft – Provides a visual distance of up to 40 ft in total darkness.
- Two-Way Audio – Communicate in real time through a built-in microphone and speaker.
- Field of View – 360º horizontal range.
- Customizable Block Zones – Set customizable block zones to keep private areas from being monitored.
- Cloud Storage Supported – Store videos by using cloud storage services.
*Subscribe for cloud storage at https://www.tapo.com/tapocare/. - Local microSD Storage – Store up to 512 GB of video on a microSD card.
*microSD card needs to be purchased separately.
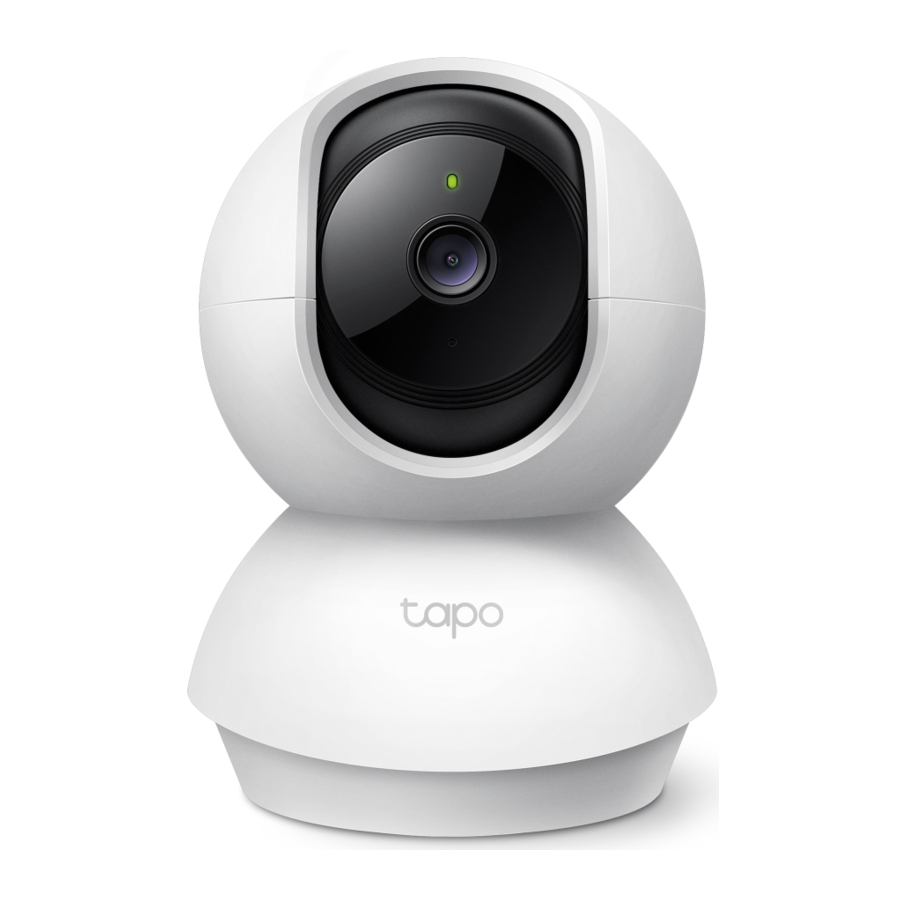
Appearance
The Pan/Tilt Home Security Wi-Fi Camera has a system LED that changes color according to its status, a lens, microphone, speaker, DC power port, RESET button and a microSD card slot. Please refer below for details.

Set Up Your Camera
Follow the steps below to get started with your new camera
Step 1. Download Tapo App
Get the Tapo app from the App Store

or Google Play

or by scanning the QR code below.


Step 2. Log In
Open the app, and log in with your TP-Link ID. If you don't have an account, create one first.

Step 3. Add Your Camera
Tap the ![]() button > Add Device in the app and search for your model. Follow the app instructions to complete the setup.
button > Add Device in the app and search for your model. Follow the app instructions to complete the setup.

Install a microSD Card
Follow the steps below or or follow the setup video at https://www.tp-link.com/support/setup-video/#cloud-cameras to install the microSD card for local recording. You can go to Camera Settings > Storage & Recording > microSD Card in the Tapo app to check the card status or format your card.
Note: Please initialize the microSD card in the Tapo app first after inserting it.
- Tilt the camera lens up and find the microSD card slot.

- Identify the direction of the microSD card and carefully insert the card into the slot. Push in the card until you hear a clicking sound.
![]()


Mount Your Camera
When you finish adding your camera in the Tapo app, you can set it on a flat surface such as a table or shelf. You can also mount it on a wall or ceiling with the provided mounting template and screws. Follow the steps below to mount your new camera or follow the setup video at https://www.tp-link.com/support/setup-video/#cloud-cameras.
- Mark Position
Place the mounting template where you want the camera. For wall mounting, drill two holes through two circles.
![]()
- Affix Screws
Insert two mounting anchors into the holes, then screw the screws into the anchors.
![warning]() Note: To securely attach the camera, ensure equidistant gaps (2 mm < A < 3 mm) between the two anchors and screws.
Note: To securely attach the camera, ensure equidistant gaps (2 mm < A < 3 mm) between the two anchors and screws.

- Secure Camera
Hang the camera securely on the two screws. Ensure the camera is firmly attached. If not, adjust the distance between the anchors and screws until it is stable.
![]()


Reset Your Camera
Follow the steps below to reset your camera via the Reset button, or you can follow the setup video at https://www.tp-link.com/support/setupvideo/#cloud-cameras. You can also go to Camera Settings in the Tapo app and tap Remove Camera at the bottom to factory reset your camera.
- Manually rotate the camera downwards to find the Reset button.

- Press and hold the RESET button for at least 5 seconds until the LED blinks red quickly to reset the camera.


Safety Information
- Keep the device away from water, fire, humidity or hot environments.
- Do not use damaged charger or USB cable to charge the device.
- Do not use any other chargers than those recommended.
- Do not use the device where wireless devices are not allowed.
- Adapter shall be installed near the equipment and shall be easily accessible.
- Use only power supplies which are provided by manufacturer and in the original packing of this product. If you have any questions, please don't hesitate to contact us.
- For indoor use only.
- Do not disassemble, repair or modify the product.
- Do not use the product if the casing has been broken. Danger of electric shock.
- Never touch the product with wet hands.
- Do not expose to heavy rain or any type of moisture.
- Do not place near automatically controlled devices such as fire alarms. Radio waves emitted from this product may cause such devices to malfunction resulting in an accident.
- Observe restrictions on using wireless products in fuel depots, chemical plants or when blasting operations are in progress.
- Do not use liquid to clean the product. Only use a dry cloth.
- Never put metal objects inside the product. If a metal object enters the product turn off the circuit breaker and contact an authorised electrician.
- This product is not intended to be used when providing medical care. Consult the manufacturer of any personal medical devices, such as pacemakers or hearing aids to determine if they are adequality shielded from external RF (radio frequency) energy.
- Do not use this product in health care facilities. Hospitals or health care facilities may be using equipment that could be sensitive to external RF energy.
- Do not use this product near water for example near a bath tub, wash bowl, kitchen sink or laundry tub, in a wet basement or near a swimming pool.
- The product should be kept free from excessive smoke, dust or high temperature and vibration.
- This product should not be exposed to direct sunlight.
- Do not place heavy objects on top of the product.
- When you leave the product unused for a long time unplug the product from the power outlet.
- This product may interfere with other electronic products such as TV, radios, personal computers, phones or other wireless devices.
- Operating Temperature: 0°C ~ 40°C (32°F ~ 104°F).
Please read and follow the above safety information when operating the device. We cannot guarantee that no accidents or damage will occur due to improper use of the device. Please use this product with care and operate at your own risk.
Explanation of the symbols on the product label
Note: The product label is on the bottom of the product and its power supply. Symbols may vary from products.


Documents / Resources
References
Tapo | Smart Devices for Smart Living
Support | Tapo
https://community.tp-link.com
Tapo Care | Tapo
![www.apple.com]() App Store - Apple
App Store - Apple![play.google.com]() Google Play
Google Play
Download manual
Here you can download full pdf version of manual, it may contain additional safety instructions, warranty information, FCC rules, etc.
Advertisement


Need help?
Do you have a question about the Tapo C200C and is the answer not in the manual?
Questions and answers