Table of Contents
Advertisement
Quick Links
Advertisement
Table of Contents

Related Manuals for brainchip Akida Edge AI Box

Summary of Contents for brainchip Akida Edge AI Box
- Page 1 User Guide Version 1.0 User Guide – Version 1.0 Brainchip ©2024...
-
Page 2: Table Of Contents
1. Introduction ....................... 3 2. What's Included ......................3 Additional Equipment Needed ................3 3. Setting Up Your Akida Edge AI Box................4 Connecting the Hardware ..................4 Configuring Your Network ..................5 Configuring the IP Cameras ..................5 Verifying Camera Connectivity ................5 Finding the RTSP URLs .................... -
Page 3: Introduction
1. Introduction Welcome to the Akida Edge AI Box user guide. The Akida Edge AI Box is a powerful edge computing device designed for AI applications such as video analytics, face recognition, and object detection. This guide will walk you through the setup process and help you get the most out of your device. -
Page 4: Setting Up Your Akida Edge Ai Box
● HDMI monitor (minimum 720p resolution, 1280x720) ● HDMI cable ● Keyboard ● Mouse ● USB hub (for connecting keyboard, mouse and other peripherals) 3. Setting Up Your Akida Edge AI Box Connecting the Hardware 1) Connect your IP cameras to the ethernet switch using Ethernet cables. -
Page 5: Configuring Your Network
5) (Optional) Connect a USB keyboard and mouse to the Akida Edge AI Box, using a USB hub if necessary. 6) Power on the PoE switch, cameras, and monitor. 7) Connect the 12V DC power adapter to the Akida Edge AI Box and plug it into a power outlet. Configuring Your Network 1) On your laptop, open your network settings. -
Page 6: Finding The Rtsp Urls
4) If your cameras require authentication, the URL will be in this format: rtsp://username:password@172.18.10.20/Stream0 Setting Up the Akida Edge AI Box The Akida Edge AI Box can be set up using two methods: via Wi-Fi AP mode or via an Ethernet connection to a router. Method 1: Wi-Fi AP Mode 1) On your laptop, connect to the Wi-Fi network broadcasted by the Akida Edge AI Box. -
Page 7: Verifying The Setup
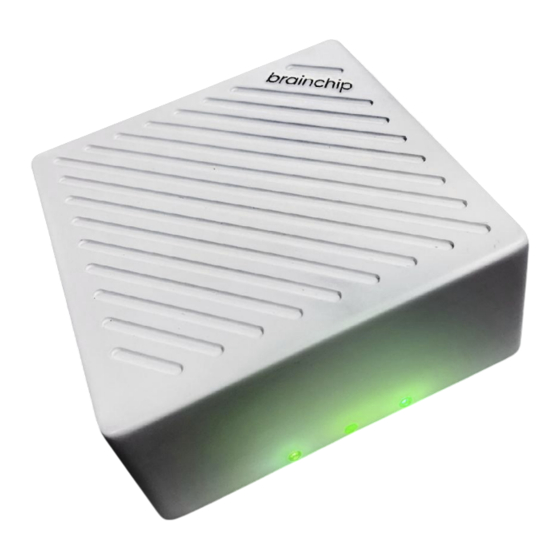
1) Reboot the Akida Edge AI Box by unplugging the power supply and plugging it back into the Edge AI Box. 2) After rebooting, check that all LEDs on the Akida Edge AI Box turn green. 3) After successful setup, the monitor connected to the Akida Edge AI Box will display the demo interface. -
Page 8: Accessing The Demo Interface
Accessing the Demo Interface After successful setup, the monitor connected to the Akida Edge AI Box will display the demo interface: Demos Community Terminal Documentation Demos: Launch pre-loaded artificial intelligence demos that showcase the capabilities of your Akida Edge AI Box. -
Page 9: Graphical User Interface Workflow Example
A YOLO algorithm that is trained for face detection. 5. Visual Wake Word (AkidaNet) a. This model uses BrainChip’s AkidaNet model architecture to detect the presence of a person in an image. Advanced configuration instructions for the AI models can be found in the Akida Edge AI Box Model Deployment Guide. -
Page 10: Advanced Configuration
Changing the Demo Layout 1) You can change the layout of the demo output displayed on the screen by modifying the configuration file: /etc/akida/akidemo.com 2) SSH into the Akida Edge AI Box: root@172.18.10.11 3) Open the configuration file: nano /etc/akida/akidademo.conf 4) Find the "composite_layout"... -
Page 11: Updating The Firmware
1.0 of this document. SD Card Preparation Methods There are two methods for preparing an SD card for the Akida Edge AI Box: via the Linux Command Line or via belenaEtcher. Both methods will create the necessary boot and root partitions on your SD card. - Page 12 Choose the ‘ext4’ file system format and configure the SD card to have a single partition. 3) Click ‘Next’, then select the ‘ext4’ format and finally click ‘Create’ to proceed. ● After the format is successful, you will get the screen below: User Guide – Version 1.0 Brainchip ©2024...
- Page 13 BCHU_AIBX_070624.x.x.x.x_d /* To Enter the Package */ user:~/BCHU_AIBX_070624.x.x.x.x_d$ ls To List the Package*/ Documentation firmware tools user:~/BCHU_AIBX_070624.x.x.x.x_d$cd Documentation To Enter Documentation Folder user:~/BCHU_AIBX_070624.x.x.x.x_d/Documentation$ /* To List Documentation Folder */ User Guide – Version 1.0 Brainchip ©2024...
- Page 14 9) To find the SD card mount point, open the ‘Disks’ application via the GUI menu or the gnome-disks command . The mount point is displayed at the top of the application window as shown in the red box in the image below. User Guide – Version 1.0 Brainchip ©2024...
- Page 15 Linux laptop 11) Please make sure the SD card has become bootable by using the “fdisk” command as below: # sudo fdisk –l ● A bootable SD card will have two partitions: User Guide – Version 1.0 Brainchip ©2024...
-
Page 16: Using Balenaetcher (Windows Or Linux)
Figure below shows the partitions created on the SD card. 12) Remove the SD card from the Linux machine. 13) Insert the SD card into the designated slot on the Akida Edge AI Box. 14) Power on the Akida Edge AI Box to begin the boot-up process. - Page 17 6) Click "Select target" and choose your SD card 7) Click "Flash!" to begin the process 8) Wait for the verification process to complete User Guide – Version 1.0 Brainchip ©2024...
-
Page 18: Initial Boot
9) Remove the SD card when prompted Initial Boot 1) Insert the SD card into the Akida Edge AI Box 2) Power on the device 3) Verify boot success via LED indicators User Guide – Version 1.0 Brainchip ©2024... -
Page 19: Troubleshooting
● Check the LED status on the Akida Edge AI Box. ● If cameras are not displaying, verify their RTSP URLs and authentication settings. ● For persistent issues, try power cycling the Akida Edge AI Box and the PoE switch. 9. Tested Components The following components have been tested and verified: ●...
Need help?
Do you have a question about the Akida Edge AI Box and is the answer not in the manual?
Questions and answers