Advertisement
Model No:60-DY1248N-5
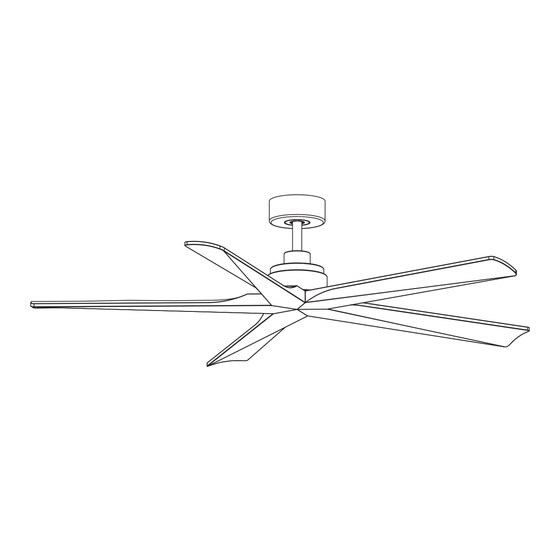
Ceiling Fan
Installation Manual
THANK YOU
We appreciate the trust and confidence you have placed in us through the purchase
of this ceiling fan.We strive to continually create quality products designed to
enhance your home.Thank you for choosing us!
for further assistance.
Visit www.pmwfan.com
Advertisement
Table of Contents

Summary of Contents for PMW 60-DY1248N-5
- Page 1 Model No:60-DY1248N-5 Ceiling Fan Installation Manual THANK YOU We appreciate the trust and confidence you have placed in us through the purchase of this ceiling fan.We strive to continually create quality products designed to enhance your home.Thank you for choosing us! for further assistance.
-
Page 2: Safety Information
SAFETY INFORMATION The information contained in the following pages has been prepared to ensureyour maximum enjoyment of your fan.Please remove the fuse or turn off the circuit breaker to cut off the power before installing the fan. Ensure all electrical connections are in compliance with local laws, regulations and national eletrical codes. If you are not familiar with electrical installation and wiring, please hire a qualified electrician or consult the wiring manual. -
Page 3: Tools Needed
DIMENSIONS >0.5m (19.7”) >35KGS <15° TOOLS NEEDED Step pliers Phillips Flat blade Electrical tape ladder screwdriver screwdriver tape measure... -
Page 4: Packing List
PACKING LIST Before unpacking the fan, please check that all parts are included , as listed below: 1.Bracket 5.Motor Assembly 2.Canopy 6.Pentagonal iron pieces 3.Downrod 7.Blade 4.Coupling cover Remote control unit Blade balance kit Hardware bag Installation manual ×16 ×6 ×3 ×2 ×4... -
Page 5: Hanging Bracket Installation
HANGING BRACKET INSTALLATION Make sure electricity is turned off at the main power box before commenc- ing work. Turn off the power by removing fuse or turning off circuit breaker before installing the fan. Make sure that ceiling joists are strong enough and of adequate size to support the weight of the fan of about 35 kg. - Page 6 ASSEMBLE THE FAN ① ② Detach the downrod assembly. Assembling Triangular iron pieces. Align the holes on the blade arms with the Loosen the two screws on the coupling.Route the ③ ④ corresponding ones on the motor assembly. wires through the downrod.Align the holes at the bottom of the downrod with the holes in the Then, use the blade arm screws to secure the coupling.
- Page 7 ⑥ Lift the pre-assembled fan and place it onto the ⑦ Put the receiver in the bracket. bracket. Rotate the fan until the groove on the ball aligns with the slot on the bracket. WIRING ① Wire in accordance with the wiring diagram.
- Page 8 MOUNTING REMAINING PARTS ① Rotate the canopy clockwise until screw heads engage the key slots fully. Tighten the screws. Be careful not to damage or cut the wiring.Then insert the decorative ring into canopy. START THE FAN...
-
Page 9: Remote Control Operation
REMOTE CONTROL OPERATION Button Function Fan Off Fan Speed (1/2/3/4/5/6) Forward/Reverse LED On/Off Colour Change Light brightness “+/-” Fan Timer Switch (1hr,3hr,6hr) Transmitter learning process NOTE: Your remote control has been factory pre-set, so no pairing is required for first-time use. Re-pairing Press and hold is only necessary if the remote control malfunctions. -
Page 10: Troubleshooting
TROUBLESHOOTING WARNING: Make sure the power is off at the electrical panel box before you attempt any repairs. Problem Solution □ Check the main and branch circuit fuses or breakers. □ Check the line wire connections to the fan and switch wire connections in the switch housing. The fan will not start. -
Page 11: Ceiling Fan
Ceiling Fan Questions, problems, missing parts? Before returning to the store, Questions, problems, missing parts? Before returning to the store, visit www.pmwfan.com for further assistance. visit www.pmwfan.com for further assistance. Retain this manual for future use. Retain this manual for future use. Manufacturer: Zhongshan Miaowang Electrical Appliance Co., Ltd.
Need help?
Do you have a question about the 60-DY1248N-5 and is the answer not in the manual?
Questions and answers