Do you have a question about the TX-8210R and is the answer not in the manual?
Questions and answers
Bob Boeddiker
January 21, 2025
Antananarivo wire placement?
1 comments:
Mr. Anderson
May 14, 2025
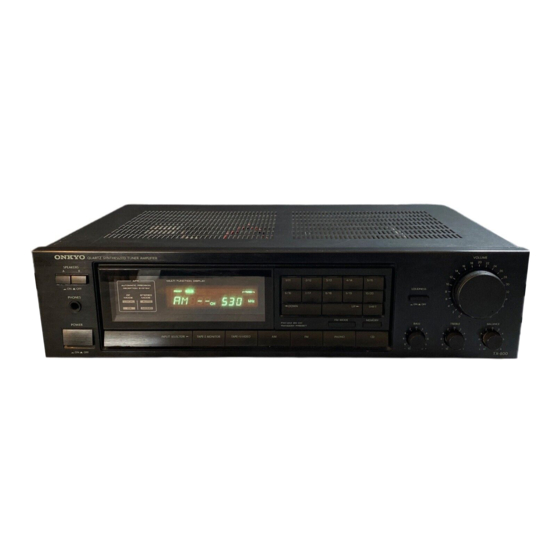
To connect the Onkyo TX-8210R properly, follow these general wire placement steps regardless of location, including Antananarivo:
1. Speakers: - Connect speaker wires to the speaker terminals on the back panel. - Match positive (+) and negative (–) terminals on both the receiver and speakers. - Use the “Speaker A” or “Speaker B” terminals depending on your setup.
2. FM Antenna: - Insert the supplied FM antenna into the “FM ANTENNA” port. - Extend the antenna wire fully for better reception.
3. AM Antenna: - Connect the loop AM antenna to the “AM ANTENNA” terminals. - Place the antenna away from metal objects for reduced interference.
4. Audio Inputs: - Use RCA cables to connect devices like CD players or turntables to “LINE IN” or “PHONO IN” (if using a turntable with a moving magnet cartridge).
5. Network (if needed): - Connect an Ethernet cable to the “LAN” port for wired network access.
6. Power Cord: - Plug the power cord into an AC outlet that matches the voltage rating of the unit (check the label on the receiver).
Use appropriate wire gauges for speaker connections (typically 16–18 AWG for short distances). Ensure all connections are secure and correct before powering on the unit.


Need help?
Do you have a question about the TX-8210R and is the answer not in the manual?
Questions and answers
Antananarivo wire placement?
To connect the Onkyo TX-8210R properly, follow these general wire placement steps regardless of location, including Antananarivo:
1. Speakers:
- Connect speaker wires to the speaker terminals on the back panel.
- Match positive (+) and negative (–) terminals on both the receiver and speakers.
- Use the “Speaker A” or “Speaker B” terminals depending on your setup.
2. FM Antenna:
- Insert the supplied FM antenna into the “FM ANTENNA” port.
- Extend the antenna wire fully for better reception.
3. AM Antenna:
- Connect the loop AM antenna to the “AM ANTENNA” terminals.
- Place the antenna away from metal objects for reduced interference.
4. Audio Inputs:
- Use RCA cables to connect devices like CD players or turntables to “LINE IN” or “PHONO IN” (if using a turntable with a moving magnet cartridge).
5. Network (if needed):
- Connect an Ethernet cable to the “LAN” port for wired network access.
6. Power Cord:
- Plug the power cord into an AC outlet that matches the voltage rating of the unit (check the label on the receiver).
Use appropriate wire gauges for speaker connections (typically 16–18 AWG for short distances). Ensure all connections are secure and correct before powering on the unit.
This answer is automatically generated