Advertisement
Quick Links
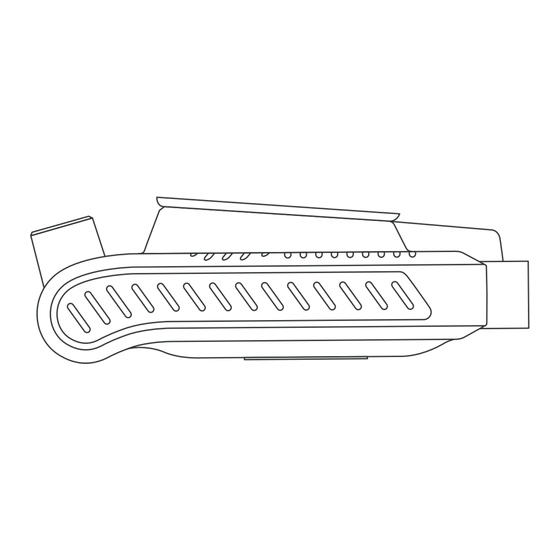
1. Peel o the sticker
on the back of the EYEDASH
3A. Connect plug to the OBD-II port
OBD-II port
3B. Connect plug to the J1939 port
J1939 port
Please contact EYERIDE Tech Support
with questions regarding installation:
Ignition wire
or
Ignition wire
EYEDASH AI Installation Guide
2. Clean the area on the windshield where you
plan to glue the EYEDASH camera.
We recommend rubbing alcohol to remove any
adhesive or dirt.
Once cleaned, place the EYEDASH on the
desired area on windshield and hold it in place
until it sets.
Windshield
3C. Alternative connection
An alternate way to install the EYEDASH is to
wire it via: Power, Ignition and Ground. The
next step is to connect CAN H and CAN L to
the CAN bus
Ignition
- Connect the yellow wire
marked ACC to ignition signal
Power
- Connect the red wire marked
BAT+ to battery positive (+)
Ground
- Connect the black wire
marked BAT- to ground
CAN High
- Connect the orange wire
marked CAN+ to CAN High
CAN Low
- Connect the green wire
marked CAN- to CAN Low
K-Line
- Connect the blue wire marked
K to K-Line
1-833-EYERIDE
support@eyeride.io
Advertisement

Summary of Contents for EyeRide EYEDASH AI
- Page 1 EYEDASH AI Installation Guide 2. Clean the area on the windshield where you 1. Peel o the sticker plan to glue the EYEDASH camera. on the back of the EYEDASH We recommend rubbing alcohol to remove any adhesive or dirt.
- Page 2 EYEDASH AI Installation Guide Instructions for installing a SIM into an EYEDASH: 1. Remove the phillips head screw on the side of the device. 2. Pull o the side cover. 3. Insert the SIM into the slot until it snaps 4.
- Page 3 EYEDASH AI Installation Guide You can use your own mounting bracket if it has the industry standard AMPS 4-hole pattern. EYEDASH AI has four M4 x 0.70 mm threaded inserts with the AMPS pattern layout (38 mm x 30 mm). 38mm Power Input Range: 10-36VDC, 1.5A...
Need help?
Do you have a question about the EYEDASH AI and is the answer not in the manual?
Questions and answers