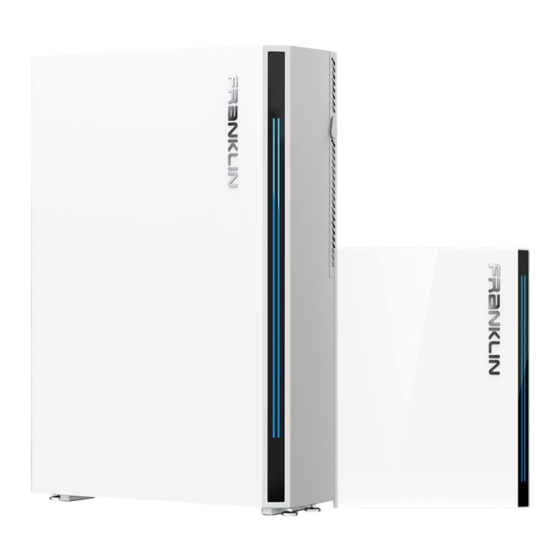
Summary of Contents for FRANKLINWH Smart Circuit
- Page 1 FranklinWH Smart Circuit Quick Installation Guide Version 1.2.02 aPower, SKU: APR-05K13V1-AU aGate, SKU: AGT-R1V1-AU Smart Circuits Module, SKU: ACCY-SCV1-AU Issued on: April 28, 2024...
- Page 2 All information in this Manual is subject to the copyright and other intellectual property rights of FranklinWH Australia Pty Ltd. This manual may not be modified, copied or reproduced, in whole or in part, without the prior written permission of FranklinWH Australia Pty Ltd.
- Page 3 FranklinWH Smart Circuit Quick Installation Guide Smart Circuits Overview The Smart Circuits Module is an optional aGate component. It provides two circuits for remote management, from anywhere and anytime. Easy Control Remotely and automatically manage unique home loads, connecting and disconnecting them easily via the FranklinWH App.
- Page 4 N (Smart Circuits) DANGER Despite being able to control the Smart Circuits through the FranklinWH App, the remote OFF status does not mean the circuit has been physically disconnected. It is important to test the circuit status during the installation process.
- Page 5 FranklinWH Smart Circuit Quick Installation Guide Installation Steps 1) Detach the aGate door and inner panel. b) Grasp the small notch on the right side of the aGate. Lift it slowly until the aGate door is completely open. Open this way...
- Page 6 FranklinWH Smart Circuit Quick Installation Guide c) Remove the inner panel: Use a Phillips head screwdriver or an electric screwdriver with a Phillips head screw bit. Turn the washer screw fastening the inner panel counterclockwise to remove the screw. Remove the aGate inner panel and properly store...
- Page 7 ① The SMT CT cable is used for CT current reading. Plug the CT cables into the SMT CT port to complete the connection. ② The SMT RLY is used for power supply to the Smart Circuit. Plug the relay drives cables into the SMT RLY connection port. Plug the other end to the Smart Circuit’s J4 Port.
- Page 8 FranklinWH Smart Circuit Quick Installation Guide SMT CT SMT RLY ① ② ① SMT CT cable Voltage ② SMT RLY cable ③ sampling port ③ Vol. Sampling Cable Re-install the protective cover and fasten the 4xM5 captive screws using a screwdriver, and then tighten them to the recommended torque.
- Page 9 FranklinWH Smart Circuit Quick Installation Guide Connecting the Smart Circuits Use the photo below for reference for Smart Circuits wiring. Each Smart Circuit has a separate CT to measure the power usage. NOTE Refer to the breaker specifications for the torque values for the breaker output cable screws.
- Page 10 FranklinWH Smart Circuit Quick Installation Guide Completing Installation a) Mount the aGate door hinges on the aGate cabinet. b) Install the inner panel and fasten it by tightening the M5 x 12 combination bolt. Tighten the screws clockwise using screwdriver or a drill with a Phillips bit .
- Page 11 FranklinWH Smart Circuit Quick Installation Guide aGate inner Labels Label positions...
- Page 12 After the Smart Circuits Module has been installed in the aGate, follow the following steps for adding and commissioning. Sign in to the FranklinWH App on the installer account. Search for the aGate serial number for which the Smart Circuits Module is to be commissioned in the Search Device box, and then click.
- Page 13 Circuit 1 and neutral. If the voltage is 230 VAC, it means that the Smart Circuit relay has been successfully turned on. Otherwise, it means that the Smart Circuit relay is in the open position or working abnormall y.
- Page 14 Circuit 2 in the app and use a multimeter to measure the voltage between Circuit 2 and neutral. If the voltage is 230 VAC, it means that the Smart Circuit relay has been successfully turned on. Otherwise, the Smart Circuit relay is in the open...


Need help?
Do you have a question about the Smart Circuit and is the answer not in the manual?
Questions and answers