Advertisement
Quick Links
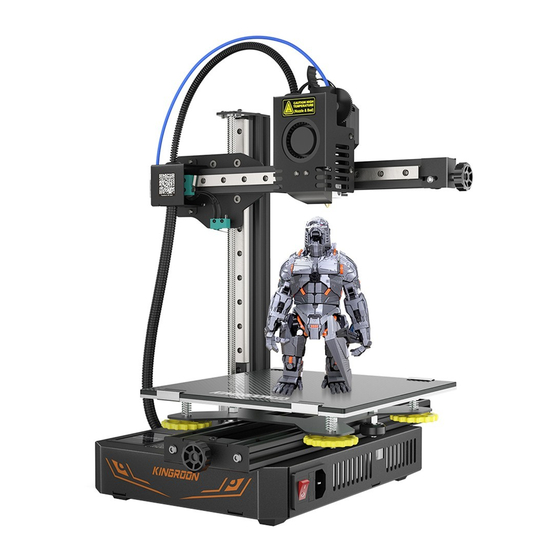
KINGROON
KP3S PRO V2-FDM 3D Printe
Instructions
KINGROON
Shenzhen Qi Pang Technology Co., Ltd
Email: Aliexpress:susie@kingroon.com
Alibaba: joan@kingroon.com
Amazon:jerry@kingroon.com
A402, 4th Floor, Building A.B, Donghaiwang Industrial Zone,
No.369 Bulong Road, Ma'antang Community,
Bantian Street, Longgang District, Shenzhen
Facebook/YouTube:KingRoon 3D Printer
Shenzhen Qi Pang Technology Co., Ltd
Shenzhen Qi Pang Technology Co., Ltd
Advertisement

Related Manuals for KINGROON KP3S Pro V2


Summary of Contents for KINGROON KP3S Pro V2
- Page 1 KINGROON KP3S PRO V2-FDM 3D Printe Instructions KINGROON Shenzhen Qi Pang Technology Co., Ltd Email: Aliexpress:susie@kingroon.com Alibaba: joan@kingroon.com Amazon:jerry@kingroon.com A402, 4th Floor, Building A.B, Donghaiwang Industrial Zone, No.369 Bulong Road, Ma'antang Community, Bantian Street, Longgang District, Shenzhen Facebook/YouTube:KingRoon 3D Printer Shenzhen Qi Pang Technology Co., Ltd...
- Page 2 1. Product description Catalogue 1. Product description 2. Packing list 3. Installation tutorial 4. Display screen 5. Leveling and vibration compensation 6. Wifi Settings 7. Printing method 8. Klipper web side use tutorial 9. Software installation 10. Software Settings 11. Precautions 1.
- Page 3 2. Packaging contents Component 1 Component 2 Material rack 330mm 345mm 320mm 325mm Pliers System Requirement Win7-10/Mac/Linux Product Model KP3S Pro V2 Power Cable USB flash disk Slicing software Cura/Slice/Host... Product type Nozzles number language CN/EN firmware Klipper Nozzle diameter 0.4mm...
- Page 4 3. Install the tutorial 3. Assemble the tutorial T-lead screw M5*8 The third step M5*30 Insert T - screw into T - nut, link and lock with coupling The first step Insert component 1 into component 2 for fixing, with screws M5*8 at the bottom and M5*30 at the back Fixed block The second step Step four...
- Page 5 3. Assemble the tutorial 4. Display ————Main interface ——IP address Insert the display into the host ——Level setting Cable interface ——Vibration compensation setting Step five ——Language setting 1: Take out the X-axis motor line to link the motor and the motherboard ——print 2: Take out the conversion link extruder head and motherboard, ——Return to zero setting...
- Page 6 5. Level the vibration compensation 6. Wifi configuration Open wpa_supplicant-wlan0.conf on your USB flash drive and fill in Step 1: Click the screen Level to enter Z_offset, and click Probe to your Wifi name and password move the nozzle to the hot bed Plug in the USB port of the printer, power off for one minute, and Then adjust the distance between the nozzle and the hot bed and restart the printer...
- Page 7 7. Printing method 8.Klipper web side use tutorial Print via screen Go to the Print option on the display screen and select System Print or USB flash drive print The system file is a Gcode print record generated through the Step 1: Create a web page and enter the IP on the display screen web side USB print is a Gocde file on a USB flash drive to enter the operation of Fluidd interface...
- Page 8 8.Klipper web side use tutorial 8.Klipper web side use tutorial Step 1: Drop down to the Macros option and click the Offset z_offset button to Step 1: Drop down to Macros, click vibration Compensation shaper, move the printer to the hot bed and wait for the vibration frequency data.
- Page 9 “Kingroon” – “KP3S Pro V2” on the dropdown menu Select the language you want and restart Cura Step 2: Open the configuration folder of KP3S Pro V2 and proceed with the installation instructions in the installation folder Machine configuration. After configuration, you need to restart Cura...
- Page 10 A safe working environment. KINGROON 3D printers should be equipped with original transformers or power supplies. In addition, it may damage the machine or even cause a fire. Always place the printer on a stable base and do not tip it over.
Need help?
Do you have a question about the KP3S Pro V2 and is the answer not in the manual?
Questions and answers
minha impressora está imprimindo torto, a mesa está desregulada no sentido horizontal
To adjust the horizontal alignment (leveling) of the KINGROON KP3S Pro V2 printer:
1. Prepare Paper: Use an A4 paper for leveling. Avoid thick paper like Iris paper.
2. Access Leveling Menu: Navigate to the leveling option on the display.
3. Move the Nozzle: Select the option to move the nozzle to the center of the bed.
4. Check Nozzle Cleanliness: Ensure no filament particles are stuck to the nozzle.
5. Adjust the Nozzle Height:
- Use the controls to move the nozzle up or down.
- Check for a slight gripping feel on the paper when placed under the nozzle.
- The paper should move freely but with slight resistance.
6. Save the Settings: Once the correct height is set, press the save button.
7. Auto-Leveling: After saving, restart the printer and select auto-leveling. The printer will perform a 36-point leveling adjustment.
This ensures proper bed leveling for accurate printing.
This answer is automatically generated