Advertisement
Quick Links
These instructions are intended to supplement the instructions provided with each assembly component.
Their purpose is to clarify the interaction between the components and the specific use of the complete
assembly.
1. Packaging
Your NETSPA ICE BATH is delivered in a set of four boxes, with an optional fifth box. By assembling the
following elements, you will retain all the functions of the spa and add the "chiller" function for invigorating
and restorative cold baths.
Box 1
Bathtub
4-seater
Bodenplane
2. Hydraulic connection
First, prepare the components according to their respective instructions. Now, you need
to make the hydraulic connections between the pool, the motor unit and the heat pump.
Switch off the water and electricity during installation.
1. Connect the air hose to the blower.
2. Connect the water hose coming out of the spa to the water inlet on the motor unit.
3. Connect the water hose coming out of the motor block to the water inlet (IN) of the heat pump using
Verschluss für Ablassöffnung
one of the connection hoses supplied in box 4.
4. Connect the water outlet hose (OUT) of the heat pump to the water inlet of the spa.
4
Filterkartuschen
Heat pump
Installations-DVD
NETSPA
Box 2
Motor unit
Motorblock
Aufblasschlauch
2
3
1
Filter Unterstützung
Motor unit
ICE BATH
Box 3
Heat pump
2 connecting pipes
3
1
Box 4
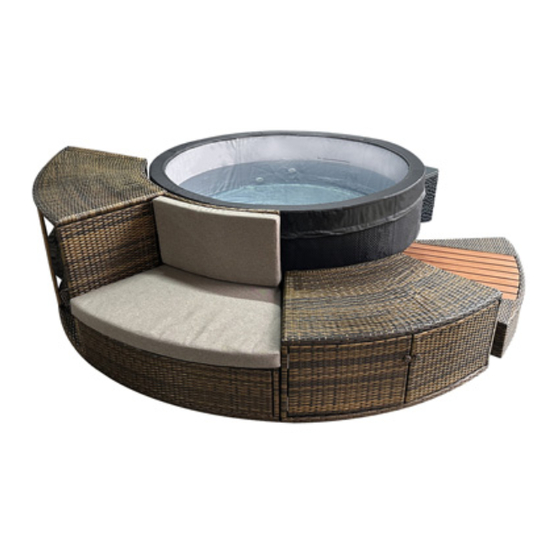
Box 5
Furniture
(optional)
2
4
1
2
3
1
Advertisement

Summary of Contents for POOLEX POOLSTAR NETSPA ICE BATH
- Page 1 NETSPA ICE BATH These instructions are intended to supplement the instructions provided with each assembly component. Their purpose is to clarify the interaction between the components and the specific use of the complete assembly. 1. Packaging Your NETSPA ICE BATH is delivered in a set of four boxes, with an optional fifth box. By assembling the following elements, you will retain all the functions of the spa and add the “chiller”...
- Page 2 3. Heat pump settings In order to take advantage of the “chiller” functions (T° < 5°C), advanced parameter C11 on the heat pump must be set to 2°C. This setting allows cooling down to 3°C. To change this setting, refer to your heat pump manual.
Need help?
Do you have a question about the POOLSTAR NETSPA ICE BATH and is the answer not in the manual?
Questions and answers