Advertisement
Quick Links
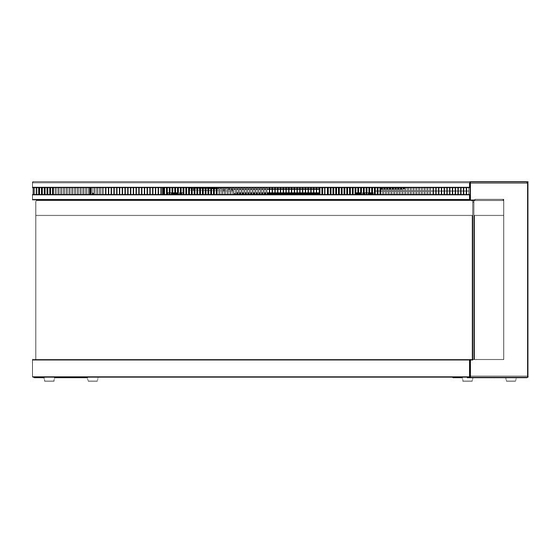
FENTON THREE SIDED VIEWING ELECTRIC FIREPLACE
Model# :
42"/50"/60"/65"/72"/100" Wall Mounted / Built-in Electric Fireplace
Read and understand this entire owner's manual, including all safety
information, before plugging in or using this product. Failure to do so could
WARNING
result in fire, electric shock, or serious personal injury.
Keep this owner's manual for future reference. If you sell or give this
CAUTION
product away, make sure this manual accompanies this product.
EF-FENT42
EF-FENT65
OWNER'S MANUAL
AC 220V-240V 50Hz 1400-1600W
Button cell Batteries are Hazardous (new or used).
KEEP AWAY FROM CHILDREN.
It can cause severe or fatal injuries in 2 hours or less
if they are swallowed or placed inside any part of the
body. If you suspect your child has swallowed, please
call 24-hour poisons information centre on 13 11 26
for fast, expert advice.
EF-FENT50
EF-FENT72
EF-FENT60
EF-FENT100
Advertisement

Summary of Contents for Fenton EF-FENT42
- Page 1 FENTON THREE SIDED VIEWING ELECTRIC FIREPLACE Model# : EF-FENT42 EF-FENT50 EF-FENT60 EF-FENT65 EF-FENT72 EF-FENT100 OWNER’S MANUAL 42"/50"/60"/65"/72"/100" Wall Mounted / Built-in Electric Fireplace AC 220V-240V 50Hz 1400-1600W Read and understand this entire owner’s manual, including all safety information, before plugging in or using this product. Failure to do so could WARNING result in fire, electric shock, or serious personal injury.
- Page 2 IMPORTANT SAFETY INFORMATION! WARNING When using electrical appliances basic precautions should always be followed to reduce the risk of fire, electric shock and injury to persons, including the following: Read all instructions before using this heater. This heater is hot when in use. To avoid burning, do not touch hot surface. If provided, use ...
- Page 3 Preparation This product includes a GLASS panel! Always use extreme caution when handling glass. Failure to do so could result in personal injury or property damage. Remove all parts and hardware from the carton and place them on a clean, soft, dry surface. Parts and assembly steps are grouped for wall-hanging or recessing use.
- Page 4 PRODUCT DIMENSIONS (mm) Model Number EF-FENT42 1067 1067 1065 EF-FENT50 1262 1262 1260 EF-FENT60 1524 1524 1522 EF-FENT65 1650 1650 1648 EF-FENT72 1828 1828 1826 EF-FENT100 2540 2540 2538 Installation and Assembly Your appliance is a wall-mounted, recessed appliance. Select a suitable location that is not susceptible to moisture and is away from drapes, furniture and high traffic areas.
- Page 5 Hard wiring installation for wall recessed WARNING TURN OFF THE APPLIANCE COMPLETELY AND LET COOL BEFORE SERVICING. ONLY A QUALIFIED SERVICE PERSON SHOULD SERVICE AND REPAIR THIS ELECTRIC APPLIANCE. HARD WIRING CONNECTION If it is necessary to hard wire this appliance, a qualified electrician must remove the cord connection and wire NOTE: A dedicated 15 Amp (or higher) breaker is required.
- Page 6 Installation Overview Your appliance facilitates three different installation configurations: three-sided, two-sided, and single-sided. Three-sided installation • Glass exposed on front, left, AND right sides. • Appliance is fully recessed into the wall with both sides open. Two-sided installation • Glass exposed on front AND left OR right sides. •...
- Page 7 Front Glass Installation / Removal Take off all screws from the top the glass panel. Tilt the front glass forwards, and have two people to move out the glass panel. Reverse these steps to re-install the front glass. ...
- Page 8 Model Number EF-FENT42 1067 (mm) 210 (mm) 443 (mm) EF-FENT50 1262 (mm) 210 (mm) 443 (mm) EF-FENT60 1524 (mm) 210 (mm) 443 (mm) EF-FENT65 1650 (mm) 210 (mm) 443 (mm) EF-FENT72 1828 (mm) 210 (mm) 443 (mm) EF-FENT100 2540 (mm)
- Page 9 Wall Mounted Installation Due to the many different materials used on different walls, it is highly recommended that you consult your local builder before you install this appliance on the wall. A.Select a location that is not prone to moisture and is located at least 36" (914mm) away from combustible materials such as curtain drapes, furniture, bedding, paper, etc.
- Page 10 “L” Shape bracket installation A.Remove the silver screw at the bottom of the appliance. (Fig 1-1). Set the screw aside. Fig 1-1 Fig 1-2 B.Using the screw previously removed, attached the L-bracket (J) to the bottom of the fireplace box.(Fig 1-2) Fig 1-3 C.Install the plastic anchor (C) into the dry wall, then install the longer screw (B) (supplied) into the hole of the L-bracket into the wall anchor to secure the fireplace...
- Page 11 Log-set / Crystals Installation (NOTE:Please make the installation according to the embers which you liking.) Glass front must be removed and the appliance must be mounted in its final location before the ember media are installed. B. Place the ember-bed strip (E) in position with the matte surface facing upwards. Carefully place the small crystal embers (H) into the bottom tray on the front of the appliance as illustrated.
- Page 12 Operation Read and understand this entire owner’s manual, including all safety information, before plugging in or using this product. Failure to do so could result in electric shock, fire, serious injury, or death. Power Plug the power cord into a AC 220-240 Volt outlet (see IMPORTANT SAFETY INFORMATION on Pages 2 and 3).
- Page 13 TIMER button: Controls timer settings to 1. Press once. Indicator light turns on. turn off fireplace at selected time. Timer is set to 0.5 hours. Settings range from 0.5 hours to 8 hours. 2. Press again until desired setting is TIMER reached.
- Page 14 1. Press once: Touch panel indicator becomes active. 2. Press again until desired setting is reached. Digital display shows setting circles as below. TEMP NOTE: Press the button for 5 seconds to switch between °C and °F TIMER button: Controls timer settings to 1.
- Page 15 1. Press once. LED ember light color effect LED Ember light brightness button: Makes the LED ember lights on bottom gets changing. effect gets changing. 2. Press again until desired setting is NOTE: LED Ember light brightness effect reached. In total 5 levels. stays on until power button is turned off.
- Page 16 Cleaning ALWAYS turn the heater OFF and unplug the power cord from the outlet before cleaning, performing maintenance, or moving this fireplace. Failure to do so could result in electric shock, fire, or personal injury. NEVER immerse in water or spray with water. Doing so could result in electric shock, fire, or personal injury.
- Page 17 WEEE: Meaning of crossed –out wheeled dustbin: Do not dispose of electrical appliances as unsorted municipal waste, use separate collection facilities. Contact you local government for information regarding the collection systems available. If electrical appliances are disposed of in landfills or dumps, hazardous substances can leak into the groundwater and get into the food chain, damaging your health and well-being.
Need help?
Do you have a question about the EF-FENT42 and is the answer not in the manual?
Questions and answers