Table of Contents
Advertisement
Quick Links
SERVICE
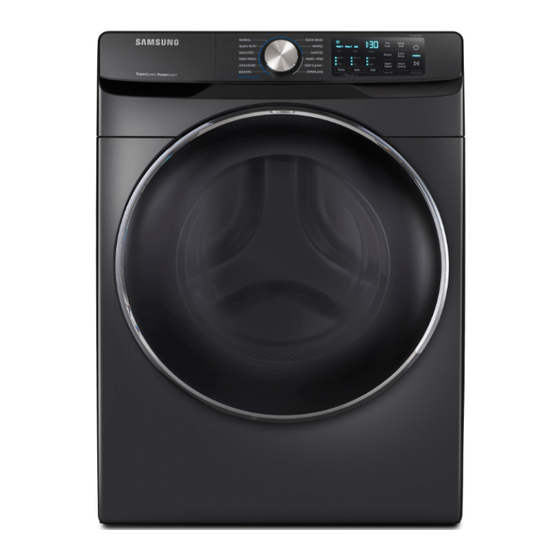
WASHING MACHINE (DRUM)
WASHING MACHINE
DRUM TYPE
Basic Model :
WF45R6100AP/US
(WF6000R)
Model Name :
WF45R6100AP
WF45R6100AC
WF45R6300AW
WF45R6300AC
WF22R6270AV
WF22R6270AP
(WF6000R)
Model Code :
WF45R6100AP/US
WF45R6100AC/US
WF45R6300AW/US
WF45R6300AC/US
WF22R6270AC/AX
WF22R6270AP/AP
WF22R6270AP/CO
WF22R6270AW/AP
WF22R6270AW/AC
WF22R6270AWCXD
(WF6000R)
1. Safety Instructions
2. Features and Specification
3. Disassembly and Reassembly
4. Troubleshooting
WF45R6100AW
WF45R6300AP
WF45R6300AV
WF45T6000AW
WF22R6270AC
WF22R6270AW
WF45R6100AW/US
WF45R6300AP/US
WF45R6300AV/US
WF45T6000AW/A5
WF22R6270AC/CO
WF22R6270AP/AX
WF22R6270AV/AX
WF22R6270AW/AX
WF22R6270APCXD
WF20T6000AWCXD
Manual
C U STO M ER R EP AIR GU IDE
CONTENTS
Advertisement
Table of Contents
Troubleshooting


Need help?
Do you have a question about the WF6000R and is the answer not in the manual?
Questions and answers