Advertisement
Quick Links
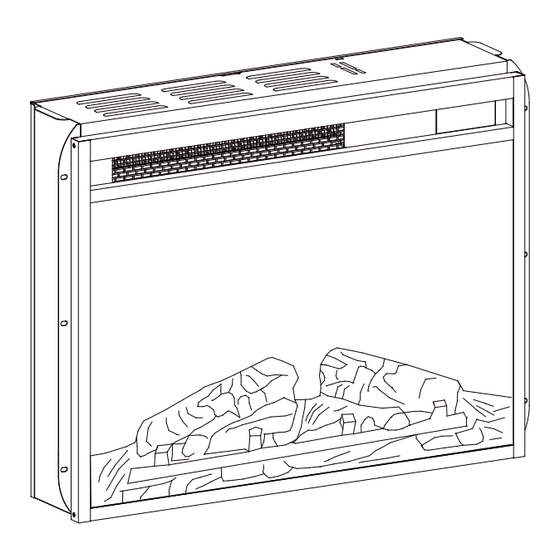
HOMEOWNERS OPERATING MANUAL
The actual appearance should be subject to the purchase model
MODELS:
261046
CONSUMER SAFETY INFORMATION: PLEASE READ THIS MANUAL BEFORE
INSTALLING AND OPERATING THIS APPLIANCE. FAILURE TO FOLLOW THESE
INSTRUCTIONS MAY RESULT IN A POSSIBLE ELECTRIC SHOCK, FIRE HAZARD, AND/OR
INJURY AND WILL VOID THE WARRANTY.
WARNING: IF THE INFORMATION IN THIS MANUAL IS NOT FOLLOWED, AN ELECTRIC
SHOCK OR FIRE MAY RESULT IN PROPERTY DAMAGE, PERSONAL INJURY, OR LOSS OF
LIFE.
THIS INSTRUCTION BOOKLET CONTAINS
PLEASE READ AND KEEP FOR FUTURE REFERENCE.
ELECTRIC FIREPLACE
RV23V80S-MT1
RV26V80S-MT1
RV28V80S-MT1
RV30V80S-MT1
RV33V80S-MT1
RV36V80S-MT1
RV42V80S-MT1
RV48V80S-MT1
RV23V80L-MT1
RV23V80M-MT1
RV26V80L-MT1
RV26V80M-MT1
RV28V80L-MT1
RV28V80M-MT1
RV30V80L-MT1
RV30V80M-MT1
RV33V80M-MT1
RV33V80L-MT1
RV36V80L-MT1
RV28V80H-MT1
RV30V80H-MT1
RV42V80L-MT1
RV33V80H-MT1
RV48V80L-MT1
IMPORTANT
01
SAFETY INFORMATION.
Advertisement

Related Manuals for Walker Edison RV23V80S-MT1

Summary of Contents for Walker Edison RV23V80S-MT1
- Page 1 ELECTRIC FIREPLACE HOMEOWNERS OPERATING MANUAL The actual appearance should be subject to the purchase model MODELS: RV23V80S-MT1 RV23V80L-MT1 RV23V80M-MT1 RV26V80S-MT1 RV26V80L-MT1 RV26V80M-MT1 RV28V80S-MT1 RV28V80L-MT1 RV28V80M-MT1 RV30V80S-MT1 RV30V80L-MT1 RV30V80M-MT1 RV33V80S-MT1 RV33V80M-MT1 RV33V80L-MT1 RV36V80S-MT1 RV36V80L-MT1 RV28V80H-MT1 RV30V80H-MT1 RV42V80S-MT1 RV42V80L-MT1 261046 RV33V80H-MT1 RV48V80S-MT1...
- Page 2 IMPORTANT INSTRUCTIONS When using electrical appliances, basic precautions should always be followed to reduce the risk of fire, electrical shock, and/or injury including the following: 1. Read all instructions before using this heater. 2. This heater is hot when in use. To avoid burns, do not let bare skin touch hot surfaces. Keep combustible materials, such as furniture, pillows, bedding, papers, clothes, etc.
- Page 3 PACKAGE CONTENTS Fireplace Remote Control Manual L-Brackets screws ELECTRICAL SPECIFICATIONS Voltage: 120VAC Rating: 1400 Watts Frequency: 60Hz...
- Page 4 INSTALLATION INSTRUCTION GROUNDING INSTRUCTIONS: Figure 2 This heater is for use on 120 volts. The cord has a plug as shown at (A) in figure 2. An adapter as shown at (C) is available for connecting three-blade grounding-type plugs to two-slot receptacles.
- Page 5 If the clearance distance of side panel of insert and mantel less than 3.4inch, fix the insert with furniture by L-Brackets on the back panel. 1. Loosen the zinc plated screw. Align the large hole on the long side of the L-Brackets with zinc plated screws on the fireplace.
- Page 6 Do not share a socket with other appliances when using the electric fireplace. Please use a dedicated socket. × √ × Never use with an extension cord or relocatable power tap (outlet / power strip). electric fireplace ×...
- Page 7 OPERATING INSTRUCTION On the top-right of the electric firebox is the mechanical control panel. This panel contains the buttons to properly operate the electric fireplace. The functions of buttons on the remote control are the same as the control panel. The remote control has an effective range of up to 19 ft.. Digital Display POWER The POWER button turns the fireplace on or off.
- Page 8 TIMER The TIMER has adjustable setting at range from 1 hour to 8 hours and OFF. As shown the following: 1h-2h-3h-4h-5h-6h-7h-8h-OFF. If the digital display turns on and nothing happens within 10 seconds, the digital display will auto shut off. Once you have set the timer, and the timer is up, close all the functions and enter standby mode.
- Page 9 BATTERY REPLACEMENT The battery compartment is located on the back end of the remote control. 1. Press and slide the battery cover open. 2. Insert two 1.5V (AAA) batteries ensuring they are installed correctly with regard to the polarities (+ and -) marked on the inside of the battery compartment. 3.
- Page 10 MAINTENANCE Clean the metal trim using a soft cloth, slightly dampened with citrus oil based product and buff with a clean soft cloth. DO NOT use brass polish or household cleaners as these products will damage the metal trim. Citrus oil based products can be obtained at supermarkets or hardware stores. The motors used on the fan and the flame generator assembly are pre-lubricated for extended bearing life and require no further lubrication.
- Page 11 TROUBLESHOOTING Fault code Fault Cause Solution Turn the unit off and unplug it from the electrical Heater is not working outlet. Check for dirty or clogged vents. Clean the dust and debris from the vent area. Wait 5 minutes, plug in the fireplace, and then turn it back on. If the heater still doesn't work, contact customer service.
- Page 12 1 YEAR LIMITED WARRANTY Our electrical fireplace is free from manufacturing and material defects for a period of one year from date of purchase, subject to the following conditions and limitations. 1. This electric fireplace must be installed and operated at all times in accordance with the installa- tion and operating instructions furnished with the product, Any unauthorized repair, alteration, willful abuse, accident, or misuse of the product shall nullify this warranty.
Need help?
Do you have a question about the RV23V80S-MT1 and is the answer not in the manual?
Questions and answers