Advertisement
Quick Links
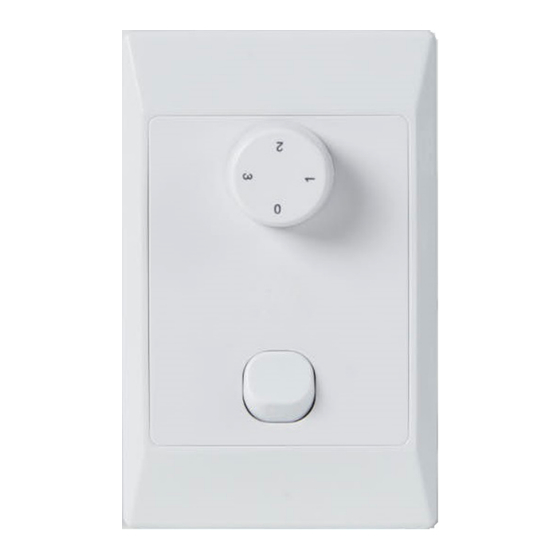
3 SPEED ROTARY DC WALL CONTROL
INSTRUCTION MANUAL
Version 0.9.4
MODEL:
DCFAN3SPWC - SUITS 'WITHOUT LIGHT' FANS
DCFAN3SPWCL - SUITS 'WITH LIGHT' FANS
Compatible with the following fan models:
SkyFan DC, Glacier DC, DC 3 and Alaska DC (or equivalent)
PLEASE NOTE: The Flexmech cannot be used either simultaneously, or in
conjunction with a remote andset
h
or other wall controls.
WARNING: FOR YOUR SAFETY, ALL ELECTRICAL CONNECTIONS MUST BE
UNDERTAKEN BY A LICENSED ELECTRICIAN IN ACCORDANCE WITH AS/NZS
3000 WIRING RULES. A CIRCUIT BREAKER (10A) TYPE C ACCORDING TO AS/NZS
60898-1 SHALL BE INSTALLED.
Without Light
With Light
MUST BE
INSTALLED BY
DIY
A LICENSED
ELECTRICIAN
* Images shown are for illustration purposes only and may not be an exact representation of the product.
Advertisement

Related Manuals for Ventair Flexmech DCFAN3SPWC


Summary of Contents for Ventair Flexmech DCFAN3SPWC
- Page 1 3 SPEED ROTARY DC WALL CONTROL INSTRUCTION MANUAL Version 0.9.4 MODEL: DCFAN3SPWC - SUITS ‘WITHOUT LIGHT’ FANS DCFAN3SPWCL - SUITS ‘WITH LIGHT’ FANS Compatible with the following fan models: SkyFan DC, Glacier DC, DC 3 and Alaska DC (or equivalent) PLEASE NOTE: The Flexmech cannot be used either simultaneously, or in conjunction with a remote andset or other wall controls.
- Page 2 ELECTRICAL WIRING DIAGRAM & INSTALLATION No Light model Speed Selector Isolation Switch With Light Model (-L) Speed Selector Isolation Switch Light Switch onnect “LIVE” supply to “L” on the isolation switch as per diagram above (n o neutral connection required). NOTE: Please ensure you complete the pairing process after finali ing the installation.
- Page 3 PAIRING INSTRUCTIONS 1. Turn isolation switch off. 2. Set speed selector to the ‘OFF’ position. 3. Turn isolation switch “ON”. Within 4 seconds rotate speed selector dial to 1. The fan will emit a ‘beep beep’ sound to indicate the pairing process has succeeded. OPERATING MULTIPLE FANS USING ONE FLEXMECH NOTE: Only one fan can be connected in series with the Flexmech Control Module.
- Page 4 LED OPERATION LED COLOUR SELECTION: COLOUR TEMPERATURE MUST BE SET PRIOR TO INSTALLATION Toggle micro-switch located on the side of the module to desired colour temperature: WW/NW/CW (Warm White: 3,000K / Natural White:4200K / Cool White: 6,500K) LED BRIGHTNESS (DIMMING): Using the light switch, toggle quickly (off-on) to increase or reduce brightness.
- Page 5 WARRANTY PERIOD: This product is covered against manufacturing defects by a one (1) year limited warranty. During this period Ventair will, at our discretion supply parts or provide a replacement unit of the same or comparable model. IN HOME WARRANTY SERVICE: Not applicable.
Need help?
Do you have a question about the Flexmech DCFAN3SPWC and is the answer not in the manual?
Questions and answers