Advertisement
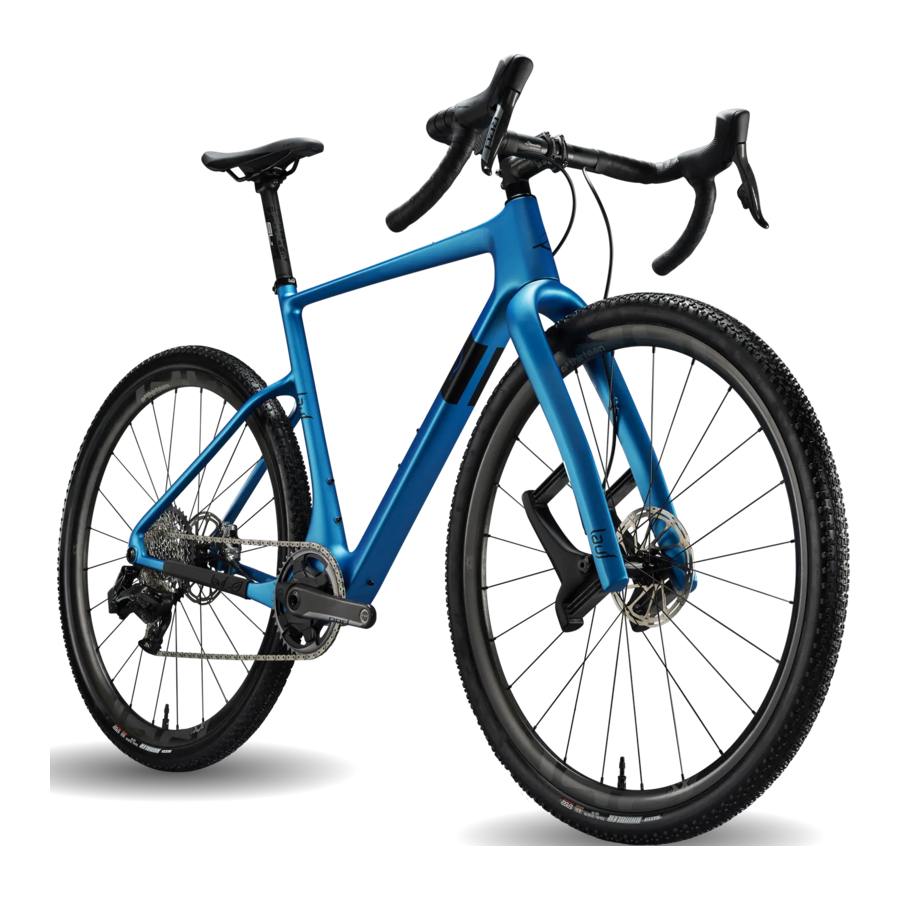
Introduction

READ THESE INSTRUCTIONS CAREFULLY BEFORE FIRST USE.
We understand you are in a hurry to go riding, but please take a deep breath and read this installation guide first. A video of the assembly process might also help you out!
Please see the QR:

Assembly Guide video

Lauf Support site
Remember, there is no shame in taking your bike to a local bike shop for assembling and maintenance. If you have the tools and skills to perform it yourself you'll find some basic tricks and tips below.
Don't hesitate to contact us if you need assistance in finding the correct fit on the bike. Professional bike fitting is also highly recommended for the best riding experience.

TORQUE WARNING
Always make sure to use a torque wrench for tightening where indicated with the correct amount of torque.
Torque values are mentioned in each step.

What is in the accessory box?
The accessory box provided with your bike contains various components used in the assembly process.
Some parts weren't required for assembly but have been included for your reference.
WHAT'S IN THE BOX

WHAT'S NOT IN THE BOX

Unpacking bicycle box
Steps 1-5:


Step 6:
Keep the accessory box, saddle and wheel near you.

Step 7:
Take the bike out of the box with both hands.

Step 8:
You can use the bike box as a workstand.

Step 9:
Remove the cardboard packaging.

Seatpost
The saddle height
This saddle height vs. inseam table provides a great starting point for setting your saddle height, enhancing both comfort and pedaling efficiency. Adjust as needed to suit your personal preferences.
Measuring the inseam is quick and simple, requiring just two people, a book and a few minutes.
To begin:
- Stand with your back against the wall and feet positioned 6-8 inches (15–20cm) apart.
- Place a book between your legs, spine-up, raise until the book mimics a bike seat and is positioned between your legs.
- Get a second person to measure from the top-of-the book to the floor (cm) this is your inseam length.


PLEASE USE

- Loosen the seat clamp.
![]()
- Apply a generous amount of carbon paste inside the seat tube and on the seat post.
![]()
- Adjust the saddle close to preferred height, and tighten gently (~2Nm).
![]()
- Twist the seat to roughen the contact surface and help prevent the seatpost from slipping.

- Set the height and torque to 5Nm.


Handlebar
PLEASE USE

- Remove the screws.
![]()
- A good rule of thumb is to align the handlebar so that the top of the handlebar is parallel to the ground.

- Apply grease to the bolts before installation. Then, tighten each bolt ¼ turn at a time.
![]()
- Tighten the faceplate in an X-pattern to tighten the faceplate evenly on the handlebar, until you reach 5 Nm for each bolt.

- The faceplate should not touch the stem anywhere. There should be a gap between the faceplate top and bottom of the stem.
![]()


Front wheel
Make sure NOT to squeeze the front brake lever until front wheel has been installed
PLEASE USE

- Remove the thru axle before installing the wheel.
![]()
- Place the wheel into the fork hub guides.
![]()
- Lightly apply grease to the thru axle before installing it.
![]()
- Insert the thru axle through the hub mounts on the fork.

- Tighten the axle with a torque wrench to 12Nm. It is crucial to tighten the thru axle properly to ensure good lateral rigidity of the fork.


Pedals
PLEASE USE

IF NEEDED

Depends on pedals of choice. Often 6mm or 8mm hex/allen key or a 15mm open end wrench / pedal wrench.
- Take out the thru axle before Lightly grease the threads installing the wheel. of the pedals before installing.
![]()
- Install the included washers onto the pedal spindles.

- Turn the inner attachment with you hands until you need wrench / allen key.

- Turn the pedal wrench / allen key clockwise to tighten the drive side pedal (R) and counterclockwise to tighten the non-drive side pedal (L).

- Please follow to the torque recommendations provided by the pedal manufacturer.
![]()


RD Battery
FOR FURTHER DETAILS, PLEASE CONSULT WITH THE SRAM MANUALS LISTED BELOW.
The gears on your bike should arrive fully tuned and ready to ride. If any adjustments are necessary, please refer to the two links below for instructions on adjusting the AXS shifting.
- SRAM AXS User and Service Manual for XPLR & Red: Here
- SRAM AXS User and Service Manual for Eagle Transmission: Here
The SRAM Welcome guide will help you get familiar with the SRAM groupset: Here
- Remove the red battery block from the rear derailleur.
![]()
- Insert a fully charged AXS battery into the rear derailleur and close the battery latch (the latch should snap into place).

- Green light will show when it is entered correctly.
![]()
- Do not discard the battery cover and battery block, as they help prevent battery depletion during transportation by allowing you to remove the battery from the derailleur.


Tires
NEEDED

- Insert the pump end onto the valve.
![]()
- Inflate the tire.
![]()


Tire pressure guide

Maintenance / Checklists
Check before each ride
- There's no play in the headset: To check for play in the headset, lock the front brake with one hand. With your other hand, place your fingers where the headset cup and frame meet. Move the bike back and forth and see if you can feel any play.
If there is play, loosen the two stem clamp bolts using a 4 mm hex/Allen key (do not remove them). Next, tighten the top cap with a 6 mm hex/Allen key until there is no play (be careful not to overtighten). Ensure the stem is aligned with the front wheel, then retighten the two stem clamp bolts to 6 Nm.
- Handlebar is firm.
- Hub thru-axles, pedals and other bolts are tight.
- Brakes are working properly and brake pads are not excessively worn.
- Cables do not rub against the frame or fork.
- Chain is clean and lubed.
- Tire pressure is appropriate for the terrain you plan to ride on.
- Frame, tires, rims and components show no sign of damage wear or material fatigue.
- AXS battery is charged.
Always pay attention to any new sounds or if you feel something new as your bike might need some love and care. In case you crash please examine the frame, fork, seatpost and handlebar for any visible cracks as well as making sure everything is aligned and tightened properly.
After ride care
Maintaining your bicycle is crucial for its performance and longevity. Regular cleaning and maintenance not only keep your bike looking good but also ensure safety and efficiency while riding. Here's why proper bike cleaning and maintenance are essential:
- Performance: A clean bike operates smoothly, with components like the chain, gears, and brakes functioning optimally.
- Durability: Regular cleaning prevents corrosion and rust, extending the lifespan of crucial parts such as the chain, drivetrain, and frame.
- Prevention: Cleaning your bike can reveal possible issues or damage hidden by mud and dirt such as chipped or cracked paint that could be a sign of carbon damage.
- Safety: Well-maintained bikes reduce the risk of accidents or mechanical failures by ensuring brakes, tires, and fasteners are in top condition.
- Cost-effectiveness: Investing time in maintenance avoids costly repairs or part replacements in the long run.
- Enjoyment: Riding a clean and well-maintained bike is more enjoyable and satisfying, providing peace of mind on the road or trail.
To properly maintain your bike, establish a routine cleaning schedule, inspect it regularly for any signs of wear or damage, and address issues promptly. If you're unsure about how to perform maintenance tasks, consider taking your bike to a professional mechanic for servicing. By prioritizing proper cleaning and maintenance, you'll not only prolong the life of your bicycle but also enhance your riding experience.
More
Weight limit
Maximum allowed weight of rider + bike + luggage is 120kg/265lbs.
Bike Packing
Going on an adventure? If you decide to use frame bags, saddle bags or any other bags that are strapped on the bike please make sure you protect the frame/fork/seatpost/handlebar with a frame protector or just simply a packing tape. Make sure to cover all areas where the bags can touch the bicycle.
About our bikes
Please read more about our bikes on our website: laufcycles.com
Documents / Resources
References
![docs.sram.com]() eTap AXS | SRAM
eTap AXS | SRAM![www.sram.com]() Eagle Transmission Welcome Guide | SRAM
Eagle Transmission Welcome Guide | SRAM![laufcycles.com]() Lauf Cycles - gravel bikes, mountain bikes and road bikes
Lauf Cycles - gravel bikes, mountain bikes and road bikes
Download manual
Here you can download full pdf version of manual, it may contain additional safety instructions, warranty information, FCC rules, etc.
Advertisement


Need help?
Do you have a question about the Seigla and is the answer not in the manual?
Questions and answers