Advertisement
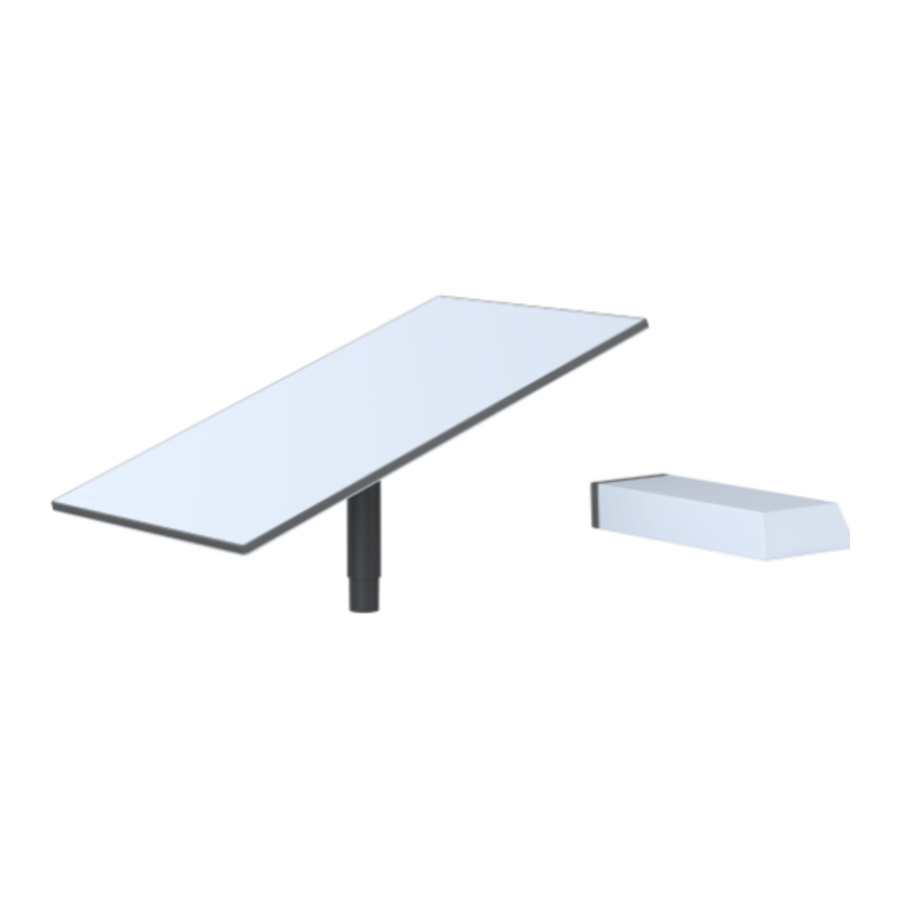
WHAT'S IN THE BOX

INSTALL
- Download the Starlink App
Scan the QR code to download the Starlink App.
![]()
![]()


- Find A Clear View of Sky and Check for Obstructions
Your Starlink needs a clear view of the sky so it can stay connected with satellites as they move overhead. Objects that obstruct the connection between your Starlink and the satellite, such as a tree branch, pole, or roof, will cause service interruptions. Use the obstruction tool in the App to ensure you have selected a suitable mounting location.

- Install Mount
Using your desired Starlink mount, install in an elevated location, like a roof, pole, or wall.
Additional mounts and accessories are available for purchase on the Starlink Shop.

- Connect and Align Starlink
Follow the cable routing instructions for your chosen Starlink mount and plug one end of the Enterprise Cable into your Starlink. Ensure the plug is fully inserted such that the plug face is flush with the surface. To remove the cable, pull firmly outward as there is no release tab. Plug the other end of the Enterprise Cable to your Power Supply. Connect the Ethernet Cable to the power supply and the other end to a router.


You can utilize the Starlink App to view statistics, access terminal settings and contact support. Configuration may be required for the Starlink app to work with some 3rd party routers.
After you have set up your 3rd party router and connected to Starlink with the WAN port, open the Starlink app. If the app says "Starlink unreachable", create a static route in your router configuration settings.
Please refer to your router's documentation for instructions on setting a static route.
Network destination: 192.168.100.0
Subnet Mask: 255.255.255.0
Gateway: 192.168.100.1
Interface: WAN
Note: These options may differ depending on your specific hardware and network configuration.
- Connect to WiFi
- On your device, find and connect to the STARLINK network in your WiFi settings.
![]()
- Once connected, a browser window will open prompting you to enter a new SSID (Network name) and password. This step is optional but recommended.
- You are now connected! Open the Starlink App to customize additional settings, check your connection, and more.
- On your device, find and connect to the STARLINK network in your WiFi settings.

POWER SUPPLY MOUNT INSTALL
- Mark Pilot Holes
Remove the power supply from its mount and select a mount location no more than 1.8 m (6ft) away from your power source.
Mark the location of the two holes on your Power Supply Mount using a pen or pencil.

- Drill the Pilot Holes
Drill the holes with a 8 mm (5/16 in) drill bit.
![]()
- Install Anchors and Mount
Push anchors into holes until flush with the wall.
Place the wall mount over the anchors and screw the mount into the wall until securely attached.

- Plug In Cables and Power Supply
Plug the Starlink, AC and Ethernet cables into the power supply. Slide the power supply into the mount, making sure the top clip snaps into place.
Finish installation by routing the Ethernet cable to your router install location, connect to router and plug in router and power supply into your power source.
![]()


Documents / Resources
References
Download manual
Here you can download full pdf version of manual, it may contain additional safety instructions, warranty information, FCC rules, etc.
Advertisement

Need help?
Do you have a question about the ENTERPRISE and is the answer not in the manual?
Questions and answers