Advertisement
- 1 What's Included with your Maxwell
- 2 Function Guide
- 3 Getting Started
- 4 Using the Wireless Dongle
- 5 PlayStation Setup
- 6 Game/Chat mixer
- 7 Xbox Setup
- 8 Adjusting the Head Strap
- 9 Attaching/Detaching Earpads
- 10 Sidetone
- 11 Media controls
- 12 EQ Presets and Programming
- 13 Programming Custom EQ Profiles
- 14 A.I. Noise Suppression
- 15 Advanced Bluetooth Function
- 16 Documents / Resources
What's Included with your Maxwell
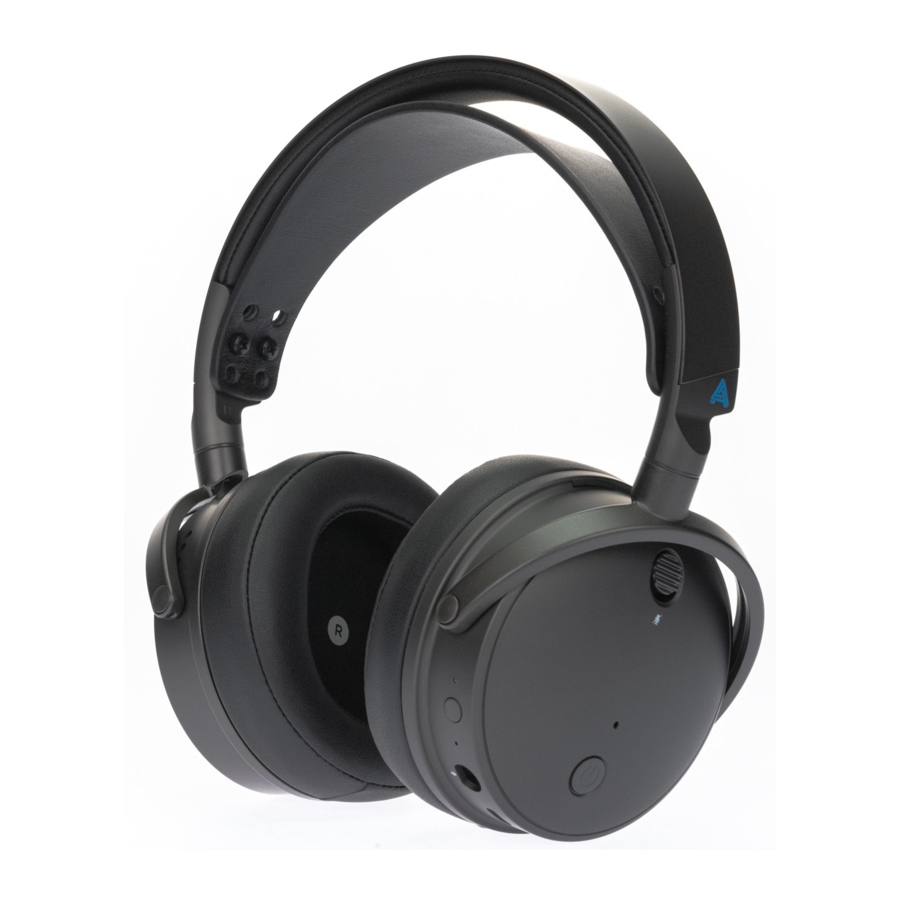
- Maxwell Wireless Planar Magnetic Gaming Headphones
- USB-C Wireless dongle
- USB-C Charging and data cable
- USB-C to USB-A adapter
- Warranty and information card
- Quick start sheet
Function Guide


Getting Started
Your Maxwell has an expected battery lifespan of 80+ hours. We recommend fully charging your Maxwell before first use via any 5v USB source. Maxwell supports 1.8 Amp fast chargers and will be capable of 20 to 30 hours of charge time in 20 minutes.
Power on your Maxwell by holding down the power button on the front cup for 3 seconds (Audio cue: Power On). Your Maxwell will automatically connect to the first connected source in the connection priority.
Maxwell will connect to the dongle out of the box as long as it's plugged into a compatible device and the switch on the dongle is set to the appropriate mode for that device (Audio cue: Connected). To turn the microphone on or off, use the toggle switch on the outside of the left earcup (up is on, down is off).
Bluetooth Connection
Pairing via Bluetooth is similar on most platforms. To put your Maxwell into Bluetooth pairing mode, just double tap the power button (Audio cue: Pairing).
Maxwell supports swift pair on Windows and quick pair on Android phones. Simply put your Maxwell into pairing mode near your Windows machine or Android phone and it should prompt you to pair automatically.
 Note: When pairing to any device; do not select "Audeze Maxwell BLE". This refers to the low energy mode and is not the correct device for initial pairing.
For system specific pairing instructions, see below:
Windows
From Windows settings, go to Settings > Bluetooth & Devices > Add Device. Click "Bluetooth" and then "Audeze Maxwell BT" from the device menu.

Mac
From the desktop, click the control panel icon at the top right comer. Click the Bluetooth button, then click "Bluetooth Preferences" on the following window. On the Bluetooth Settings window, click the "Connect" button adjacent to "Audeze Maxwell BT'.

Android
Go to Settings> Bluetooth. With our Maxwell in pairing mode it will show in the devices list:

iOS
Go to Settings > Bluetooth. With our Maxwell in pairing mode it will show in the devices list:

USB Connection
Your Maxwell wi ll automatically switch to USB mode (Audio cue: USB) when a USB cable is plugged into the port on your headphones with an active data connection. USB mode supports 24bit/96khz lossless hi-res audio on compatible systems.
If you want to charge your Maxwell Play Station while using it in Bluetooth mode, you'll need to plug it in to a power only USB port like a wall wart charger (a USB Condom wi ll also work for charging on sources with a data connection).
AUX Connection
Maxwell will automatically switch to AUX mode when an AUX cable is plugged into the correct port on your headphones.
PLEASE NOTE: There are two AUX in ports on your headphones, the AUX in port is the one at the bottom of the headphones nearer to the volume wheels. The recessed port at the front of the headphones is for the Boom mic only.
Using the Wireless Dongle
When using your dongle on your preferred console, the switch on the side of the dongle must be set to the appropriate setting for full functionality. To set the dongle, unplug it from your source device and flip the switch to PS or Xbox (depending on the version you own) and plug it back in. Your Maxwell will automatically reconnect to the dongle if it's detected (Audio cue: USB Dongle).
To pair a new dongle or re-pair an existing one to your headset (as of firmware version 32):
- Insert dongle into a source device
- Insert a paperclip into the small hole on the side of the dongle and press the button down until the LED on the dongle begins to flash (you'll feel a slight click when pressing).
- Once the LED begins to flash, press hold the Noise Reduction button on the front of your headphones, and while that button is held down, press the power button three times. Your headphones will power cycle and pair to the dongle on the next boot.

![warning]() Note on the "PC" dongle setting
Note on the "PC" dongle setting
The PC mode on the dongle should be used for all other devices, including other consoles like the Nintendo Switch, Steam Deck, etc. as well as PC and Mac. The PS and Xbox modes are specifically tailored to those consoles and PC mode will give you the best functionality on other devices.

The wireless dongle that comes with your Maxwell offers ultra low latency playback, very robust wireless transmission strength and hi-res audio. For devices that support Bluetooth LE Audio, the dongle is not required for low latency playback as long as LE Audio enabled on your device (currently this option is in the Developer Options menu on Android. This is a part of the new Bluetooth 5.3 protocol that will become available on more Android devices in the future, for more information on setup, see the Advanced Bluetooth Function section).
Simultaneous Audio
Your Maxwell chooses its connection automatically based on available connection types. If a wired connection source is active while using Maxwell via Bluetooth, it will attempt to play through both audio sources. Please note that simultaneous audio through any connection type while a Dongle connection is active, or through two simultaneous wired connections (USB+AUX) is not possible.
Note on charging while using the dongle: The USB dongle must be unplugged before the USB cable will function via wired connection. If you wish to charge your Maxwell while wired USB while listening to a dongle source, the USB cable must be plugged into its wired source BEFORE you plug in the dongle. You can also use a USB condom or a power-only (no data) usb charging brick.
PlayStation Setup
Maxwell is compatible on PS4 and PS5 using the USB Dongle (into the console USB ports), wired USB connection (into the console USB ports), or via 3.5mm AUX connection (into the controller). On PS5, you can connect the dongle or cable via the USB-C port on the front or any USB-A port using the included adapter.
Maxwell will show as one of two devices depending on the connection method used:
Dongle connection - USB Headset (Audeze Maxwell PS Dongle)
USB connection : USB Headset (Audeze Maxwell Headset)
Quick Access Menu

Most PSS audio settings can be accessed through the quick menu that you can access by pressing the PS button on your controller, then navigating to the speaker icon. You can quickly and easily change the output device, volume levels and game/chat mix through this function.
Note on Play Station Game/Chat mix: Due to the complexity of the system, Sony has not made the game/chat functionality publicly available for third party headphones and the built-in game/chat interface on your headphones will not work with PlayStation's chat features. You will need to adjust game/chat balance from the quick menu.
Note on system volume controls: These controls are not tied to Maxwell's on-board volume controls. We recommend leaving this setting close to max and fine-tuning the volume from the headphones themselves to give yourself the maximum headroom and gain control_ The lower this setting is, the less volume you'll have to play with on Maxwell's own physical volume control.
Here a brief explanation on PSS system audio settings:
Audio Output

Switch Output Device Automatically - With this setting, toggling it on will allow the Playstation to sw itch automatically to the Maxwell as soon as it is connected.
Output To Headphones - You can either set this to 'All Audio' or 'Voice Chat Audio'. Self explanatory. If you wish to hear all audio coming from the Playstation set it to 'All Audio'. If you only wish to hear your party chat, set it to 'Voice Chat Audio'. For the vast majority of users, you will want to leave this on 'All Audio'.
Game/Chat mixer
Maxwell features an on-board game/chat mixer wheel for use on compatible platforms. For Xbox, the game/chat mixer is integrated into the console's party chat feature and will work out of the box. For PC and Mac, the chat mixer wheel uses two endpoint audio devices to separate the game and chat channels for individual control.

These audio devices can be selected as the primary or secondary audio devices using your machine's audio settings. For more specific instructions on how to set up this function, see our support article.
Adjusting the game/chat wheel on your headphones or in the app changes the relative volume levels of these two endpoints, meaning that you can make the chat channel louder or quieter compared to the game channel by scrolling the wheel up or down.
The dual endpoint method of game/chat mix is available on PC and Mac platforms on all connection methods except 3.5mm AUX. On other platforms that don 't support two simultaneous audio outputs like PS5 or Nintendo Switch, game/chat mix will have to be adjusted manually through system settings on the source device (see Xbox and PS5 Setup sections for more info on platform specific setup).
Microphone
Mic Level - Adjusts how loud your microphone is for other users. This should be set to a balanced level.
Note: Maxwell uses automatic gain control to help automatically optimize the mic volume levels, so adjust your mic levels accordingly.
3D Audio Settings
These settings are used for customizing Sony's Tempest 3D audio engine.
Enable 3D Audio For Headphones - Off means Maxwell is set to basic stereo output. Toggling this on will enable spatial 3D audio virtual surround on Maxwell.
Adjust 3D Audio Profile - Here you can select between 5 types, all which have varying heights. Choose whichever sounds closest to your ear level for the optimal 3D audio experience.
Listen and Compare - Here you can quickly switch between a test of basic stereo, and 3D audio enabled.
Xbox Setup
Work in progress.
Adjusting the Head Strap
To adjust the headband strap length, pull the strap straight off of the set screws. You do not need to remove the screws to adjust the strap length. Line up the holes of the appropriate adjustment level and slide the headband back over the screws. For very large adjustments, the head strap can be removed entirely and the upper band is cushioned to give more headroom for those blessed with an extra Iarge brain.

Attaching/Detaching Earpads
Maxwell comes with detachable earpads for quick swapping between new sets. To detach the earpads, pinch one side of the cushion and rotate the pad clockwise. It should click out of the bracket and you can pull it straight off. To attach a new set of earpads, make sure you use the appropriate side (L or R and that the earpads have the correct side up. Slot the cutouts of the plastic retention ring to the "feet" on the headphones and then rotate the earpad counterclockwise until it clicks into place.

Sidetone
Maxwell features a "sidetone" functionality (also known as mic monitoring) that lets you hear your voice in real time by playing back the mic audio in your headphones. This lets you adjust your voice and hear what others are hearing from your mic.
To toggle the sidetone on or off, double-click the game/chat wheel (Audio Cue: Sidetone on, Sidetone off)
To adjust the sidetone volume, single-press and scroll the game/chat wheel up or down (Audio Cue: Sidetone). You will hear a low boop sou nd when you reach minimum sidetone volume, and a higher pitched beep when you reach max sidetone volume. The wheel will revert to its normal function after a few seconds if the wheel is not adjusted.
Media controls
In Bluetooth, wired USB, and wireless dongle modes you can control your media using on-board media controls:
| Control | Function |
| Power Button - Single press | Play/Pause current track |
| Power Button - Single press (call incoming) | Answer call, End call |
| Volume wheel click (single press) + Wheel Up | Next/Forward Track |
| Volume wheel click (single press) + Wheel Down | Back/Previous Track |
EQ Presets and Programming
Maxwell has several on-board EQ settings, as well as 4 programmable EQ slots for custom equalizations. You can use the Audeze HQ software to both select EQ presets and program in new presets.
To change the EQ presets on-the-fly, you can double tap the headset volume wheel (Audio Cue: EO). Scrolling the wheel up or down will toggle through the available EQ presets (Audio Cue Competition, Footsteps, lmmersive, Bass Boost, Treble Boost, Audeze, EQ1, EQ2, EQ3, EQ4)
Here's a quick breakdown of the premade EQ settings:
| EQ name | Sound profile |
| Audeze | This is our default EQ curve. Our engineers tuned Maxwell with this "house sound" in mind, and it brings out the most rounded and well-tuned experience for your headphones. |
| Bass Boost | This EQ curve applies a bass shelf, and relaxes the upper midrange. for a warm, punchy sound inspired by vintage Audeze headphones. |
| lmmersive | This EQ curve enhances environmental effects, combining increased bass energy for real-world weight with heightened treble detail to highlight spatial and ambient sounds. |
| Competition | This EQ curve brings forward details in the midrange and lower treble, and lessens bass from explosions and effects that can otherwise overwhelm critical game actions. |
| Footsteps | This EQ curve is designed to enhance footstep sounds in first-person shooter games, with specific bass and mid range boosts and cuts to highlight them and lessen masking sounds. |
| Treble Boost | This EQ curve is based on one of the most popular audiophile curves, and is going to give a well balanced sound with a slightly boosted treble response. |
| EQ1, EQ2, EQ3, EQ4 | These are blank EQ profiles that can be programmed using the Audeze HQ app to make your own tailored audio experiences. |
Programming Custom EQ Profiles
You can program one of the 4 customizable EQ presets via the Audeze HQ app to suit your personal preferences when it comes to your audio experience. These EQ presets are saved onto the headset for on-the-fly switching using the switching method detailed above.
Mobile app:
EQ Profiles can be saved to one of the four preset slots on your headphones by going to the option menu in the upper right comer and selecting "Equalizer"

Note: Music must be playing while EQ adjustments are done.
A.I. Noise Suppression
Maxwell uses Audeze's innovative FILTER A.I. noise reduction technology to selectively filter out and eliminate background noise from your environment. The processing is done vi a an integrated chip, without extra software required for extremely low performance overhead. This gives you the benefits of advanced noise filtration without the extra cost to system performance. The noise filtration is trained on over 500,000 different types of noise. T he noise suppression function works with both the internal and external boom microphones.
You can watch a short demonstration of the capabilities of the FILTER A.I. technology using MaxweII.
To enable the FILTER A.I. Noise filtration; single tap the multi-function button to cycle between the three modes (Voice C ue: Noise suppression off, noise suppression low, noise suppression high)
Microphones
Maxwell features several different microphones to give you the maximum performance and flexibility.
Boom Mic
The detachable Shure designed boom microphone gives you the maximum voice quality and clarity. It features a max SPL of more than 140dB and builtin noise filters that reduce up to an additional 20dB of background sound.
For the best performance, we recommend setting the boom mic capsule about 2 inches from your mouth, just below your bottom lip with the mic facing forward (if the pop filter is removed, the silver grille should be facing towards your mouth).
The boom mic comes with a foam pop filter preinstalled on the end of the mic capsule. This can be removed for washing or preference by simply pulling it off the end of the mic.
Internal Mic
When the boom mic is unplugged, Maxwell will automatically switch to the internal microphone for communications. This can be used for on-the-go conversations or for those that prefer a lower-profile look to their headset.
Beamforming array
Maxwell features a multi-mic beamforming array built into the earcups. These mics help triangulate and narrow down the area of mic pickup to a narrow cone in front of your face. This helps eliminate pickup from other sources like keyboards, noisy children, hurricanes, and other nuisances and greatly enhances voice quality.
Disabling the mic
The Maxwell microphones (both internal and boom mic) can be disabled by switching the mute switch on the left earcup to the DOWN position at any time.
Advanced Bluetooth Function
LC3 and LDAC Codecs
Most versions of Android will tell you which codec is currently in use in your Bluetooth device menu:

Your Maxwell will automatically use the highest quality Bluetooth codec available, however, in some cases to enable the high quality LDAC or LC3 codecs (for Android phones that support them), you may need to navigate to your phone's developer settings.
This process varies from phone to phone, so the instructions below may vary slightly on your device and you'll need to reach out to your device manufacturer for more precise instructions, but the process is generally as follow.
- Go to your phone's settings
- Navigate to. A bout Devi.ce >Version> Build number (this may vary slightly)
- Tap the "Build number" 7 times.
- Navigate back to the main system settings menu and there should be a new menu named "Developer Options" (this may be in an "Additional Settings" menu on some devices).
- From the developer menu, scroll down to the Networking options and look for Bluetooth Audio Codec. You can switch between any available codecs at will from this menu.


Multipoint Bluetooth Connection
Maxwell is compatible with advanced Bluetooth multipoint functionality, allowing it to switch seamlessly between multiple paired Bluetooth devices and allows you to answer incoming calls easily by pressing the power button once when a call is incoming. This puts a primary call on hold when a second incoming call is answered.
Multipoint should work out of the box once you've paired your Maxwell to two compatible Bluetooth devices. Switching between audio is as simple as stopping playback on one and starting it on the other device.
LED Indicator Lights
The LED indicator Iight on the left earoup will telI you the current status of your Maxwell:
| LED Color (behavior) | Function |
| White (solid) | Dongle connected |
| Blue (blinking) | Bluetooth (no connection) |
| BIue/White (blinking alternately} | BIuetooth pairing |
| Blue (solid) | Bluetooth connected |
| Red (solid) | Low Battery |
| Red (slow blinking) | Charging |
| Green (solid) | Battery charged |
Documents / ResourcesDownload manual
Here you can download full pdf version of manual, it may contain additional safety instructions, warranty information, FCC rules, etc.
Advertisement


Need help?
Do you have a question about the Maxwell and is the answer not in the manual?
Questions and answers