Advertisement
In the box

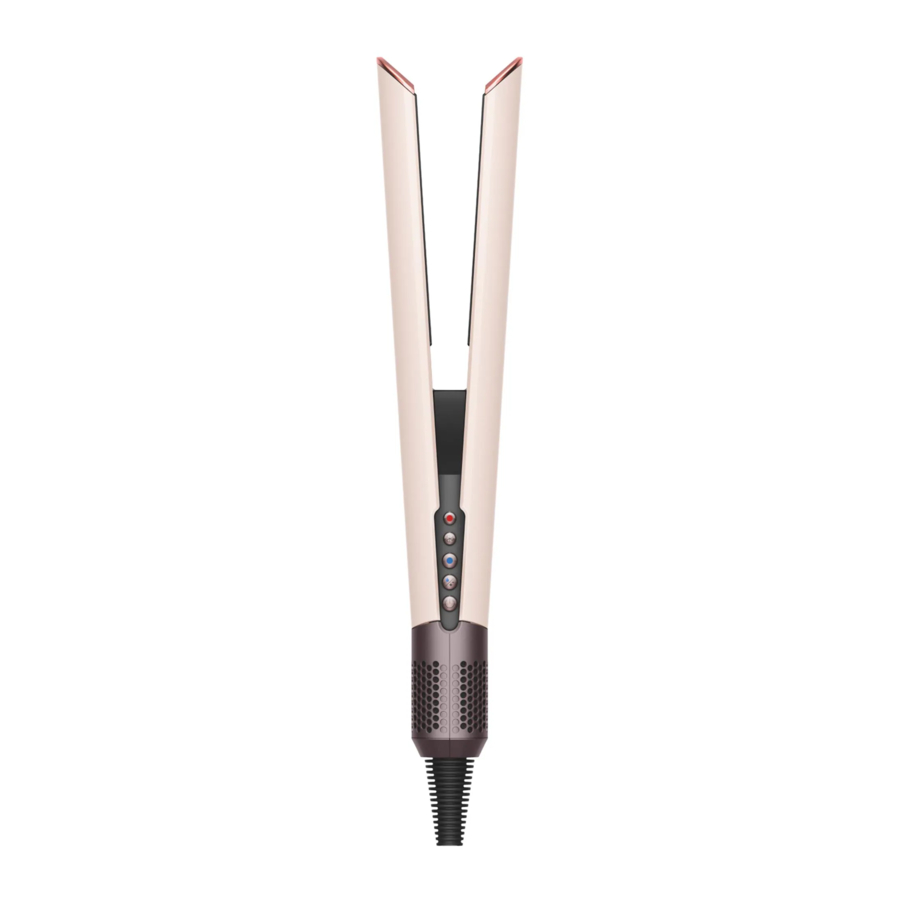
Getting started

Using your straightener
 Your straightener is designed to be used with towel-dried hair, not dripping wet hair. Once towel-dried, detangle your hair with a brush or comb.
Your straightener should never be used without the fan motor on.
Straightening from wet
Before starting to straighten your hair, dry your roots with the arms of your straightener closed. You can use your straightener with the arms locked or just hold them closed. For the optimum experience, use maximum airflow and a higher temperature, and direct the airflow towards your roots.

Unlock the arms and use the Mode select button to set your straightener to Wet mode. Your straightener will give you a choice of temperatures that you can change according to your hair type and styling preference. Use lower temperatures for finer hair, and higher temperatures for thicker hair. Hold your straightener so that the airflow is directed downwards and start to pass sections of hair through the arms. Repeat until each section is dry. Change the airflow and temperature settings as required.

Refresh from dry
Use Dry mode only to refresh your style. Unlock the arms and use the Mode select button to set your straightener to Dry mode. In Dry mode, your straightener has a choice of temperatures and an additional Boost when needed.

Cool mode
Use Cool mode to set your style. Hold your straightener with the arms shut and direct the airflow down the hair section to smooth and set.

Adjusting the temperature
Press the Temperature control button to change the setting for your hair type and styling preference.

Boost
Select Boost when styling dry hair for a shot of extra heat.

Adjusting the airflow
Press the Airflow button to toggle between high and low airflow.

Idle mode
Between passes, your straightener will activate Idle mode. Airflow will reduce, then increase as soon as you close the arms.

Auto pause
To save energy, your straightener will Auto pause when left for three seconds with the arms open. It will activate again when you pick it up.

Stand-by
To save energy, your straightener will go into standby if left unattended with the arms open for more than five minutes. Press the Power button to re-activate.

Go to www.dyson.hk for styling tips and guides.
Idle mode may cause lights to dim
High power appliances, such as your Dyson Airstrait™ straightener, may cause lights in your home to flicker or dim. They draw more electricity, which temporarily takes power away from other appliances on the same circuit.
If light dimming occurs when using your straightener, try plugging in to a different outlet and circuit. A professional can help to identify suitable outlets.
How to use your PRCD plug
More than a plug, it's a Portable Residual Current Device (PRCD).
It's engineered for your safety when using the Dyson Airstrait™ straightener.

Always test before powering on.
Follow the five simple steps below, every time before styling with your machine.

Your step-by-step guide to powering on
- Plug in
Switch on mains power.
Check the RESET button (larger one) is depressed – the red collar should not be visible.

- Test
Press the TEST button (smaller one).
The RESET button should pop out – the red collar should be visible.
![]()
Do not continue if RESET button doesn't pop out. Instead, follow the Test Fail guidance, below.

- Check LED
If there's no light, proceed to step 4.
![]()
Do not continue if LED lights up or blinks red. Instead, follow the Test Fail guidance, below. - Reset
Press RESET button (larger one) – red collar should not be visible.

- Power on
Power on your Dyson Airstrait™ straightener.
Style away.


TEST fail guidance
If after pressing TEST and RESET, the RESET button doesn't pop out (red collar isn't visible) and/or the LED lights up or is blinking red, do not power on your appliance.
Immediately turn off the mains power switch and unplug the appliance, and contact the Dyson Helpline on
Dyson Hong Kong service hotline: (852) 3065 9666
Dyson Macau service hotline: (853) 6825 8567
Monday-Sunday: 9:00AM-9:00PM. Public holiday: 9:00AM-7:00PM
Settings
Your Dyson Airstrait™ straightener has a settings menu to help you customise your machine to your usage. Press and hold the Mode select button to access the menu on the LCD screen.

Idle mode
You can enable or disable Idle mode on your machine. Press and hold the Mode select button on your straightener until the menu appears. Press the Cool mode button to toggle between on and off.

Auto pause
You can prevent your straightener from Auto pausing. Press and hold the Mode select button on your straightener until the menu appears. Use the Mode select button to scroll through the menu options. Press the Cool mode button to select and press again to toggle between on and off.

Units
Press and hold the Mode select button on your straightener until the menu appears. Press the Cool mode button to toggle between °C and °F.

Language
Press and hold the Mode select button on your straightener until the menu appears.
Press the Mode select button to scroll through the language options.
Press the Cool mode button to select the language you want and then press again to confirm. A tick will appear on the screen to confirm your selection.

Factory reset
Press and hold the Mode select button on your straightener until the menu appears.
Press the Cool mode button to start a factory reset.

Exit
Use the Mode select button to scroll through to the Exit screen and press the Cool mode button to select.

Cleaning your machine
Your straightener has been precisely engineered. To maintain outstanding styling performance, it needs to be kept free from hair product residue and debris. A little regular maintenance will optimise performance.
Cleaning the filter
Remove the filter
Unplug your straightener and let it cool down before cleaning your filter. Hold the body of your straightener with one hand and the perforated filter unit with the other. Pull down on the filter unit to release it from the machine and onto the cable. Gently pull the filter open and slide it off the cable.

Wash the filter
Leave the filter unit to soak in warm, soapy water for at least 30 minutes. We recommend using a clarifying shampoo or dish soap. Using your fingertips, rub gently to thoroughly clean both the inside and outside surfaces of the filter. Shake off excess water and leave for 24 hours in a well-ventilated place until completely dry.

Replace the filter
Pull the filter open and slide it onto the cable.
Slide the filter unit towards the machine body, align and click into place.
Your straightener will alert you if the filter isn't in place correctly.

Cleaning the tension bars
Over time, hair product residue may build up on the tension bars. These bars sit at the top of the inside of each arm and it's important to keep them clean and free from debris.
Use a soft-bristled toothbrush and a small amount of warm water to brush away any debris. Dry with a clean, lint-free cloth.

Cleaning the diffusers
The diffusers are attached to the sides of the straightener's arms. We recommend these are kept clean, free from debris and hair product residue. This will keep them functioning effectively.
Ensure machine is switched off then slide the diffusers off the ends of the arms. Use a damp, lint-free cloth to remove any debris and hair product residue. You can also use a soft-bristled toothbrush to remove any stubborn residue.
Refit the diffusers to the arms once clean and fully dry. We recommend that you don't use your straightener without the diffusers attached.

Deep cleaning the filter
Filter being removed from machine. If the filter becomes blocked, you can deep clean it.
Remove filter unit
Unplug your straightener and let it cool down before cleaning your filter.
Hold the body of your straightener with one hand and the perforated filter unit with the other. Pull down on the filter unit to release it from the machine and onto the cable.
Gently pull the filter open and slide it off the cable.

Wipe filter mesh
Wipe the filter mesh with a dry, lint-free cloth to remove any debris.

Soak filter unit
Leave the filter unit to soak in warm, soapy water for at least 30 minutes. We recommend using a clarifying shampoo or dish soap.

Remove inner filter
Remove from the filter cage.

Rub gently, rinse, then dry
Using your fingertips, rub gently to thoroughly clean each part. Rinse both parts of the filter unit to remove any debris.

Allow both parts of the filter unit to air-dry completely or gently wipe with a lint-free cloth.

Replace inner filter
Check that all debris has been removed before replacing the inner filter in the filter cage.

Replace filter unit
Pull the filter open and slide it onto the cable. Slide the filter unit towards the machine body, align and click into place. Show me Your straightener will alert you if the filter isn't in place correctly.

Alerts
Clean filter
You can continue to use your straightener but we recommend you clean the filter for optimum performance. Scan the QR code on the screen to help fix this alert or follow the Cleaning your filter instructions above.

Filter blocked
Your straightener won't operate until the filter is cleaned. Scan the QR code on the screen to help fix this alert or follow the Cleaning your filter instructions above.

No filter
The filter isn't fitted correctly or is missing. Your straightener won't operate until fitted.

Documents / Resources
References
Download manual
Here you can download full pdf version of manual, it may contain additional safety instructions, warranty information, FCC rules, etc.
Advertisement


Need help?
Do you have a question about the Airstrait and is the answer not in the manual?
Questions and answers