Advertisement
Accessory List

Starting Up

Remove the upper foam and extract the printer.

Open the upper cover. Take out the all foam and accessory box.
Note: The drying box in the accessory box is placed on the back of the foam, so the drying box can only be taken out after removing the foam.

Take out the power cord from the accessory box and plug it into the printer. Tum on the printer, and complete the unpacking and calibration process according to the instructions on the screen.
Note: Before turning on the power, please confirm whether the voltage setting of the power supply matches the voltage value of your region/country.
Language

Please select your preferred language and click on the next step.
Unboxing

Follow the on-screen instructions to remove the ties that fasten the extruder and X-axis, and discard the cardboard.

Remove the four ties that secure the platform and proceed to the next step.

Follow the on-screen instructions to remove the four screws securing the printing platform in place.

Click "Next". Make sure the print bed is unlocked and clear of any debris before proceeding.

Follow the instructions on the screen to remove the foam from under the printing platform and click "next."
Load Filament

Take out the filament support bar and support cover from the accessory box, and install the support bar on the machine according to the sticker on the back of the machine. Extract the dry box from the foam of accessory box, press the plastic interface on the connector first, and then pull out the plug.

Place the desiccant in the drying box, then place the filament* and close the lid. Note: Before placing the filament, first thread one end of the filament through the connector on the drying box.

Place the dry box on the filament support rod. Fit the lid and rotate it into place.

Install the PTFE tube on the connector of the drying box. According to the screen prompts, thread the filament from the filament detection to the extruder.

Make sure that the filament are inserted into the extruder, and then install the PTFE tube on the drying box to the filament detection. Click Next

Enter the print temperature for the filament and press the Heat button. Allow the temperature to reach the preset value and then proceed to the next step.

Click the downwards button and allow the filament to emerge from the nozzle. Notice: If there is no filament flow even after multiple attempts check that the filament is properly entering the printhead.

Click "Next" and finish the start guide.
First Printing

Please perform automatic bed leveling and input shaping before the first print to make the printing more better. Note:Before any operation, make sure that the PEI build plate is on the print platform.

Choose a preset model and print it. Note: Built-in models use PLA Rapido filament by default. After the U disk is inserted into the machine, the U disk files are displayed in the sdal folder.
How To Remove The Print Head Front Cover

Carefully push upward to unlock the front cover, then remove it.
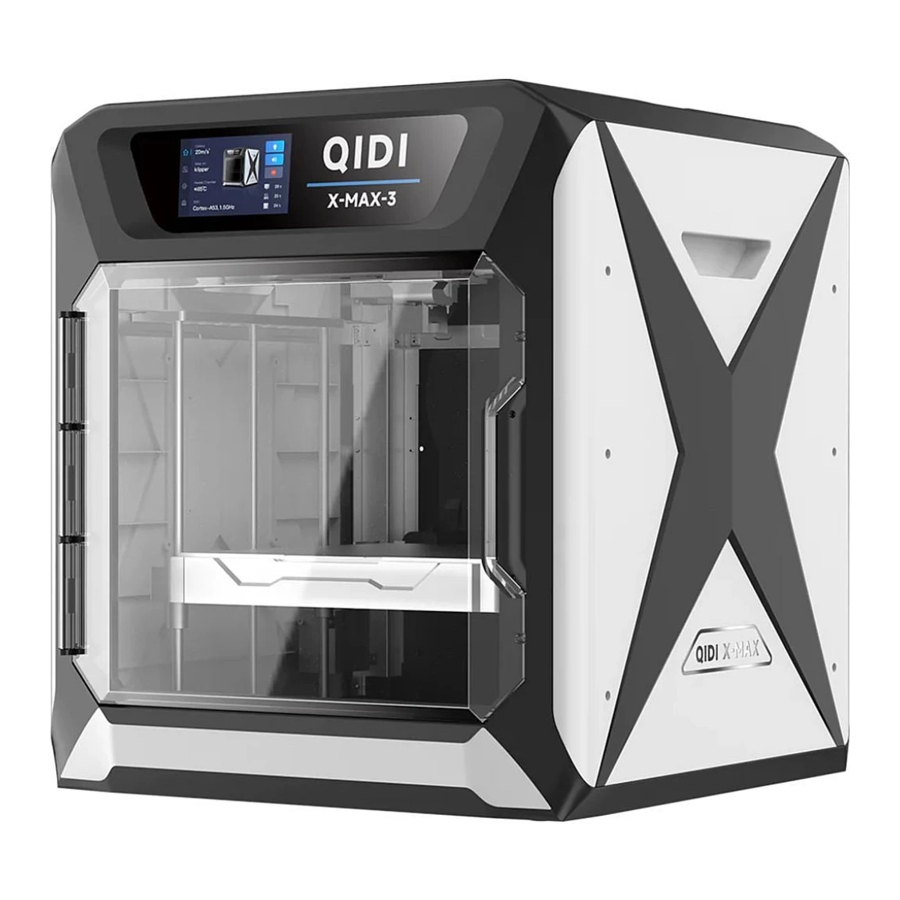
Printer Introduction

Filament Guide For Beginners


Tips
- Some other brands of ABS filaments are less heat resistant and it is recommended to set the chamber temperature no more than 55 degrees Celsius. Otherwise the filaments may be soften in advance and cause clogging.
- If the filaments do not stick to the print platform:
- Please check if the nozzle is far away from the print plate, you can adjust the platform upward by Zoffset adjusting function.
- Because of the different ambient temperatures in different regions, the temperature of the heat bed can be increased appropriately to increase the adhesion of the filaments.
- If above all can not work, please contact the after-sales service for assistance.
Specifications

 Note: Since the first layer is more affected by the temperature of the hot bed, the chamber heater starts working on the second layer by default.
Usage Notice
- Do not place the machine in flammable and explosive materials or near high heat sources, please place the machine in a ventilated, cool and dust-free environment.
- Ensure the machine is powered off(unplug power cord) before performing maintenance or modifications.
- Before connecting the power, please follow the power setup instructions to ensure that the voltage is correct.
- Never reach inside QIDI printer while they are in operation.
- Children should be under constant supervision when using QIDI products.
- The printer contains high-speed moving parts, so be careful of hands pinching.
- There is a potential risk of burns: the print heads of the QIDI printers can reach temperatures above 300C, while the hot bed can reach temperatures above 100C. DO not touch either of these parts with your bare hands.
- Do not place the printer in a vibrating or other unstable environment. Otherwise the shaking of the machine will affect the printing quality.
- After printing, use the residual temperature of the print head to clean the filament around the nozzle with the dedicated tools in time. Do not touch either of these parts with your bare hands.
- Perform routine maintenance for your product by using a dry Cloth to clean the printer body when it is turned off. Additionally, remove any dust, bonded printing materials, or foreign objects that may accumulate on the optical axis. Regular lubrication is necessary for the linear shaft and Z axis screws.
- If the machine is in standby mode for a long time, please unplug the power of the QIDI products.
- If the machine is not used for a long time, please pay attention to protect the printer from dust and damp.
- There are manuals, slicer software and other related informations in the USB flash drive. (The information in the USB flash drive may not be the latest. You can obtain the latest information by contacting the After-sales Service marked at the end.)
Facebook

Reddit

YouTube

Twitter

Please visit the QIDI Tech official Wiki for more machine usage and maintenance tutorials.
https://wiki.qidi3d.com/en/home

Documents / Resources
References
Download manual
Here you can download full pdf version of manual, it may contain additional safety instructions, warranty information, FCC rules, etc.
Advertisement


Need help?
Do you have a question about the X-MAX 3 and is the answer not in the manual?
Questions and answers