Advertisement
Karinear Instructions Manual
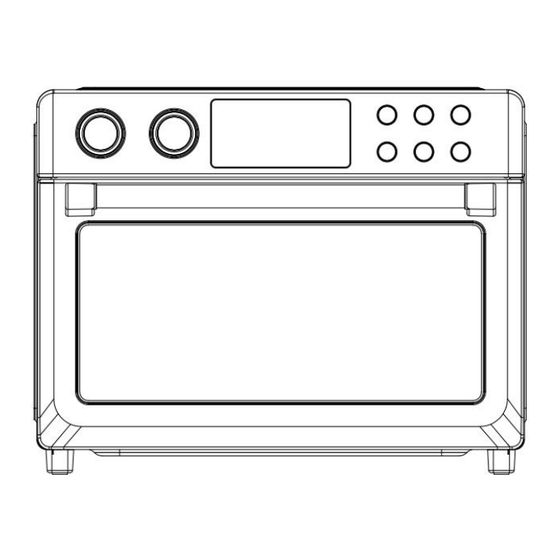
Air Oven AE3002
SPECIFICATION
Model No: AE3002
Rated Voltage: 230V 50Hz
Rated Power: 1700W
Capacity: 30L
Product Dimension: 426*413*336mm
Before First Use
1. Unpack the Air Fryer Oven and remove all packaging materials.
Clean the Air Fryer Oven according to the Cleaning and
MAINTENANCE
section of this manual.
1. Place the Air Fryer Oven on a flat and stable surface. Ensure that the oven
is at least 11cm away from the wall or any other objects.
3.Remove the protective film from the display panel. (This film is used to
protect the display panel, you can remove it or leave it on the unit.)
4.We recommend performing a trial run of your Air Fryer Oven to eliminate any
protective substance from the heating elements. Conduct the trial run in a
well-ventilated area as a small amount of smoke and odor may be detected.
This is normal and should be expected.
5.Before use, make sure that the appliance can be operated properly at your
location according to the data specified on the rating label.
Advertisement
Table of Contents

Summary of Contents for Karinear AE3002
- Page 1 Karinear Instructions Manual Air Oven AE3002 SPECIFICATION Model No: AE3002 Rated Voltage: 230V 50Hz Rated Power: 1700W Capacity: 30L Product Dimension: 426*413*336mm Before First Use 1. Unpack the Air Fryer Oven and remove all packaging materials. Clean the Air Fryer Oven according to the Cleaning and MAINTENANCE section of this manual.
-
Page 2: Important Safety Instructions
IMPORTANT SAFETY INSTRUCTIONS When using an electrical appliance, basic safety precautions should always be followed, including the following: 1. Read all instructions. 2. UNPLUG FROM OUTLET WHEN NOT IN USE AND BEFORE CLEANING. Allow to cool before cleaning or handling, putting on or taking off parts. 3. - Page 3 21. Do not rest cooking utensils or baking dishes on glass door. 22. Do not operate your appliance in an appliance garage or under a wall cabinet. When storing in an appliance garage, always unplug the unit from the electrical outlet. Not doing so could create a risk of fire, especially if the appliance touches the walls of the garage or the door touches the unit as it closes.
-
Page 4: Product Overview
PRODUCT OVERVIEW 1.Fetch rack 2.Rotisserie fork 3.Crumb tray 4.Baking pan 5.Air fryer basket 6.Wire rack 7.Air fryer oven Fetch rack: Used to remove the rotisserie fork Rotisserie fork: Used to hold the whole chicken Crumb tray: Used to collect crumbs or oil of food Baking pan: Can be used for the preparation of biscuits, cakes, turkey etc. -
Page 5: Control Panel
Control Panel 1.Preset Function knob Use to select the desired cooking function. Rotate the knob to select the function you need. 2. Adjustable Dial Use to adjust desired time and temperature. Rotate it clockwise to increase setting, anticlockwise to decrease setting. 3. - Page 6 12. Light Button Press this button to turn the Oven Light on or off. The Oven Light will turn off after one minute automatically. Preset Functions Temp Timer Default Default setting setting Default Function Temp Time Range range Fan Speed (℃) (min) (℃)
- Page 7 Reheat 80-230 1-90 unadjustabl Warm 1-240 unadjustabl Defrost 1-45 Manual 80-230 1-90 High Note: Above cooking times and temperatures are for reference only. Due to the variations in thickness, size and moisture of the food being cooked, cooking temperature and time might need to be adjusted to cook properly. Accessories and slot position suggestion There are three slot positions for rack placement, we suggest you to use proper accessories and put them in the proper slot positions for the best...
-
Page 8: How To Use
Cookies/ Baking pan Position 2 Eggs/Bacon Toast Baking rack Position 2/1 Pizza Baking rack Position 2 Grill Baking pan Position 2 Dehydrate Air fryer basket Position 1/2/3 DIY mode Note: This is for reference only, the accessories and slot position depends on the different foods you cook. -
Page 9: Cleaning And Maintenance
CLEANING AND MAINTENANCE 1. Unplug your Air Fryer Oven and allow it to completely cool before cleaning. Do not use abrasive cleaners, as they will damage the finish. Simply wipe the exterior with a clean, damp cloth and dry thoroughly. Apply the cleaning agent to a cloth, not directly onto the Air Fryer Oven. -
Page 10: After-Sales Service
setting. White smoke is coming out of This is normal when cooking the unit. Fatty foods are being cooked. fatty foods. This does not affect the cooking process. The baking tray, crumb tray or Make sure that all heating elements still contain components are thoroughly grease or oil residues from cleaned after each use.
Need help?
Do you have a question about the AE3002 and is the answer not in the manual?
Questions and answers