
Summary of Contents for AGC VIEW
- Page 1 Operating Instructions Manual VIEW Vision-based Intelligent Electronic Warnings SG004 June 17, 2024...
- Page 2 • Be careful when you operate the tractor, especially in dangerous or difficult areas. • Do not change or modify VIEW. This can make it unsafe or cause it to not work correctly. • Always follow national traffic rules when you use VIEW.
-
Page 3: Version Control
Usage Acknowledgement: By using VIEW, you agree that you have read and understood this disclaimer and agree to its terms. If you do not agree with any part of this disclaimer, do not use VIEW. This disclaimer can change without notice. -
Page 4: Table Of Contents
..... . How do I switch between the different view configurations? .. -
Page 5: Introduction
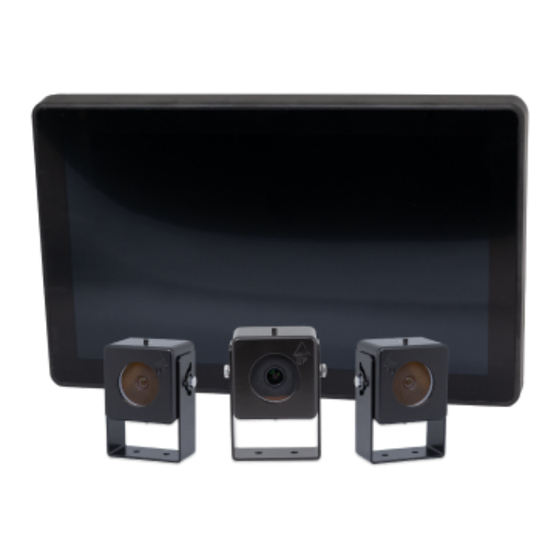
Introduction Welcome to VIEW. VIEW helps you to be safer anywhere you drive. It is a smart camera system made for agricultural vehicles, giving you extra safety during your work. Imagine you drive on different terrains—on the road, in the fields, or around your farm. VIEW assists you in all these places. -
Page 6: Operating Instructions
Menu. 2.2.1 Camera Views After booting up, you will see the All Camera View Mode. The views will change automatically if ISOBUS signals are available but you can also switch them manually in three available configurations: Operating Instructions Manual VIEW - Vision-based Intelligent Electronic Warnings SG004 v.1.1 June 17, 2024... -
Page 7: All Camera View Mode
In this configuration, the Front Left Camera view will occupy the left side of the screen. The Rearview or Trailer Camera view will be in the middle, and the Front Right Camera view will be on the right side. Each camera view will be evenly distributed horizontally and will extend vertically to fill the entire screen. -
Page 8: Rearview Or Trailer Camera Mode
In this mode, the entire screen will show the Rearview Camera feed. If a trailer camera is connected, the screen will show the Trailer Camera feed instead. How do I switch between the different view configurations? Figure 2: Swipe left or right to change view To switch between the different camera views, you can slide your finger on the screen from left to right or right to left. -
Page 9: Settings Menu
2.2.2 Settings Menu In the settings menu, you can find all the options to customize VIEW. How can I access the Settings Menu? Figure 3: Swipe down to access the settings menu To access the Settings Menu, swipe downward from the top to the bottom of the screen. For a visual representation, please refer to the diagram above. -
Page 10: Volume Widget
Volume Widget Section Description As part of the hazard alert system, when objects are detected, "VIEW" will alert you with a visual and audible alarm. Within this menu, you Widget Overview can adjust the volume of the audible alarm by moving the slider or completely disabling sound by pressing on the switch. -
Page 11: Screen Brightness Widget
"AUTO" position. The screen brightness will adjust automatically based on the lighting conditions in the cabin. Figure 7: Location on the Settings Menu Figure 8: Zoomed in Operating Instructions Manual VIEW - Vision-based Intelligent Electronic Warnings SG004 v.1.1 June 17, 2024 Page 7 https://access.agcocorp.com/en/products/view.html... -
Page 12: Languages Widget
Note that only four languages are visible at a time, but you can swipe left or right to access additional Instructions options. Currently supported languages in VIEW include: English, Spanish, French, Finnish, German, Danish, Swedish, and Norwegian. Figure 9: Location on the Settings Menu... -
Page 13: Alarm Settings Widget
4. Alarm Settings Widget Alarm Settings Widget Section Description VIEW notifies you of hazards using audible and visual alarms. The Alarm Settings Widget allows you to customize how and when you Widget Overview want to be alerted when a hazard is detected. - Page 14 On the left side, you will find a vertical slider labeled "Alarm Sensitivity". This slider helps you control how many objects VIEW detects. Lower sensitivity reduces false detections but increases the risk of missing real objects, and vice versa. As you move the slider, the red areas next to the front wheels and rear of the tractor illustration will fade.
- Page 15 "Left/right alarm off". Choosing "Alarm on when turning" means VIEW will only sound the alarm when you use the turn signal lever to turn left or right (assuming VIEW is connected to ISOBUS). Selecting "Left/right alarm off" disables this feature.
-
Page 16: Obstacle Detection Widget
It Widget Overview highlights objects detected by VIEW with bounding boxes. In the image below, you can see an overview of the Obstacle Detection Widget and its location in the Settings Menu. - Page 17 Right below the Illustration of Current Obstacle Detection Configuration, you will find the "Warning boxes" switch. Turning it "OFF" removes visual warnings over camera feeds. Turning it "ON" adds bounding boxes around detected obstacles. Operating Instructions Manual VIEW - Vision-based Intelligent Electronic Warnings SG004 v.1.1 June 17, 2024 Page 13...
- Page 18 Figure 22: All obstacles vs Only humans Further down, you can choose between detecting "All obstacles" or "Only humans". • Selecting "All obstacles" lets VIEW detect humans, bicycles, cars, buses, trucks, motorbikes, cats, dogs, cows, and horses. • Choosing "Only humans" restricts detection to people, ignoring other objects.
-
Page 19: Camera View Editing Widget
In the image below, you can see an overview of the Camera View Editing Widget and its location in the Settings Menu. Figure 24: Location on the Settings Menu... - Page 20 "Left", "Rearview", or "Right" views using the triple switch. B) Cropping the Camera View Figure 28: Cropping the camera view In the camera viewer, there are green 90-degree corner shapes at the top left and bottom right corners. These shapes allow you to crop the image by dragging them to select a specific region within...
- Page 21 The cropped area will appear grayed out, while the original image remains unchanged. For multiple camera views, repeat this process by selecting a new camera and adjusting the region. The cropped view will be saved automatically.
- Page 22 Changes are saved automatically. To adjust rotation for multiple camera views, select a new camera and adjust the rotation accordingly. Figure 32: Changing Angle of Camera View Slider Operating Instructions Manual VIEW - Vision-based Intelligent Electronic Warnings SG004 v.1.1 June 17, 2024...
-
Page 23: System Maintenance Widget
Section Description This widget provides you with information about the current status of each camera, the overall status of VIEW, details about the license Widget Overview and terms, a QR code to access more information about VIEW, and a button for restarting the application. - Page 24 "+" icons allow you to access the Camera Portal Page, which is described below. B) Camera Port Selection Figure 37: Camera Port Selection Pop Up Configuration Page Operating Instructions Manual VIEW - Vision-based Intelligent Electronic Warnings SG004 v.1.1 June 17, 2024 Page 20...
- Page 25 System Maintenance Widget by tapping the red "Exit" button in the top right corner. C) Restart Application To restart the VIEW application, you can press the "Restart" button located at the bottom of this widget, as shown in Figure ??. Once you click on the "Restart" button, VIEW will automatically reboot.
-
Page 26: Power Off And Shutdown
To power off and shut down VIEW, follow these instructions: 1. Turn off your vehicle’s engine according to the manufacturer’s guidelines. 2. If VIEW is still powered up, disconnect the \nameWirePowerIsobus from your vehicle’s power socket. 3. VIEW will then shut down automatically after you disconnect the power.
Need help?
Do you have a question about the VIEW and is the answer not in the manual?
Questions and answers