Advertisement
Specifications
| Microphone-core: | Dia. 16mm Condenser |
| Polar Pattern: | Cardioid |
| Frequency Response: | 30Hz-16kHz |
| Sensitivity: | -38dB+/-3dB (0dB=1V/Pa at 1kHz) |
| Equivalent Noise Level: | 16dBA Max. |
| Maximum SPL: | 120dB |
| S/N Ratio: | 70dB |
| Sampling Rate: | 192kHz/24bit |
| Cable: | USB A to B cable 2.5m |
Frequency Response

Polar Pattern

Features
- Large capsule with plated membrane
- Cardioid polar pattern
- Ultra-low noise transformerless circuitry
- New, state-of-the-art surface mount electronics
- Heavy-duty satin nickel finish
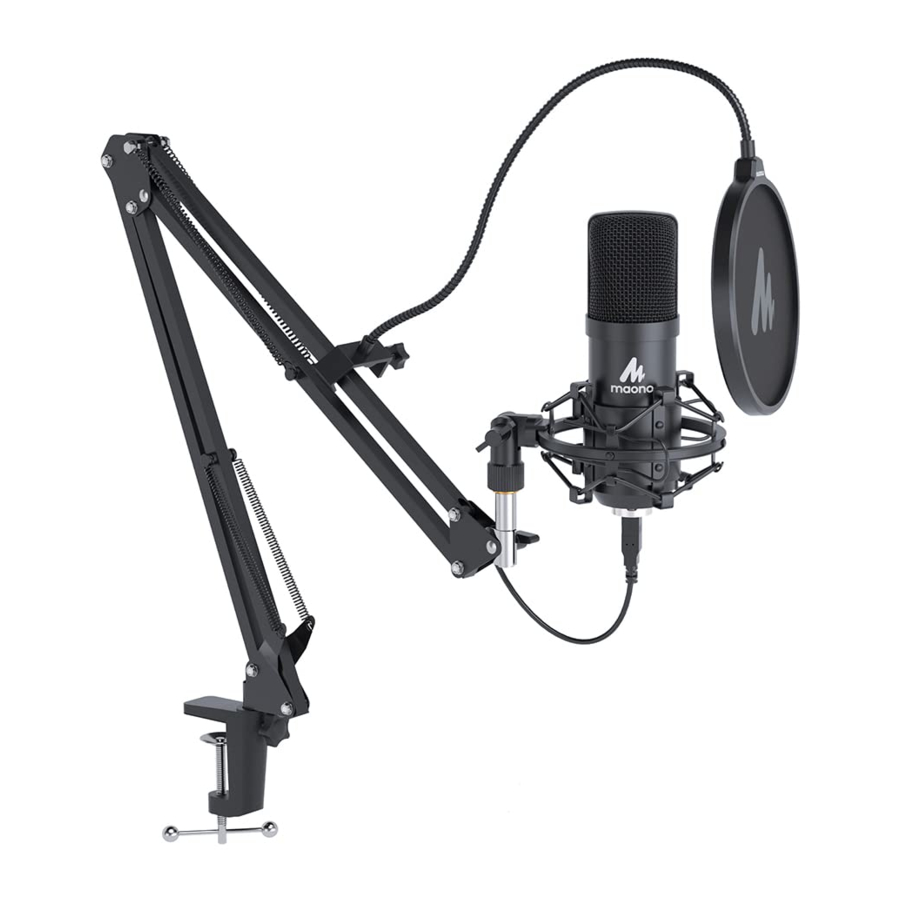
- Stable metal boom arm system with pop filter
- Boom arm with 2-axiss wivel mount for accurate positioning
- Built-in Sound card, Plug and Play operation for PC, MAC. Setup is so easy--just connect and go.
Microphone Placement
The logo of 'M" on the body of the microphone indicates the front of the microphone, and the pick-up area of the cardioid pattern. Please be sure to have the side of the logo facing the sound source you wish to record. AS with many Other aspects Of the recording process, finding the preferred sound is a matter of experimentation.
Recording vocals
- We strongly recommend using the pop filter for all vocal recording. This aids in minimizing plosive sounds (hard P, B, T and K sounds)that produce a sudden jet of air which can cause the capsule to overload and produce a popping sound.
- Any moisture on the microphone capsule can cause problems for condenser microphones, however the use of the pop shield will reduce the Risk of this occurring.
- Placement of the microphone and pop filter relative to the vocalist may be varied on several factors, including room acoustics, the vocal performance, and whether the vocalist has a high or deep voice.
- An ideal reference is to begin with the pop filter directly in front of the vocalist, and approximately 15cm (6) away from the microphone. This will assist in keeping the performer at a constant minimum distance from the microphone and helps to maintain reasonable recording levels.
- Experimentation should be made with the angle from which the microphone is addressed, as different results can be achieved when the vocalist is off-axis to the microphone.
Accessories

Install Microphone stand on Table

- Screw the TABLE CLAMP on the edge of a table.
- Insert the ADJUSTABLE ARM into the hole.
- Fasten the screw.
- Fix Shock mount with Microphone stand.
Installation quick guide

Connect to Computer

How to setting on computer

Setting microphone level

Applications setting: (Example Skype)
click  in sequence

For iOS system:
Setup → sound → lnput → Realtek USB 2.0 Audio

Maono technology Co., Ltd.
4B,Building No.45, SoftwareTown of Universiade, No.8288
Longgang RcLLonggang District, Shenzhen, PRC
Tel: +86 755 82934327
Fax: +86 755 8293 4365
www.maono.com
Support:
Support@maono.com
Documents / Resources
References
Download manual
Here you can download full pdf version of manual, it may contain additional safety instructions, warranty information, FCC rules, etc.
Advertisement


Need help?
Do you have a question about the AU-A04 and is the answer not in the manual?
Questions and answers