Advertisement
- 1 Salient Features of the KENT MAXX
- 2 Items in the Box
- 3 Important Instructions
- 4 UV Process
- 5 UF Process
- 6 Water Flow Diagram
- 7 Electrical Circuit Diagram
- 8 Computer Controlled Operation
- 9 UV Fail Alarm
- 10 Filter Change Alarm
- 11 Installation Instructions
- 12 Starting-up the Purifier
- 13 Maintenance
- 14 Important Safety Instructions
- 15 Cleaning the Water Tank
- 16 Technical Specifications
- 17 Documents / Resources
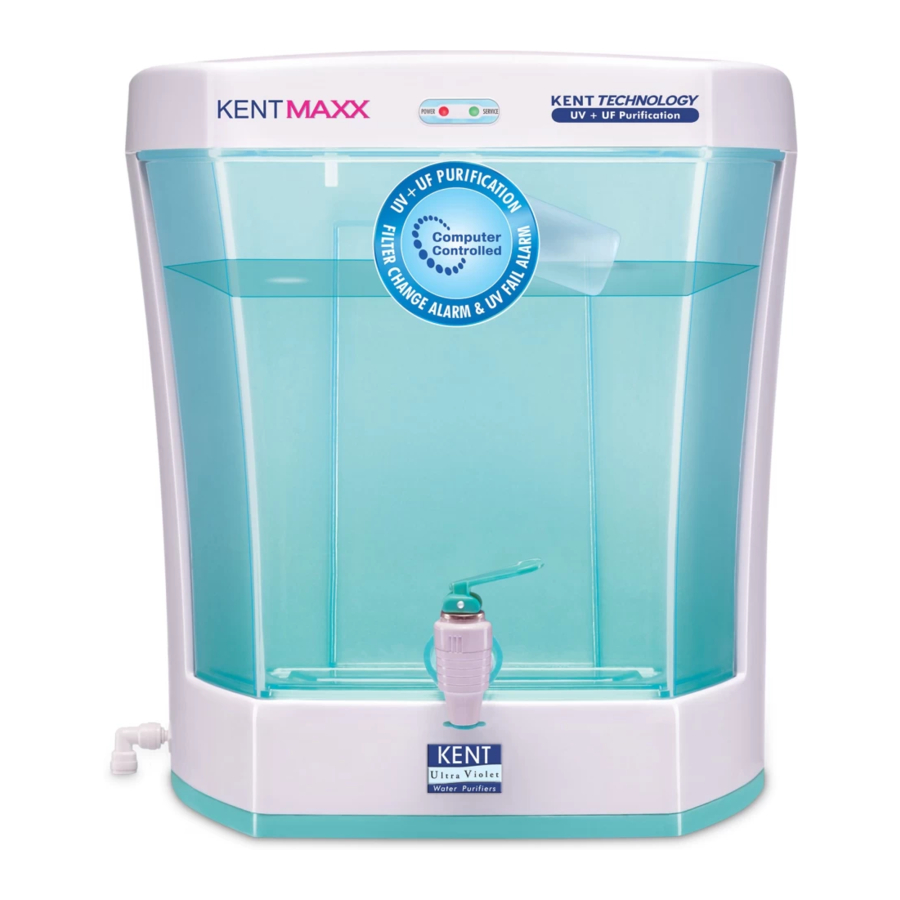
Salient Features of the KENT MAXX
- Wall-mounted design, best suited for domestic purposes
- Double purification, first by UV followed by Hollow Fiber UF Membrane-filters out bacteria, viruses and even cysts
- Fully automatic operation with auto-on and auto-off facility
- Computer Controlled Operation with Filter Change Alarm and UV Fail Alarm
- Transparent, detachable tank for easy onsite cleaning
- Purified water storage tank with 7L capacity
- LED indicators for power on and purification process on display
- Tamper-proof UF Membrane fused inside membrane housing
- Push-fit components give leak-proof & maintenance-free performance
- Mounted SMPS for over voltage protection
- ABS material construction for corrosion-free life span
- Ideal for tap/municipal water supply
Items in the Box
- KENT MAXX: 1 No.
- 3-Way Connector: 1 No.
- S.S. Ball Valve: 1 No.
- Food Grade Pipe ¼ inch (White): 2.5 Meters
- Screws & Plastic Inserts: 2 Nos. each
- Center Drill Sticker: 1 No.
- Warranty Card: 1 No.
Important Instructions
- Avoid exposure to direct sunlight and installation in damp areas
- Make sure that the purifier is connected to normal temperature water supply only.
- Avoid sharp bends in pipes.
- Maximum distance between the water source and the purifier should not be more than 3 meters.
- In case the purifier is not to be used for more than two days, switch off the power supply and drain storage tank.
- To keep the storage tank clean, it should be removed, drained and wiped dry, once in 15 days.
- Use Genuine KENT spares for optimum performance.
- Do not try to service the purifier on your own. Instead, call the service technician for help.
UV Process

Ultra Violet (UV) rays are high energy rays a wavelength shorter than that of visible light. They are called ultraviolet because they are just beyond violet light in the spectrum. Technically, ultraviolet light is defined as any wavelength of light which is shorter than 400 nanometer.
When transmitted into water, UV radiation is absorbed by the DNA of pathogens. These UV rays alter the DNA of these pathogens in such a way that they lose the ability to reproduce, multiply and infect. Thus, they are essentially killed and cannot cause infection. This process of DNA modification is known as inactivation.
UF Process
Ultra Filtration is a separation process that uses membranes with a pore size of 0.1 microns. The UF membrane has the capacity to reduce colloidal material including bacteria and cysts from drinking water. Low applied pressure is therefore sufficient to achieve high flux rates from an Ultra Filtration Membrane.
Water Flow Diagram

Electrical Circuit Diagram

Computer Controlled Operation
To ensure the delivery of purer and healthier water, a micro processor is installed in the purifier to performs the following functions:
UV Stabilisation Delay
To ensure that the UV lamp is pre-heated and is working at its optimum before it starts disinfecting water, the controller provides a two second delay to the UV lamp when a purifier is switched on. During this period, only the UV lamp is on and all other electrical devices of the purifier are switched off and no water flows through.
Purification Delay
To ensure that the water lying idle in the internal pipes and the UV chamber is thoroughly disinfected before being passed onto the storage tank, the system provides approximately 5 seconds of Purification Delay when the purifier is switched on. During this period, all electrical devices except the UV lamp are switched off and the UV lamp kills the micro organisms present in the water inside the UV chamber. After this delay, all other electrical devices such as solenoid valve etc., get activated and the normal purification process starts.
Audible Alarm
The microprocessor also controls the activation of the UV Fail Alarm and Filter Change Alarm.
UV Fail Alarm
To ensure purer water throughout the service cycle, KENT MAXX is equipped with an in-built UV Fail Alarm which gets activated in the event of UV lamp failure. In case the UV lamp malfunctions, the purification process automatically stops and the purifier starts emitting a short beep at an interval of every 2 seconds.

Under such circumstances, please switch off the purifier and call the service technician for help. The purifier will stop purification in such a situation.
Filter Change Alarm
KENT MAXX has an in-built feature that sounds an alarm to indicate the replacement time of filters. This alarm is audible after 700 hrs of filter use.
The Filter Change Alarm works as follows:
Gives 4 short beeps every two seconds, lasting up to 30 seconds. The alarm gets activated after every 2 hours of use.

Please call the service technician once the Filter Change Alarm is activated and get the filters replaced. In case the filters are not replaced within the next 60 hours of operation, the purifier stops functioning to avoid the delivery of impure water and beeps continuously.

Under such circumstances, the purifier will not function unless the filters are changed.
Installation Instructions
KENT MAXX is a convenient and easy-to-install wall mounting model.
Recommended Site Preparations
- Single Phase 140-250 V AC, 50-60 Hz. supply not more than 3 m away from the point of installation
- Raw water supply with 1/2 inch nipple not more than 3 m away
- Installation space as per the dimensions of the purifier
- Wall/plane surface for mounting screws and holding the machine. Avoid installation on wooden and metallic stands
- For optimum inlet pressure, the source water tank should be at least 10ft above the purifier installed
- Install the purifier near a sink for easy availability of inlet water lines
- The system and installation must comply with applicable state and local laws & regulations
Installation Procedure
- Screw in two 10x50 self taping screws, 3.95 (100 mm) apart horizontally.
- Wall-mount the purifier with the help of the slot holes given on the back.
![]()

- Fasten the SS ball valve to % inch port of 3-way connector.
![]()

- Attach the threaded end of the 3-way connector to the raw water supply and plug off the other end or connect to a tap.
![]()
- Now connect one end of the pipe to the SS ball valve and other end to the elbow fitting connector labeled as WATER IN, on the left side of purifier.
- Turn on the lever given on the SS ball valve to initiate water flow to the purifier.
- Allow the filters to pre-soak in water for 2-3 minutes.
- Connect the power supply.
- Installation is complete.
![]()


Starting-up the Purifier
- Switch on the power supply
- Allow the storage tank to fill up to the maximum level
- Switch off the power supply
- Open the upper cover. Lift and drain the storage tank so as to remove the residual dust particles initially present in the pipes and storage tank
- Place the storage tank back and close the upper cover Switch on
- the power supply
- Purifier is ready to use
 Note: The glowing red LED indicates the power is on. The glowing green LED indicates the purification process is on.
Maintenance
To ensure that the purifier operates at its BEST, routine maintenance must be performed. The frequency of maintenance will greatly depend upon the raw water quality and consumption of purified water.
- Storage tank must be cleaned once in a week. (Refer Cleaning the Water tank)
- In the event of not using purifier for more than two days (while going on a holiday, tour etc.), turn off the raw water supply and drain the storage tank
- Replace the sediment filter and carbon filter once in an year
- Replace the UF membrane once in a year
Important Safety Instructions
- If the supply cord is damaged, it must be replaced by the original part in order to avoid hazard.
- Children should be supervised to ensure that they do not play with the appliance
- This appliance is not intended for use by persons (including children) with reduced physical, sensory or mental capabilities, or lack of experience and knowledge, unless they have been given supervision or instruction concerning use of the appliance by a person responsible for their safety

- Do not operate the UV-C emitter when it is removed from the appliance enclosure
- Read the maintenance instructions before opening the appliance
- The appliance must be disconnected from the supply before replacing the UV-C emitter
The replacement time of consumables such as filters and membrane is dependent on the quality of raw water and water consumed.
Cleaning the Water Tank
- Switch off the power supply.
![]()
- Open the Upper Cover
![]()
- Remove the water tank
![]()
- Clean it under running tap water and wipe dry
![]()


Recommended Frequency for Filter/Membrane change
Sediment/Carbon → Once every year or earlier if it gets clogged
UF Membrane → Once every year or earlier if it gets clogged
Technical Specifications
| Product | KENT MAXX |
| Product Code | 11013 |
| Product Generic Name | Water Purifier |
| Product Colour | White |
| Applications | Ideal for Tap/MunicipaI water supply |
| Purification Production Rate | 60L/hr. (depending on inlet water pressure) |
| Body Material | ABS Food Grade Plastic |
| Installation | Wall-mounting/Counter-top |
| Dimensions (mm) | 390 (L) x 285 (W) x 400 (H) |
| Weight | 6.10 kg |
| Purified Water Tank Capacity | 7L |
| Inlet Water Pressure/Temp (min) | 0.3 kg/cm2/10ºC |
| Inlet Water Pressure/Temp (max) | 4 kg/cm2/40ºC |
| Filter Cartridge | Sediment, Activated Carbon, UF |
| UF Membrane Pore Size | 0.1 Micron |
| UV Lamp Wattage | 11W |
| Life of UV Lamp | 5000 hrs. of operation |
| Voltage Output of SMPS | 24V DC |
| Total Power Consumption | 36 W |
| Input Power Supply | Single Phase 140-250 V AC, 50-60 Hz.  |
| IP Rating | IPX1 |
E-mail: sales@kent.co.in
Website: www.kent.co.in
Documents / Resources
References
Download manual
Here you can download full pdf version of manual, it may contain additional safety instructions, warranty information, FCC rules, etc.
Advertisement


Need help?
Do you have a question about the MAXX and is the answer not in the manual?
Questions and answers