Advertisement
Device interface
Zidoo Z1000 is equipped with audio input & output ports and data transmission port. Please refer to the descriptions in this manual.
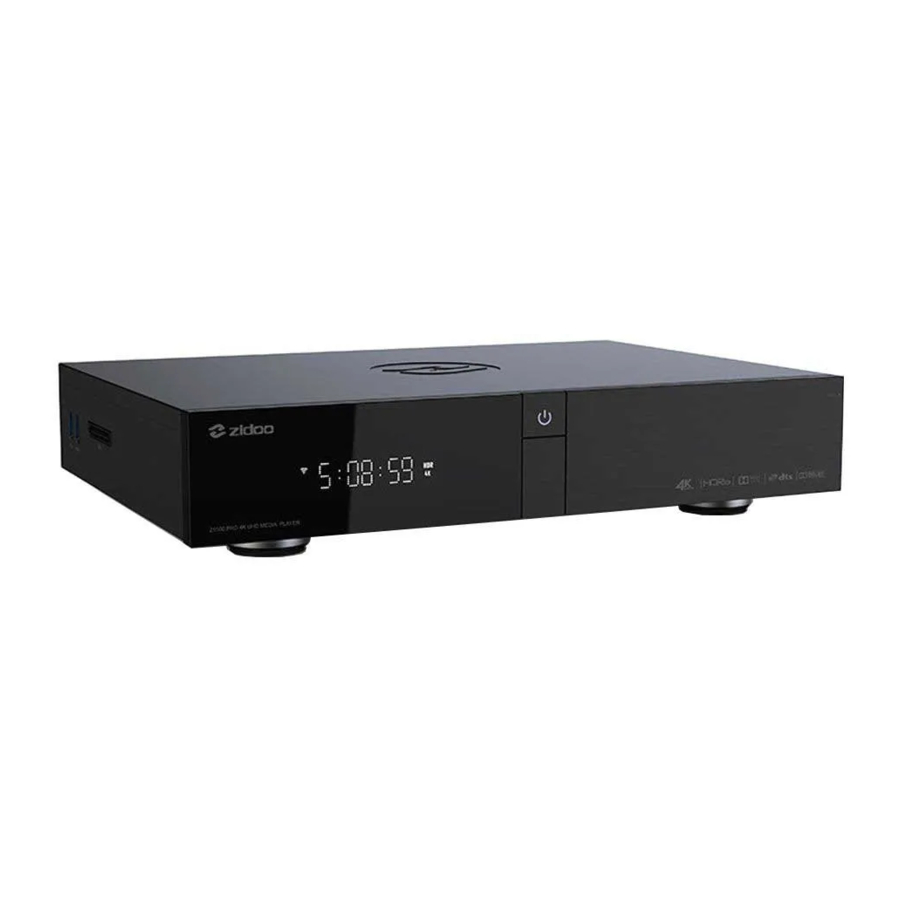
Front

Left

Right

Back

Note:
- Please load/change the hard disk after turning off the power. If it is a brand-new hard disk, Please load it after formatting it.
- Please prevent the orifice of the cooling fan from being blocked.
- Do not touch any liquid in case the liquid runs into the inner part of the device and damage it.
- Any maintenance personnel who are not appointed are not allowed to open the case.
Load The Hard Disk
Z1000 is equipped with hard disk storage of 3.5 inches and SATA high speed transmission port. The hard disk can be loaded by pushing in, with no other tools. (The maximum hard disk supports 10 TB )

 Note: Do not load or change the hard disk while the power is on to avoid that the device or the data of hard disk be damaged. If it is a brand-new hard disk, please format it before loading it to the device. This device support following formats of hard disk: EXT3, EXT4, NTFS, FAT32, EXFAT.
Remote Control
Button Features Description

Learning Button Introduction
Learning function: This remote control can copy functions of buttons from other remote control so that can control two devices.
Operation descriptions of Learning Button:
- Point the top of this remote control to that of the remote control to be copied, align the infrared transmitting tubes.
- Press
![]() in the study area of this remote control until its white backlight is activated.
in the study area of this remote control until its white backlight is activated. - Press any button in the study area of this remote control, its white backlight flashes once.
- Press the function button of the remote control to be copied. After the remote control receives the signal, the white backlight will quickly flash twice.
- If there are many functions need to be learned, please repeat step 3 and 4.
- After completing learning, press any buttons outside the learning area of this remote control to exit learning mode. Then the white backlight of this remote control will turn off automatically and completed learning.
 in the study area of this remote control until its white backlight is activated.
Device Connection
HDMI connects to the TV
- Cut off the power of the device. Please make sure the power of the TV and STB at OFFS Model.


- While the power of TV is turned off, insert one end of HDMI cable into HDMI OUT port and insert the other end into HDMI IN port.
![]()
- Connect with the power. This device is equipped with suitable AC power adapter. Please connect the head of AC power adapter to the AC power input port of this device, then insert the plug of AC power line into the alternating current socket of 110V -240V.
![]()
- Press the power button on the front panel of the machine or press the power button on remote control to turn it on. And turn on the TV.
![]()
- Corresponding video source is selected by TV.


Connect AV cable with the TV
The connection method is same as connecting HDMI cable.
Z1000 Specification
| Material | Aviation Aluminum Alloy |
| Front Display | LED |
| Shell | Aviation Aluminum Alloy |
| os | Android + Open WRT |
| CPU | Realtek RTD 1296 ARM Cortex-A53 Quad-Core |
| GPU | ARM T820 MP3(3-Core) |
| Memory | 2GB DDR |
| Internal Storage | 16GB eMMC |
| WIFI Connectivity | 802.11 AC MIMO Dual-Band WIFI |
| Ethernet | 1*RJ-45 Ethernet Jack (10/100/1000 Mbps) |
| HDMI Out | HDMI 2.0a, Support 4K@60fps, HDR10 |
| HDMI In | HDMI 2.0 |
| Video Decoder | HDR, 10-bit HEVC/H.265 up to 4K@60fp VP9 up to 4K@60fps, H.264 up to 4K@24fps |
| Audio Decoder | Support HD audio multichannel direct access and stereo decoding |
| HDD Bay | 1*SATA 3.0 |
| USB | 2*USB 3.0, 2*USB 2.0 |
| Input | 100-240V ~ 50/60Hz Max 1.3A |
| Other interface | 1*IR Receiver, 1*RCA Cvbs, 1*RCA Audio L/R Channels, 1*Coaxial, 1*SPDIF(2ch, 5.1CH), 1*RS232, 1*SATA 3.0 |
Initialization
Before actually using this device, you will be provided with this software for the first initialization. Please set your device according to the initialization process to obtain the optimum watching experience.
- System Language
Select the language of the system as you want.


- Screen Scaling
Adjust the screen display range using LEFT or RIGHT button of the remote control ( Mouse Wheel ) so that the image can be appropriately displayed on the screen of the TV.


- Network Setting
Set the configuration of the network so that the device can quickly connect with the network. The network is including WIFI network and Ethernet network. Select either of them and successfully connect with it.

WIFI: Select SSID and enter password, connect to WIFI and finish setting. Ethernet Network: No other operation needed except that inserting cable and then automatically connect to internet. After completed the Internet setting, please click "NEXT" to further steps and get to know the function of the Home Page and finish initialization.


System update by OTA
Zidoo will update the firmware aperiodicity. Find the system update icon in APP center and open it; Support online network update and local update; After ticking "Automatically detect the latest version", you will receive the prompt for the latest firmware update automatically.

- Online Update
Click "Online Update" to obtain information of online update.


- Local Update
Users can download the update files on the forum or official website and update firmware through files. Copy the downloaded update files to USB disk. Click "USB update" to select the update files.

Download the update files by online update or local update. Click "Update" to update.

The system will automatically check the update files whether is complete or not.

![warning]() Note: Automatically access to system upgrade. Please don't power off in the progress.
Note: Automatically access to system upgrade. Please don't power off in the progress.

Once the update is completed, the system will automatically be restarted.


Special Note:
To guarantee user experience, Zidoo will update the firmware aperiodicity. Therefore, this manual may not be totally in line with the product.
Documents / ResourcesDownload manual
Here you can download full pdf version of manual, it may contain additional safety instructions, warranty information, FCC rules, etc.
Advertisement


Need help?
Do you have a question about the Z1000 and is the answer not in the manual?
Questions and answers