Advertisement

PREPARING THE LOCATION

Required tools (not included):
- drywall or keyhole saw
- wire stripper
- Phillips screwdriver
- pencil
- 14 - 18 gauge speaker wire
- Be sure the mounting surface is between 3/8" (9.5mm) and 1 1/4" (31mm) thick, with at least a 2 3/4" (69mm) clearance behind the mounting surface, so that no wall studs or other objects block the back of the speaker.
- Remove the inner cardboard disc from the supplied template/paint mask and keep it for later. Use the outer portion as a template to mark the cutout hole size and location for mounting the speaker.
![]()
- Use a drywall or keyhole saw to cut the hole.
Be sure not to cut into any existing wiring or plumbing hidden behind the wall.
PREPARING THE SPEAKER
If you choose to paint the frame and grille, we recommend using spray paint. Make sure to let the paint dry before connecting the speaker wire or mounting the speaker.

To remove the grille for painting, use the grille remover or insert a paper clip into one of the grille openings and then pull up. Or, you can carefully twist the plastic frame back and forth until the grille edge becomes exposed. Then lift out the grille.

Carefully remove the dust cloth from behind the grill and replace it after you are finished painting.
You can also paint the frame to match your wall or ceiling. To prevent paint from entering the speaker, remove the grille and insert the supplied cardboard paint mask. After the paint is dry, remove the paint mask and replace the grille.

CONNECTING THE SPEAKER WIRES
- Route the speaker wire to the speaker from the audio equipment.
NOTE: Avoid routing the speaker wire near electrical wires. Do not nail or staple through speaker wire.
- Separate about 4" (101 mm) of speaker wire at each end.
![]()
- Using a wire stripper, remove about 1/4" (6mm) of insulation from each wire. Then twist the ends of each wire.
- The red (+) terminal on the speaker should connect to a (+) channel on your audio equipment and the black (-) terminal on the speaker should connect to the same channel (-) terminal on your audio equipment.
MOUNTING THE SPEAKER
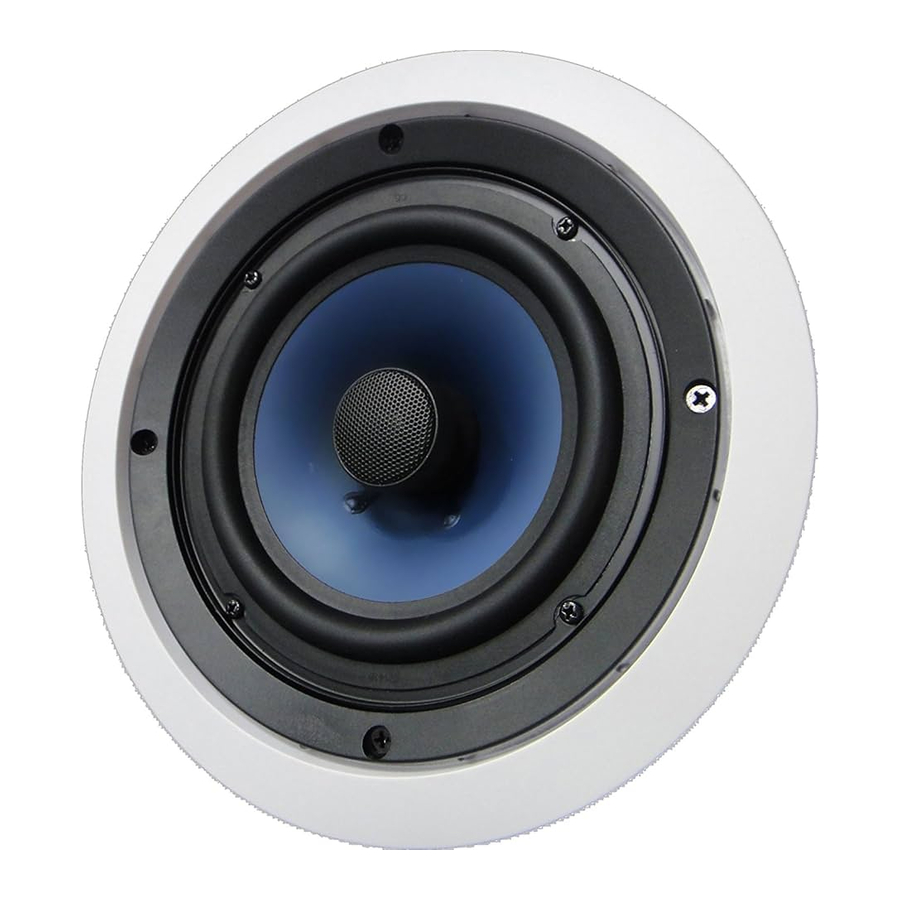
- Remove the grille to expose the mounting screws.
- Be sure the mounting tabs are turned in, allowing the speaker to fit into the hole. Then insert the speaker into the mounting hole.
- Turn the four screws to tighten the mounting tabs to the wall or ceiling. Be careful not to over-tighten the screws.
- Replace the grille.
![]()
To remove the speaker from the wall or ceiling, loosen the screws only far enough to remove the speaker. This will prevent the loss of the mounting tabs.
Documents / ResourcesDownload manual
Here you can download full pdf version of manual, it may contain additional safety instructions, warranty information, FCC rules, etc.
Advertisement


Need help?
Do you have a question about the 652C and is the answer not in the manual?
Questions and answers