Advertisement
Table of Contents
Contents
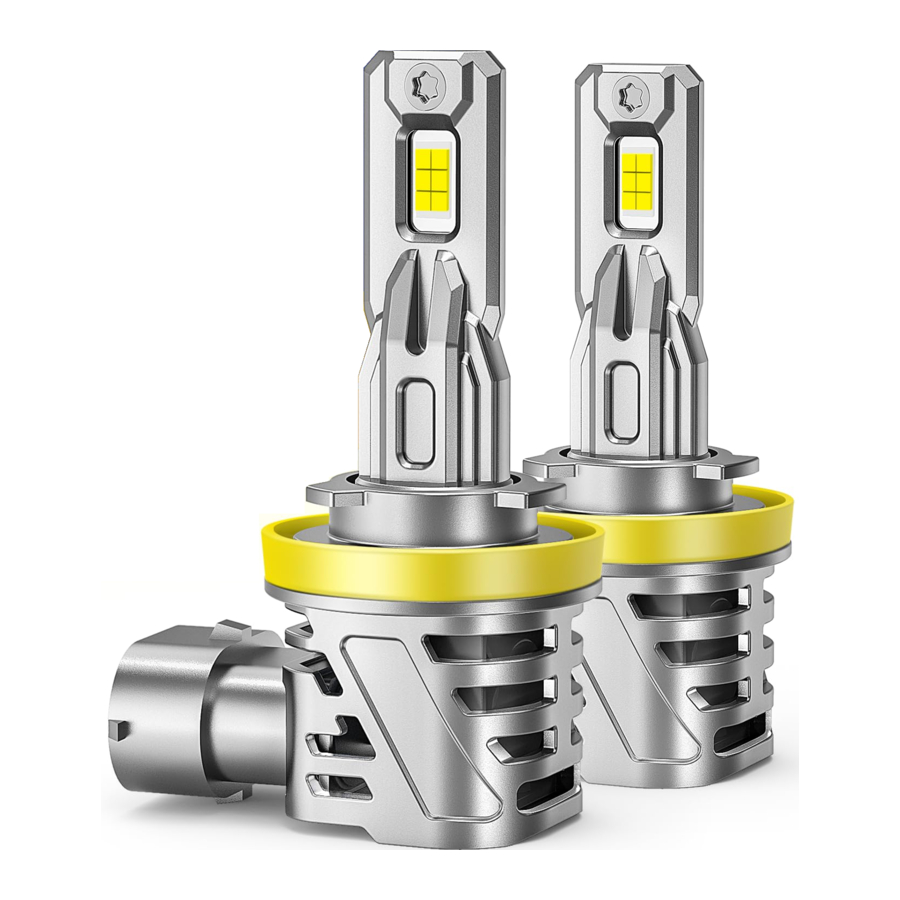
Ursprung H11+9005 Manual
Product Overview

Package Contents
Pack of 2
- LED Bulb (1 pair)
- User Manual x 1
- Gloves (1 pair)
Pack of 4
- LED Bulb (2 pairs)
- User Manual x 1
- Gloves (1 pair)
Product Specification
| TYPE: | K30 |
| Operating Voltage: | DC12V |
| IP Rate: | IP68 |
| Color Temperature: | 6500K |
| Luminous Efficiency: | 95% |
| Operating Temperature: | -49°F - 302°F |
Product Features
- Perfect beam pattern, no dark spots or foggy light.
- CANbus-Ready and works with most vehicle system without error.
- Easy to install, plug and play.
Frequently Asked Questions
-
What bulb size do I need for my vehicle
It depends on the original bulb installed, if you are not sure which bulb size fits your vehicle, please check your vehicle hand book or the part number on your original bulbs, you can also search "Automotive Bulb Guide" online or check with us.
- I installed your bulbs but they do not turn on?
We first would highly recommend checking your fuses, if the fuses are good next we would recommend putting back the stock bulbs to see if they light up, if they do light up then the bulbs may be defective, however, we recommend installing the bulbs with decoders first before declaring the bulbs defective. - Why is my bulb flickering/dimming or dashboard error message occurring?
Your vehicle's computer system may recognize the low power draw ot the LED bulb as a problem or fault. It may cause a bulb out indicator on your dashboard and sometimes cause the bulb to flicker or dim. A load resistor or CANbus decoder should be installed to solve this issue. - How do I know if my vehicle requires extra CANbus decoders to be installed?
You might need to get the extra decoder if the following problems persist with your car after an LED installation:- The bulbs keep flashing when you try to switch on the bulbs.
- The car's computer system keeps indicating an error.
- The bulbs stay lit for a while even after you have switched them off.
- The bulbs give off a dim light unlike the bright throw of LEDs.
-
How does a CANbus decoder work
The technology of the decoder is not only to increase the wattage of the LED bulbs but send a signal to the CANbus system of the car. Most of the times the afterpart LED bulbs fail to work because their power does not reach the minimum requirement of the installed CANbus system.
Installation Instructions
H11/H13/9005/9006/9008/9012/880
- Remove the original car halogen lamp.

- Insert the LED bulb lamp as the direction of the arrow

- Rotate the lamp body clockwise and lock it into place.

- Connect LED kits to original plug.


- Please test the LED bulbs before full installation.
- The temperature of the original bulb can be very high so please mind the heat.
- Do not touch the LED chips when changing the bulb.
- If the LED bulb doesn't light on when plugged in, please flip the plug over and then try again.
H1/H3/H4/H7
- Unlocking the latch and remove the original bulb.

- Insert the LED bulb lamp as the direction of the arrow.

- ReinstaII factory latch.

- Connect LED kits to original plug


Installation Video
- Visit "www.ursprung-veh.com/video"

- Search "Ursprung Lighting" on Youtube


9004/9007
- Rotate the original bulb holder counter-clockwise to remove it, take out the bulb.

- Target the socket slots and insert the LED bulb

- Rotate the original bulb holder cIockwise and lock it into place

- Connect LED kits to original plug


Troubleshooting
Flickering/Error Warning |
|
Hi/Lo Beam Reversed |
|
Can't install |
|
www.ursprung-veh.com
support@ursprung-veh.com
Documents / Resources
References
Download manual
Here you can download full pdf version of manual, it may contain additional safety instructions, warranty information, FCC rules, etc.
Advertisement
Need help?
Do you have a question about the H11+9005 and is the answer not in the manual?
Questions and answers