Table of Contents
Advertisement
Quick Links
Advertisement
Table of Contents

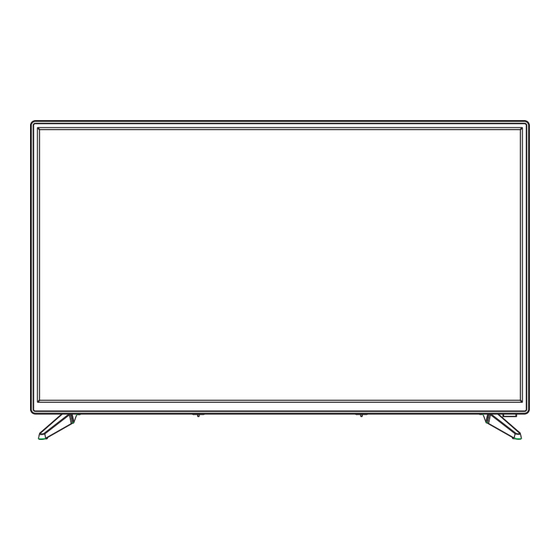
Summary of Contents for IQ LED-5002SMT
- Page 1 LED-5002SMT...
-
Page 2: Table Of Contents
Table Of Contents Safety Information........... . Important Safety Precautions......... TV Buttons And Connections ......... External Device Connection Diagram ........Install And Connect TV ..........TV Feet Installation Instructions ........Bot Wizard ............Inputs ............... Main Menu ............Picture .... -
Page 3: Safety Information
Safety Information... -
Page 5: Tv Buttons And Connections
TV Buttons And Connections OPTICAL OPTICAL... -
Page 6: Install And Connect Tv
Install and Connect TV Setup your TV 1.Put your TV in a place that can support the weight of the TV. To avoid danger, please do not assemble the TV near water or extreme heat(such as a furnace, light source,or candle.) Do not block the ventilation on the back of the TV. -
Page 7: Boot Wizard
Boot Wizard After the Boot Wizard setting completion , you can enter the SmartTv home interface. Inputs Press [SOURCE] button to open the input source list, then press [▲/▼] button to highlight an input and press[OK] button to switch. -
Page 8: Main Menu
Main Menu Press [MENU] button to open the main menu interface.Press [◀/▶] button to select the option then press [▼] button to enter the sub-menu.Then press [MENU] or [EXIT] to back to main-menu. Picture Press ◀ to decrease the parameter. Press [▲/▼] button to select the option then Press ▶... -
Page 9: Sound
Main Menu Sound Press ◀ to decrease the parameter. Press [▲/▼] button to select the option then Press ▶ to increase the parameter. Function Description: Sound Mode Standard->Sport->Movie->Music->User Surround OFF->ON OFF->ON Advanced(select the Advanced option then press [OK/▶] button to enter the sub-menu). Balance->Digital Output Channel Press [▲/▼] button to select the option then Press [▶] button to enter the sub-menu. -
Page 10: Accessibility
Main Menu Function Description: Auto Scan Enter the auto tuning scan interface and start scan Manual Scan Enter the manual tuning scan interface Channel List Enter the channel list interface Favorite List Enter the favorite list interface Channel Edit Enter the channel edit interface Schedule List Enter the schedule list interface Program Guide... -
Page 11: General
Main Menu Function Description: Blue Screen Off->On Source Setting Setting input source show or hide. Press [OK] button to rename input source. HDMI Setting HDMI CEC and ARC setting interface Teletext Language West Eur->Eest Eur->Russian->Farsian->Arabic-> Audio Language Audio language setting interface(Available only in DTV source) Subtitle Language Subtitle language setting interface(Available only in DTV source) PVR File System... -
Page 12: System
Main Menu System Press [▲/▼] button to select the option then Press [▶] button to enter the sub-menu. Function Description: System Info View system info Upgrade Local upgrade and network upgrade setting interface Account Manager setting up your email address interface Retail Mode Off->On Legal Info... -
Page 13: Application
Main Menu Application Press [▲/▼] button to select the option then Press [▶] button to enter the sub-menu. Function Description: APP Manager All APP manager interface One Key Clean One key clean cache file Remove External StorageRemove external storage device interface Format External StorageFormat external storage FileManager... -
Page 14: Hotel
FileManager Click the corresponding drive letter to view the contents of the file in theUSB, and select the file to view or play. As shown below: Hotel Press the remote control combination key Source + 1 1 4 7 Hotel menu UI main interface... -
Page 16: Specifications
Specifications power Consumption Screen Size Main accessories 24” 32” 39” 40” 70W/90W User s manual x1 70W/80W/90W 43” Remote controller x1 100W 50” Power cord x1 110W/135W 55” AAA Batteries x2 58” 120W/135W 160W 65” 70” 180W 75” 185W/250W LIFE TIME : 60,000 Hrs WARNING Never place a television set in an unstable location. - Page 17 CAUTION: – Risk of explosion if the battery is replaced by an incorrect type – disposal of a battery into fire or a hot oven, or mechanically crushing or cutting of a battery, that can result in an explosion; – leaving a battery in an extremely high temperature surrounding environment that can result in an explosion or the leakage of flammable liquid or gas;...
- Page 18 2. Press to fast reverse in USB mode. 2.Mouse switch. 2.Refresh page. MIX: 1. TV and TXT pictures are mixed together(transparent background)
- Page 19 LED-5002SMT...
- Page 22 OPTICAL OPTICAL...
- Page 36 24” 32” 39” 40” 70W/90W 70W/80W/90W 43” 100W 50” 110W/135W 55” 58” 120W/135W 160W 65” 70” 180W 75” 185W/250W...
Need help?
Do you have a question about the LED-5002SMT and is the answer not in the manual?
Questions and answers