Advertisement
- 1 Introduction
- 2 Hardware Connections
-
3
Software Installation
- 3.1 Step 1: Download the software
- 3.2 Step 2: Click "Next"
- 3.3 Step 3: Click "I Agree" to accept license agreement
- 3.4 Step 4: Click "Next" to continue or "Browse" to choose a destination folder
- 3.5 Step 5: Click "Install" to install the software
- 3.6 Step 6: Please wait whilst OBS installs
- 3.7 Step 7: Click "Finish" to complete the installation
- 3.8 Step 8: The OBS icon will now be on your desktop
- 4 OBS
- 5 Troubleshooting
- 6 Customer Service
- 7 Documents / Resources
Introduction
 In order to ensure your safety and the safety of others, please read the Safety Instructions before using this product.
Overview
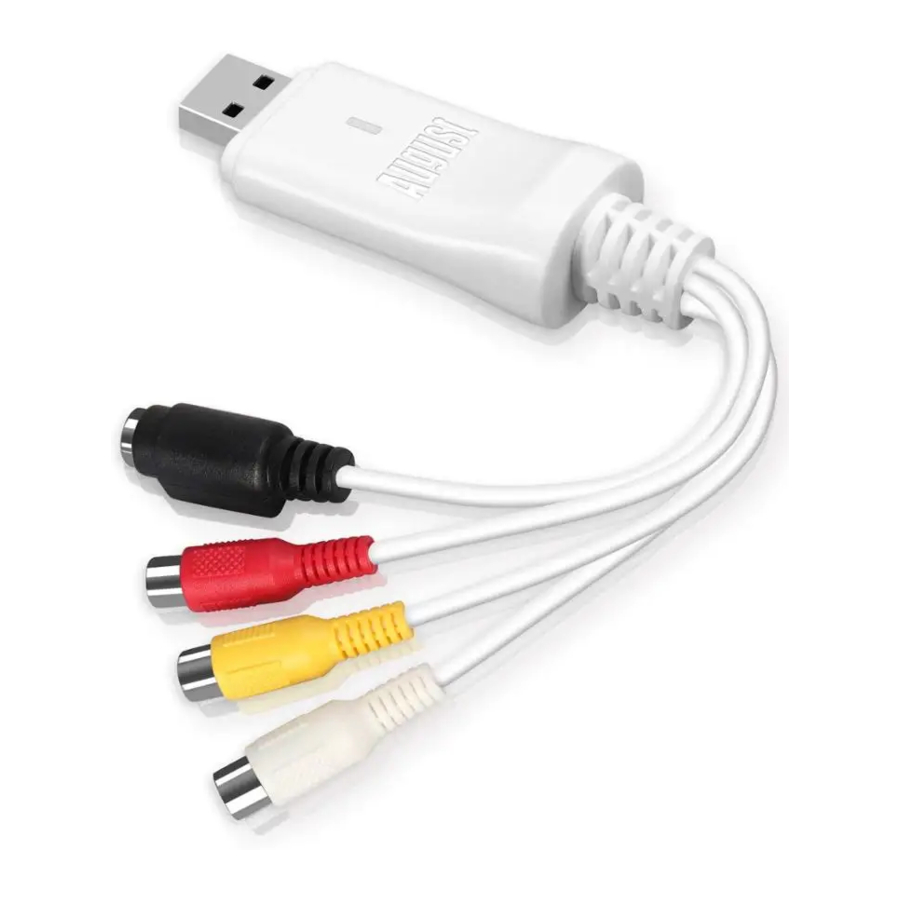
The VGB300 video capture card creates digital videos on your Hard Drive. With S-Video and RGB In, you can capture and edit footage from your camcorder, VCR, DVD player and other video device. The enclosed software can convert the recorded file to FLV/ MP4/ MOV/ MKV/ TS.
Features
Capture video from VHS, camcorder or any Other analogue video source
Converts Files to flv / mp4 / mov /mkv / ts
Burn your video files onto DVDs or save file on USB orHard Drive
Compatible with Video Source in NTSC PAL formats
Plug & Play Compatible with Mac OS, Windows 10 / 8 / 7 / Vista/ XP, Linux
System Requir
- Operating System: Windows XP/ 2000/ 7/ 8/ 10/ Vista, MAC OS
- CPU: Intel Pentium 4 or higher
- RAM: 256MB (512MB or above for editing)
- Sound Card, USB 2.0 free port
- HD: 1GB hard disk space for program installation, 4GB or above hard disk space for video capture and editing
Package Contents
- VGB300
- Av multi-cable
- SCART to RCA
- User Manual
Hardware Connections

Software Installation
Step 1: Download the software
Use the link below to go to the software download page of OBS (Open Broadcaster Softer). https://obsproject.com/
Click on your operating system to download the right version of the OBS.
Once downloaded, run the setup application. Follow on screen instruction to complete the software installation.
Step 2: Click "Next"

Step 3: Click "I Agree" to accept license agreement

Step 4: Click "Next" to continue or "Browse" to choose a destination folder

Step 5: Click "Install" to install the software

Step 6: Please wait whilst OBS installs

Step 7: Click "Finish" to complete the installation

Step 8: The OBS icon will now be on your desktop

OBS
Note: If you need further information, please visit the Help section on OBS' website.
Setting
To use the VGB300 in OBS, please follow steps below
Step 1: Click on '+' under the 'Sources' section.

Step 2: Select 'Video Capture Device'.
Note: As a few examples, select Game Capture if you're capturing a game, Window for non-game applications, or Video Capture Device for a webcam or capture card.
Laptop users: If your game / window / display capture sources still Show a black screen, please refer to the link below:
https://obsproject.com/wiki/Laptop-Troubleshooting

Step 3: Change the device's name or use the default name, then click on 'OK' to continue.

Step 4: The "Properties" window pops up or you could right click the source to open the "Properties" window.


Step 5: Select 'AV TO USB 2.0' in the 'Device'.
You can set input resolution manually if you Select 'Custom' in the 'Resolution/ FPS Type'.
Note: If select 'YUY2' in the 'Video Format', the resolution should be set to 480x320. If set any other resolution, please select 'M JPEG' or 'ANY' in the 'Video Format'.
Step 6: Select Output desktop audio (DirectSound)' in the 'Audio Output Mode',
then tick 'Use custom audio device'. Select 'Microphone (USB 2.0 MIC)' in the 'Audio Device', then click on 'OK' to continue.
 in the Audio Output Mode")
Step 7: In order to synchronize the audio and video,
you need to set the video delay. Right click on "Video Capture Device" and select "Filter". In the pop-up window, click "+" and select "Video Delay (Async)". Type the name of your filter in the new pop-up window, then click on 'OK'


Step 8: Enter 470ms in 'Delay', then press 'Close' to close the window.

Note: you need to adjust the value according to the actual situation until you find the audio and video synchronization.
Step 9: Click 'Settings' to open the 'Settings' window.

Click the 'Output', then you can set the settings of output, such as Recording Path and Recording Format. Click 'OK'.

Step 10: Click the 'Audio' or 'Video', then you can set the settings of Audio or Video as you need. Click 'OK'.


Recording
Step 1: Click on the 'Start Recording' to start recording.

Streaming
Step 1: Click 'Settings' to open the 'Settings' window. Click the Streaming', then enter according information for streaming. Click on 'OK'.

Step 2: Click on the 'Start Streaming' to start streaming.

Quick Start Guide
Step 1: Run the auto-configuration wizard
When you load OBS Studio for the first time you should see the Auto-Configuration Wizard. If you're new to OBS or just want to get started as quickly as possible, follow the steps to get good starting settings for your setup. If you only see the main OBS Studio window, you can access the
Auto-Config Wizard in the Tools menu at the top. This wizard will automatically test your system and attempt to find settings that your PC can handle. This includes streaming or recording, resolution, bitrate, encoder, streaming provider and more. You can always modify the settings manually later.


Step 2. Set up your audio devices
macOS users: If you're on macOS, you'll need an extra app to capture desktop audio. This is due to limitations in macOS that provide no direct capture methods for desktop audio devices. For more information, please refer to the link below:
https://obsproject.com/forum/resources/os-x-captureaudio-with-ishowu-audio-capture.505/
Troubleshooting
The captured images and sounds are out of sync
Refer to the "Setting" of user manual to set the video delay.
There a black border on the recorded video.
Set 'Base (Canvas) Resolution' as close as possible to 'Output (Scaled) Resolution' in Settings -> Video.
I want use other capture software?
VGB300 support mainstream capture software, such as: Potplayer, XSplit, AMCap and VLC. Refer to the relevant software instructions for specific operation methods.
Customer Service
Telephone: +44 (0) 845 250 0586
Email: service@augustint.com
United Kingdom
Tel: +44(0) 845 250 0586
Documents / Resources
References
![obsproject.com]() Open Broadcaster Software | OBS
Open Broadcaster Software | OBS![obsproject.com]() Wiki - Laptop Troubleshooting | OBS
Wiki - Laptop Troubleshooting | OBS![obsproject.com]() [OS X]Capture audio with iShowU Audio Capture | OBS Forums
[OS X]Capture audio with iShowU Audio Capture | OBS Forums
Download manual
Here you can download full pdf version of manual, it may contain additional safety instructions, warranty information, FCC rules, etc.
Advertisement


Need help?
Do you have a question about the VGB300 and is the answer not in the manual?
Questions and answers