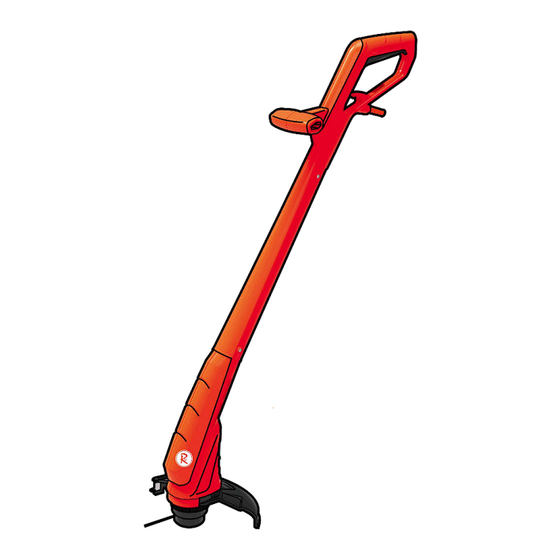
Summary of Contents for RocwooD RWACGT1
- Page 1 RocwooD RWACGT1 GRASS TRIMMER Keep this manual in a safe place, review it frequently and ensure that all users have read it to ensure safe operation.
-
Page 2: Table Of Contents
CONTENTS SYMBOL EXPLANATION ......................... 2 OPERATING CONTROLS ........................3 PACKING LIST ............................3 TECHNICAL DATA ............................ 3 GENERAL SAFETY RULES ........................4 SPECIFIC SAFETY RULES ........................4 ASSEMBLING ............................6 OPERATION .............................. 6 MAINTENANCE AND STORAGE ......................7 EC DECLARATION OF CONFORMITY ....................11 SYMBOL EXPLANATION Symbols Warning! -
Page 3: Operating Controls
OPERATING CONTROLS 1. Motor head 2. Protective cover 3. Main handle 4. Switch trigger 5. Cable holder 6. Auxiliary handle 7. Spool set PACKING LIST Grass Trimmer (1) Auxiliary handle (1) Screw ST4 x 14 (4) Protective cover (1) Screw ST4 x 14(1) on the protective cover Instruction manual (1) TECHNICAL DATA Technical Data... -
Page 4: Specific Safety Rules
SAVE THESE INSTRUCTIONS. Intended use: The appliance has lawn trimmer function. This lawn trimmer is designed for cutting grass and similar soft vegetation and for trimming grass edges in private and hobby garden areas. Training a) Read the instructions carefully. Be familiar with the controls and the proper use of the equipment. b) Never allow children or people unfamiliar with these instructions to use the tool. - Page 5 18. Always ensure that ventilation openings are kept clear of debris. 19. When not in use, store the trimmer out of the reach of children. 20. For additional protection, the installation of a residual current device (RCD) having a rated residual operating current not exceeding 30 mA is advisable 21.
-
Page 6: Assembling
Assemble the protective cover (see Figure 4) 1) Align the guard with the body & fix with screws provided. Assemble main handle and middle tube (see Figure 1) Connect the two parts together and fix with the screws provided. ... -
Page 7: Maintenance And Storage
MAINTENANCE AND STORAGE a) Keep all nuts, bolts and screws tight to be sure the equipment is in safe working condition. b) Allow the Motor to cool before storing in any enclosure. c) To reduce fire hazard, keep the Motor area free of grass, leaves or excessive grease. d) Replace worn or damaged parts. - Page 10 RWACGT1 Exploded-view list Parts description Right handle Cross-head screw Auxiliary handle(right) Connection line Middle pole Micro Switch Rotating button spring Main button Protective liner Power cable Crimping board Left handle Auxiliary handle(left) Right case Motor components Protecting mask Blade Cooling Fan...

Need help?
Do you have a question about the RWACGT1 and is the answer not in the manual?
Questions and answers
can the cord be replaced on existing spool instead of replacing spool complete if so can you tell me how please
Yes, the cord on the RocwooD RWACGT1 spool can be replaced without replacing the entire spool. To do so:
1. Remove the spool assembly by holding the outer ribbed part and pushing down while turning the spool head to unlock it.
2. Carefully remove the spool and spool carrier, noting the spring inside.
3. Insert the new nylon line through the eyelet in the spool carrier and slide the spool into place.
4. Reinsert the spring and reassemble the parts.
5. Push the spool cover until it locks.
6. Test the line advancement by pressing the button and pulling the line.
Only use the manufacturer’s recommended replacement line.
This answer is automatically generated