Advertisement
Quick Links
Advertisement

Subscribe to Our Youtube Channel
Related Manuals for Pipishell PIWFS01G


Summary of Contents for Pipishell PIWFS01G
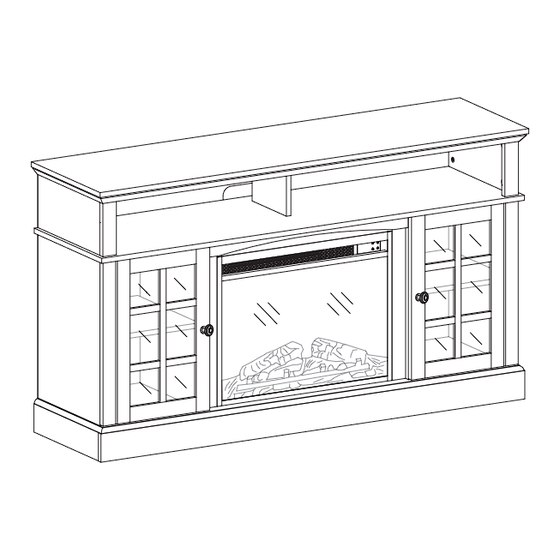
- Page 1 INSTRUCTION MANUAL TV Console...
-
Page 2: Important Safety Information
Important Safety Information • Please carefully read all instructions before attempting installation. If you DO NOT understand the instructions or have any questions or concerns, please email customer service. CAUTION: Avoid potential injuries and property damage! • DO NOT use this product for any purpose that is NOT explicitly specified in this manual. - Page 3 How the Assembly System Works How to Install Wood Dowel Insert the wood dowel [6] at least half-way. IF NECESSARY, lightly tap the wood dowel with a self-supplied rubber mallet. Using the Cam Lock System 1. Screw cam bolt [4] into the threaded hole on the panel. 2.
-
Page 4: Exploded Drawing
Exploded Drawing... - Page 5 Supplied Parts and Hardware Left Bottom Right Bottom Bottom Front Rail Bottom Back Rail End Panel End Panel Bottom Panel Left Inside Panel Right Inside Panel Left Rail Right Rail Left Middle End Panel Right Middle End Panel Center Rail Front Trim Middle Panel Panel Connector...
- Page 6 Supplied Parts and Hardware M6 x 12mm M6 x 35mm Connector Bolt Allen Key Cam Bolt x 16 x 32 x 30 Ø15 x 12mm Ø8 x 30mm M5 x 35mm Cam Lock Wood Dowel Screw Washer x 30 x 34 M3 x 15mm 1/4-20 x 5/8″...
- Page 7 Step 1 M6 x 12mm Step 2 M6 x 12mm...
- Page 8 Step 3 M6 x 12mm Step 4 M6 x 12mm...
- Page 9 Step 5 x 12 M6 x 12mm NOTE: The panel [A] and the round edge of the panel [E] should at the same side. Step 6 M6 x 35mm...
- Page 10 Step 7 Ø8 x 30mm Ø15 x 12mm Step 8 Ø8 x 30mm M5 x 35mm NOTE: The side with cam lock holes of the panel [J] and [F] should face each other. It is the same for the panel [G] and [K].
- Page 11 Step 9 M3 x 15mm Step 10 1/4-20 x 5/8″...
- Page 12 Step 11 Ø8 x 20mm 28mm Step 12 28mm...
- Page 13 Step 13 x 10 M6 x 35mm Step 14 x 10 x 10 Ø8 x 30mm Ø15 x 12mm...
- Page 14 Step 15 M6 x 35mm Ø8 x 30mm Step 16 M6 x 35mm...
- Page 15 Step 17 Ø8 x 30mm Ø15 x 12mm Step 18 Ø15 x 12mm...
- Page 16 Step 19 M6 x 35mm Step 20 Ø8 x 30mm Ø15 x 12mm The TV console may wobble until the back panel is attached to the back of the TV console.
- Page 17 Step 21 Helpful Tip: There are only 2 pilot holes on the top panel for locating the back panel on the back of the TV console. We do not pre-drill pilot holes on x 14 the sides and bottom. It is recommended to attach the back panel [S] at the M3 x 15mm top panel [R] first, then use a Phillips screwdriver to screw the screws into the TV console.
- Page 18 Step 23 Step 24 M6 x 50mm...
- Page 19 Step 25 M3.5 x 12mm Step 26 x 16 M3.5 x 12mm...
- Page 20 Step 27 The door may go out of alignment during shipping. Open and close the doors to make sure they are aligned and shut correctly. If you find that the doors need to be adjusted, turn the appropriate screw, as illustrated. Three-way adjustable hinge for perfectly aligned doors: 1.
- Page 21 Step 28 Ø5 x 16mm M4 x 28m Step 29...
- Page 22 Step 30 For Solid Concrete or Brick For Wood Studs Wall 1 3/4″ (45mm) 1 37/64″ (40mm) M4 x 20 M4 x 20 M4 x 20 M4 x 20 1 3/4″ (45mm) 1 37/64″ (40mm) M4 x 40 M4 x 40 M4 x 40 M4 x 40 ø5/64″...
Need help?
Do you have a question about the PIWFS01G and is the answer not in the manual?
Questions and answers