Advertisement
Quick Links
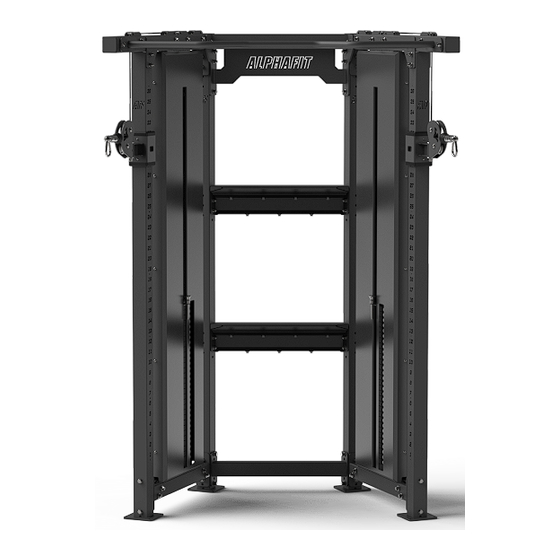
CORE FUNCTIONAL
TRAINER
ASSEMBLY GUIDE.
IMPORTANT - READ FIRST.
Resistance training, gymnastics training and activities at height are potentially dangerous and may lead to severe injury or even death. This
equipment must only be used by competent and responsible persons, or under the direct and visual control of a competent and responsible person.
Use common sense when training, obtain instruction to ensure safe execution of movements.
Obtaining instruction in appropriate techniques and methods of use is your own responsibility. You assume all risks and responsibilities for all
damage injury or death which may occur during or following incorrect use of this equipment in any matter whatsoever. AlphaFit bears no liability
beyond the replacement value of the equipment in question.
It is the responsibility of the owner to ensure that all users of this product are adequately informed of all precautions. The safety and integrity
designed into the equipment can only be maintained when it is regularly examined for damage and repaired. It is the responsibility of the user/owner
to ensure that regular maintenance is performed. Inspect and properly tighten all parts regularly. Replace any worn or damaged parts immediately
and do not use until the equipment has been repaired.
Both AlphaFit and buyer disclaim any express or implied warranty, including, without limitation, warranties or merchantability and/or fitness for a
particular purpose with respect to the equipment.
WARNING: MISUSE OF THIS EQUIPMENT CAN RESULT IN SEVERE INJURY OR DEATH. BUYER ASSUMES ALL LIABILITY IN USAGE OF EQUIPMENT.
DOCUMENT NO: MKT1075
Advertisement

Related Manuals for ALPHAFIT Core Functional Trainer

Summary of Contents for ALPHAFIT Core Functional Trainer
- Page 1 Obtaining instruction in appropriate techniques and methods of use is your own responsibility. You assume all risks and responsibilities for all damage injury or death which may occur during or following incorrect use of this equipment in any matter whatsoever. AlphaFit bears no liability beyond the replacement value of the equipment in question.
-
Page 2: Component Overview
AlphaFit recommends a minimum of two (2) people to assemble the Core Functional Trainer. Use the parts list included in this guide to verify that all parts are accounted for before assembly. If any parts are missing, contact AlphaFit on 1300 257 428 or admin@alphafit.com.au. -
Page 3: Frame Assembly
FRAME ASSEMBLY STEP 1: ASSEMBLE TROLLEY ON FRONT UPRIGHTS Retract pin and slide trolley onto upright. Note logo orientation of upright: AF logo to face front. Attach bottom cable braces to upright as illustrated below. Letters denote appropriate fasteners. PRO TIP: PRO TIP: The alignment numbers on the The bottom cable braces should... - Page 4 FRAME ASSEMBLY STEP 2: ATTACH TOP BRACES, FRONT CORNER PLATES AND BACK UPRIGHTS Attach front corner plates to secure the top braces to both uprights. Attach back uprights to top and bottom braces as illustrated. Letters denote appropriate fasteners. PRO TIP: The top cable braces should have the nuts facing inwards of the cable cell.
- Page 5 FRAME ASSEMBLY STEP 3: ATTACH BACK BRACES, CORNER PLATES AND CHIN UP BAR Attach corner plates to secure the logo brace to both back uprights. Attach the two storage braces and bottom brace as illustrated. Bolt Chin Up Bar to the top braces as illustrated. Letters denote appropriate fasteners.
-
Page 6: Step 5: Install Weight Plates
WEIGHT STACK ASSEMBLY STEP 4: INSTALL WEIGHT STACK RODS Remove top rod holding block and cover plate. Install rods and bump stop into bottom rod holding block as shown. STEP 5: INSTALL WEIGHT PLATES Carefully tilt out weight stack rods. Install 29 weight plates, one at a time, taking care that orientation is as shown (weight label facing inward). - Page 7 WEIGHT STACK ASSEMBLY STEP 6: INSTALL TOP PLATE AND BUMP STOPS Install the top plate assembly, inserting the middle rod through the centre holes of the weight plate stack. Install the two bump stops and plastic spacers. NOTE: Bump stops are deliberately undersized and firm to fit. STEP 7: SECURE WEIGHT STACK RODS Reinstall stainless steel cover plate and rod holding block.
- Page 8 WEIGHT STACK ASSEMBLY STEP 8: REMOVE CABLE RETENTION PARTS Remove pre-installed cable retention parts from top and bottom braces, ready for cable routing.
- Page 9 WEIGHT STACK ASSEMBLY STEP 9: ROUTE CABLE Remove all fittings from cable attachment end, leaving adjustment bolt attached to the opposite cable end. Install bolt into underside of trolley, then start routing the cable from the trolley end through the pulleys as shown. Once the cable is threaded reinstall fittings on cable attachment end.
- Page 10 WEIGHT STACK ASSEMBLY STEP 10: RE-INSTALL CABLE RETENTION PARTS Re-install cable retention parts in top and bottom braces after cable routing. Repeat steps 4 to 10 to assemble second weight stack.
- Page 11 WEIGHT STACK ASSEMBLY STEP 11: ATTACH COVERS Install rear cover and attach at top and bottom with fastener ‘E’ on either side of weight stack rods as shown. Install front cover onto rear cover using fastener ‘E’ along both sides. Repeat step to cover second weight stack.
- Page 12 CORE FUNCTIONAL TRAINER For additional information, contact AlphaFit: 1300 257 428 admin@alphafit.com.au www.alphafit.com.au...
Need help?
Do you have a question about the Core Functional Trainer and is the answer not in the manual?
Questions and answers