Advertisement
Advertisement
Table of Contents

Related Manuals for Tribesigns HOGA-XK00566


Summary of Contents for Tribesigns HOGA-XK00566
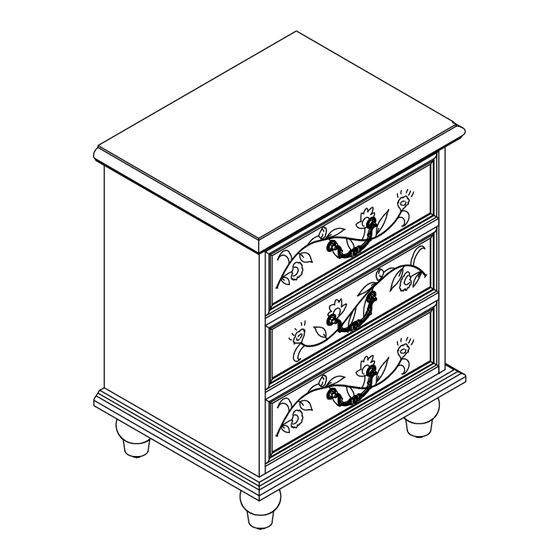
- Page 1 Assembly Instructions Model No. bedside table HOGA-XK00566 www.tribesigns.com...
-
Page 2: We're Here To Help You
How to Get the Assembly Video Search with the Model No. Step 1 Step 2 Scan the QR code. (on the bottom left corner of the title page) HOGA-XK00566 Installation Video Note: If you can't find the assembly video, please contact us. P-01... - Page 3 DESIGNED FOR LIFE We recommend using hand tools for assembly. If an electric screwdriver is used, reduce power and torque to avoid damage to the product. Install the Anti-Tip Straps Using the anti-tip straps can reduce the risk of tipping over, but can not eliminate it. P-02...
- Page 4 DESIGNED FOR LIFE Caution Make sure all parts are included. Most board parts are labeled or stamped on the raw edge. Contact us for a free replacement if you encounter any damaged or missing parts. P-03...
-
Page 5: Parts List
DESIGNED FOR LIFE Parts List 4pcs 4pcs 3pcs 3pcs 3pcs 3pcs Hardware List 25pcs 20pcs 4pcs 6pcs 12pcs 3pcs 4pcs 4pcs 4pcs Screwdriver P-04... - Page 6 DESIGNED FOR LIFE Installation of Cams and Pins Screw the pin into the hole. To set the cams correctly, ensure that the arrow on the cam is opening to the hole of the pin it is locking. Lock the cam by turning the cam head with a screwdriver until it is tightened.
- Page 7 DESIGNED FOR LIFE 4 pcs 4 pcs Step 2 Step 3 Step 1 2 pcs 8 pcs P-06...
- Page 8 DESIGNED FOR LIFE Step 2 Step 1 Step 3 2 pcs 8 pcs Step 2 Step 1 Step 3 5 pcs 2 pcs P-07...
- Page 9 DESIGNED FOR LIFE Step 2 Step 1 Step 3 4 pcs 2 pcs Step 1 Step 2 Step 3 4 pcs P-08...
- Page 10 DESIGNED FOR LIFE 4 pc 1 pcs 2 pcs P-09...
- Page 11 DESIGNED FOR LIFE 4 pcs 4 pcs P-10...
-
Page 12: Installation Steps
DESIGNED FOR LIFE cabinet Step 3 1 pc Wall Step 1 Wall Wall Step 2 Step 4 Installation Steps: 1. Drill a hole on the wall, insert the expansion bolt (e) into the hole. 2. Secure one bracket (a) into the expansion bolt (e) using the screw(c). 3. - Page 13 Assembly Instructions 1-424-220-6888 support@tribesigns.com Contact us anytime except www.tribesigns.com 12:00 AMto 8:00 AMEST. Instagram WhatsApp Facebook Pinterest Twitter YouTube TikTok...
Need help?
Do you have a question about the HOGA-XK00566 and is the answer not in the manual?
Questions and answers