Advertisement
ELITE B
Matrx
®
ACK
MODELS: PBE (S
), PBE-HD (H
-D
), EDB (D
), EDB-HD (D
-HD)
TANDARD
EAVY
UTY
EEP
EEP
PBE-TR (T
/R
), PBE-TRHD (T
/R
H
-D
)
ILT
ECLINE
ILT
ECLINE
EAVY
UTY
USER MANUAL
DEALER: This manual MUST be given to the user of the product.
USER: Before using this product, read this manual and save for future reference.
TRD0688 Rev A
Advertisement
Table of Contents

Summary of Contents for Motion Concepts Matrx ELITE BACK PBE
- Page 1 ELITE B Matrx ® MODELS: PBE (S ), PBE-HD (H ), EDB (D ), EDB-HD (D -HD) TANDARD EAVY PBE-TR (T ), PBE-TRHD (T ECLINE ECLINE EAVY USER MANUAL DEALER: This manual MUST be given to the user of the product. USER: Before using this product, read this manual and save for future reference.
- Page 2 This manual may not be reproduced or reprinted either partly or completely without previous written consent from Motion Concepts or its statutory representatives. This user manual is compiled from the latest specifications and product information available at the time of publication. We reserve the right to make any necessary as they become necessary.
-
Page 3: User Warning
1.0 G ENERAL ARNINGS NFORMATION 1.1 OVERVIEW SAFETY SYMBOLS: ® Proper set-up and safe use of your Matrx Elite Back depends on your own good judgement and common sense, as well as that of your provider, caregiver and/or health professional. The following symbols are used throughout this user manual to identify warnings, cautions and important notes. - Page 4 The following guidelines should be made available to all parties responsible for the transportation of the client, such as schools and transport providers. • Wherever practicable Motion Concepts recommends that the client is transferred out of the wheelchair into a vehicle seat using a lap and diagonal seat belt or an appropriate child safety seat.
-
Page 5: General Safety And Installation Warnings
WARNING! Risk of Injury ® ® Invacare Matrx products are specifically designed and manufactured for use ® ® in conjunction with Invacare Matrx accessories. Accessories designed by other manufacturers have not been tested by Motion Concepts and are not recommended. - 5 -... -
Page 6: Inspection And Maintenance
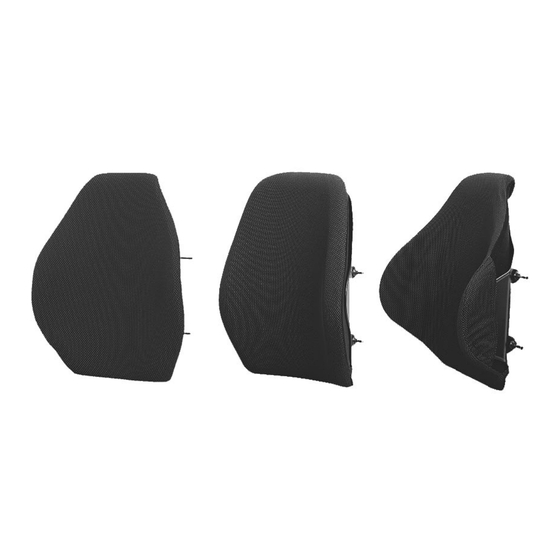
3.0 M ATRX LITE NSTALLATION ® IMPORTANT! Installation and set-up of your Matrx Elite Back MUST be performed by a Qualified Technician and/or Healthcare Provider. ® Our Matrx Elite backs are constructed with a removable polyurethane foam filled cushion cover affixed to a contoured metal back shell. Each Ellite back model has been uniquely ®... -
Page 7: Cleaning And Disinfection
4.2 CLEANING AND DISINFECTION: WARNING! Risk of damage To avoid infectious exposure, inspect cushion thoroughly and properly clean and disinfect any materials soiled with blood or other bodily fluids. CAUTION! Risk of damage • DO NOT use cleaning and disinfecting agents with abrasive, staining, or polymer-damaging properties such as phenols, alcohols, or bleaches. - Page 8 Machine Wash or Hand-Wash: • Remove the Elite cushion cover by releasing the velcro hook & loop fasteners along the top, bottom and inside of the back shell. • Carefully remove the Elite cover from the inner foam cushion. • The Elite (Meshtex fabric) cover can be hand washed or machine-washed in warm water not higher than 60°C (140°F), on a delicate cycle.
-
Page 9: Warranty
Invacare/ Motion Concepts warrants this product to be free from defects in materials and workmanship for two years of use by original purchaser. This warranty does not apply to punctures, tears or burns, nor to the removable cushion cover. - Page 10 6.0 E LITE CCESSORIES 6.1 HEAD SUPPORT INTERFACE PLATE (O PTIONAL All Matrx Elite backs contain a headrest adapter plate (A) which can be used for attaching an optional headrest support. Elite Headrest Adapter (EHRA) plates can differ slightly depending on the size and model of Elite back. The EHRA Plates are designed to be compatible with most standard headrest hardware (sold separately).
- Page 11 6.3 ONE-HAND CORD RELEASE MECHANISM 1. Thread the nylon cord through the holes in the latch mechanism at the top of the left and right mounting plates (A) 2. Install the cord lock mechanism onto the cord (B). Press the button to open the lock mechanism and slide the two open ends of the nylon cord through the opening.
- Page 12 Copyright © 2024 Motion Concepts LP. All rights reserved. Republication, duplication or modification in whole or in part is prohibited without prior written permission from Motion Concepts. Trademarks are identified by ™ and ®. All trademarks are owned by or licensed to Invacare Corporation or its subsidiaries unless otherwise noted.
Need help?
Do you have a question about the Matrx ELITE BACK PBE and is the answer not in the manual?
Questions and answers