Table of Contents
Advertisement
Quick Links
Cover
USER'S GUIDE
Initial Setup
Preparing a Power
Supply
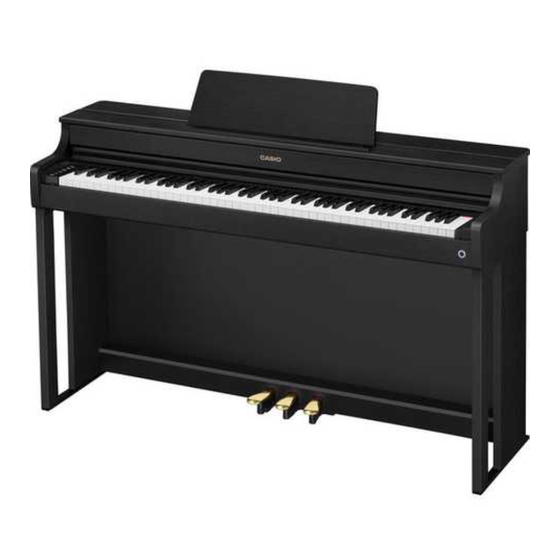
Playing the Digital Piano
Selecting a Tone
Changing Sound Reverberation and Ambiance
Using Sound Mode
Effects (Hall Simulator/
Reverb and Surround)
Recording Performances in Real-Time
Recording a Performance
with the MIDI Recorder
AP300/APS200-E-2A
AP - 300
AP - S200
Turning the Power On/Off
Layering Two Tones
(Layer)
Using Chorus
Recording a Performance
with the Audio Recorder
Using the Pedals
Splitting Left and Right
Keys (Split)
Adjusting the Sound
Characteristics of the
Acoustic Piano Presets
(Acoustic Simulator)
Connecting with a
Smart Device
Using the Dedicated App
Using Headphones
Using the Metronome
Changing the Pitch
Changing the Pitch in
Semitone Steps
(Transpose)
EN
Advertisement
Table of Contents


Need help?
Do you have a question about the Celviano AP-S200 and is the answer not in the manual?
Questions and answers